TCL Air Conditioner Service Manual
cassette
Duct
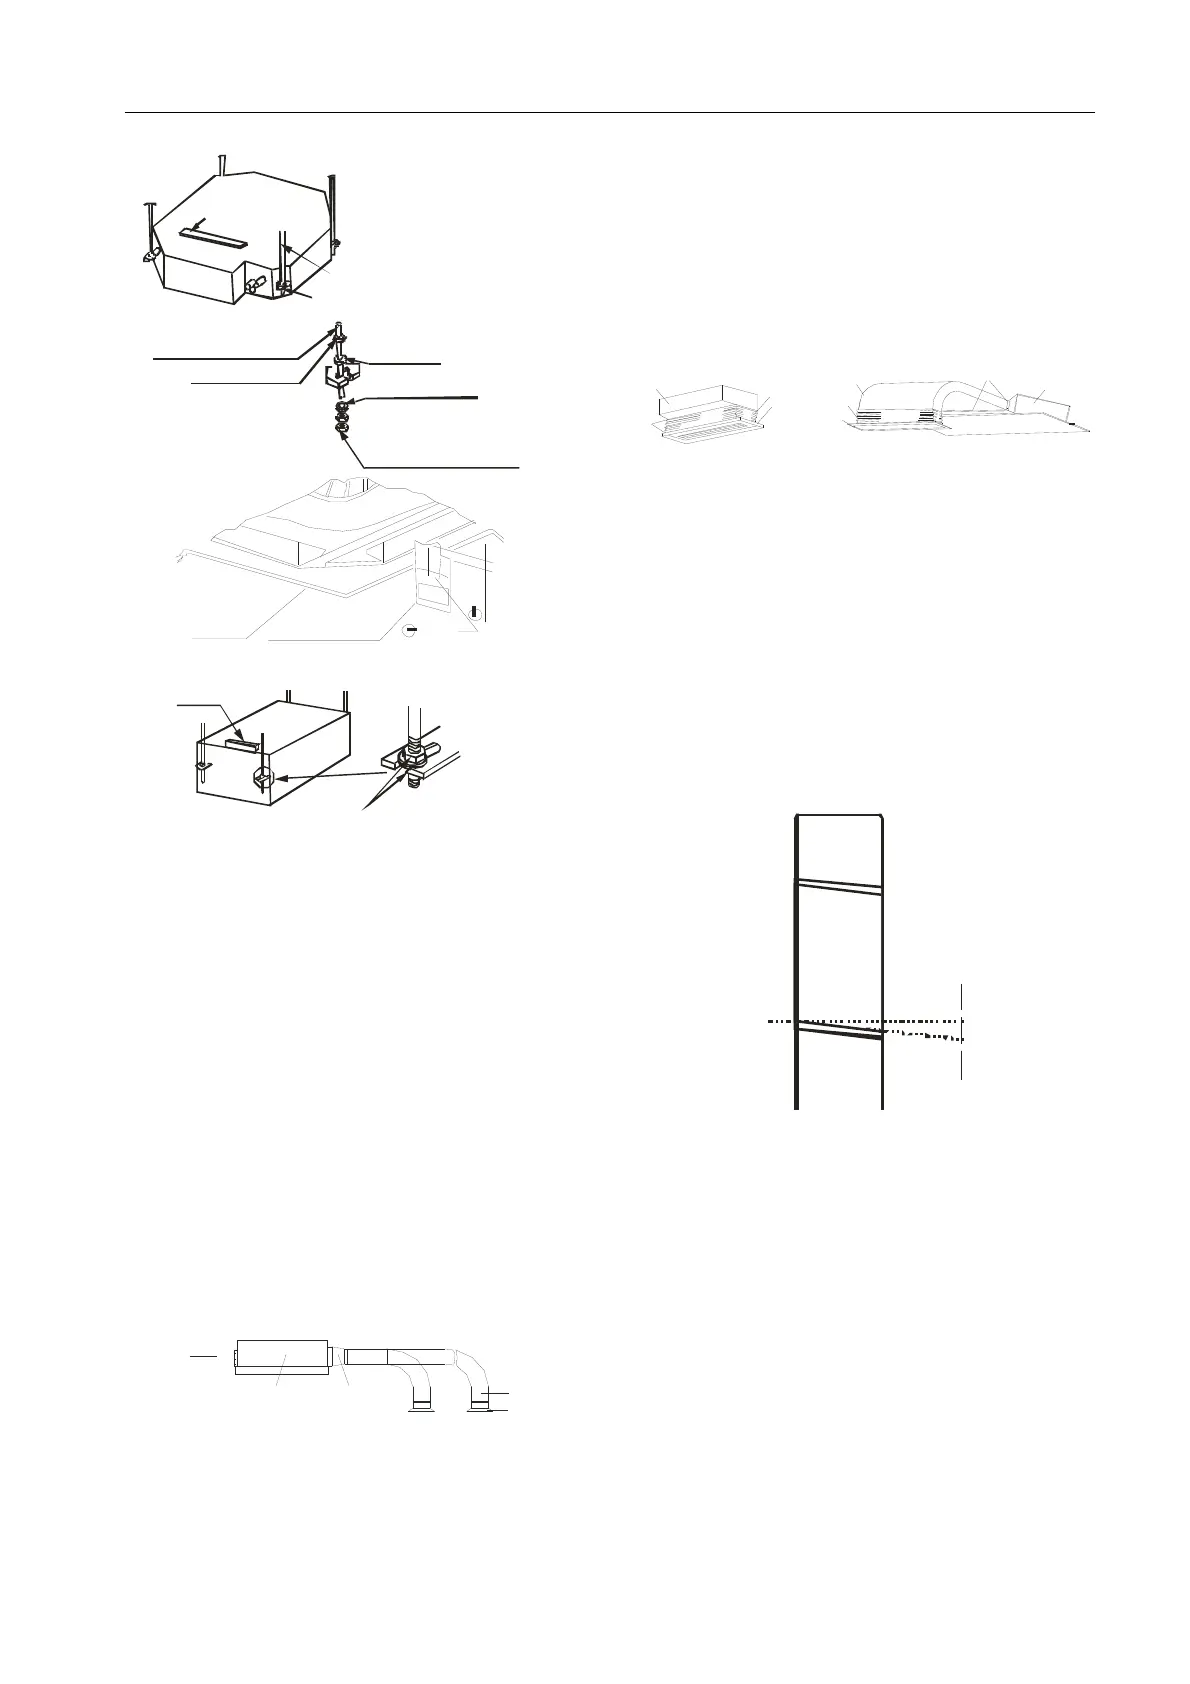
How to mount outlet pipe.
Generally, we have two types of outlet pipe
available, i.e. rectangular or round ones.
Rectangular air conduit can be dire
ctly
connected to air outlet of indoor unit by rivets.
For outlet dimensions, see outline drawing of
the unit.
Round air conduit should be connected to a
piece of transitional air conduit before it is
connected to air outlet of indoor unit, the other
end of it can be separately connected to air
conduit window or connected to air conduit
window after air flow diversion, and the total
length should not be over 6m. As shown in
figure below, air speeds at all air outlets should
be set to basically consistent so as to meet the
room air-conditioning requirements.
Installation method for return air pipe
In case sidewise air intake is adopted, return air
pipe should be fabricated and rivet-connected
to return air orifice, and the other end of it
should be connected to return air window.
In case of underside air intake, purchas
e or
fabricate a section of pleated canvas air conduit
serving as transition joint for return air orifice
and return air window. in this way, it can be
freely adjusted according to height of indoor
ceiling board; in addition, during operation of
the unit , canvas air conduit may avoid vibration
of ceiling board, as shown in figure below.
9.2.2 Drilling a hole in the wall for the piping
1) Decide where to drill the hole in the wall for the
piping (if necessary) according to the position of
the mounting plate
2) Install a flexible flange through the hole in the
wall to keep the latter intact and clean.
The hole must slope downwards towards the
exterior.
Note: Keep the drain pipe down towards the
direction of the wall hole, otherwise leakage may
occur.
9.2.3 Electrical connections---Indoor unit
1).Lift the front panel.
2).Take off the cover as indicated in the picture
(by removing a screw or by breaking the hooks).
3).For the electrical connections, see the circuit
diagram on the right part of the unit under the
front panel.
4).Connect the cable wires to the screw terminals
by following the numbering, Use wire size
suitable to the electric power input (see name
plate on the unit) and according to all current
national safety code requirements.
5).The cable connecting the outdoor and indoor
units must be suitable for outdoor use.
6).The plug must be accessible also after the
appliance has been installed so that it can be
pulled out if necessary.
5mm
Indoors
Outdoors
Tight e n nut M 10
Le vel Indi cator
Han ging Screw Bolt
Hanging Screw Bolt M10
Install it d ow n the
insta lli ng- ea r
Locking Nut M1 0
Hanging Ear
10 Gasket
Indoor Unit
Ceiling
Installat ion P late
30mm
43mm
Must Be Fixed Tight
Gradienter
Indoor unit
Air-outlet window
Outlet pipe
Transitional air
conduit
Ai r in let
Installation mode for sidewise air intake
Unit
Canvas air conduit
Return air pipe
Return air win dow
Rivet
Un it
Re turn air pipe
Canvas air conduit
Ri v et
 Loading...