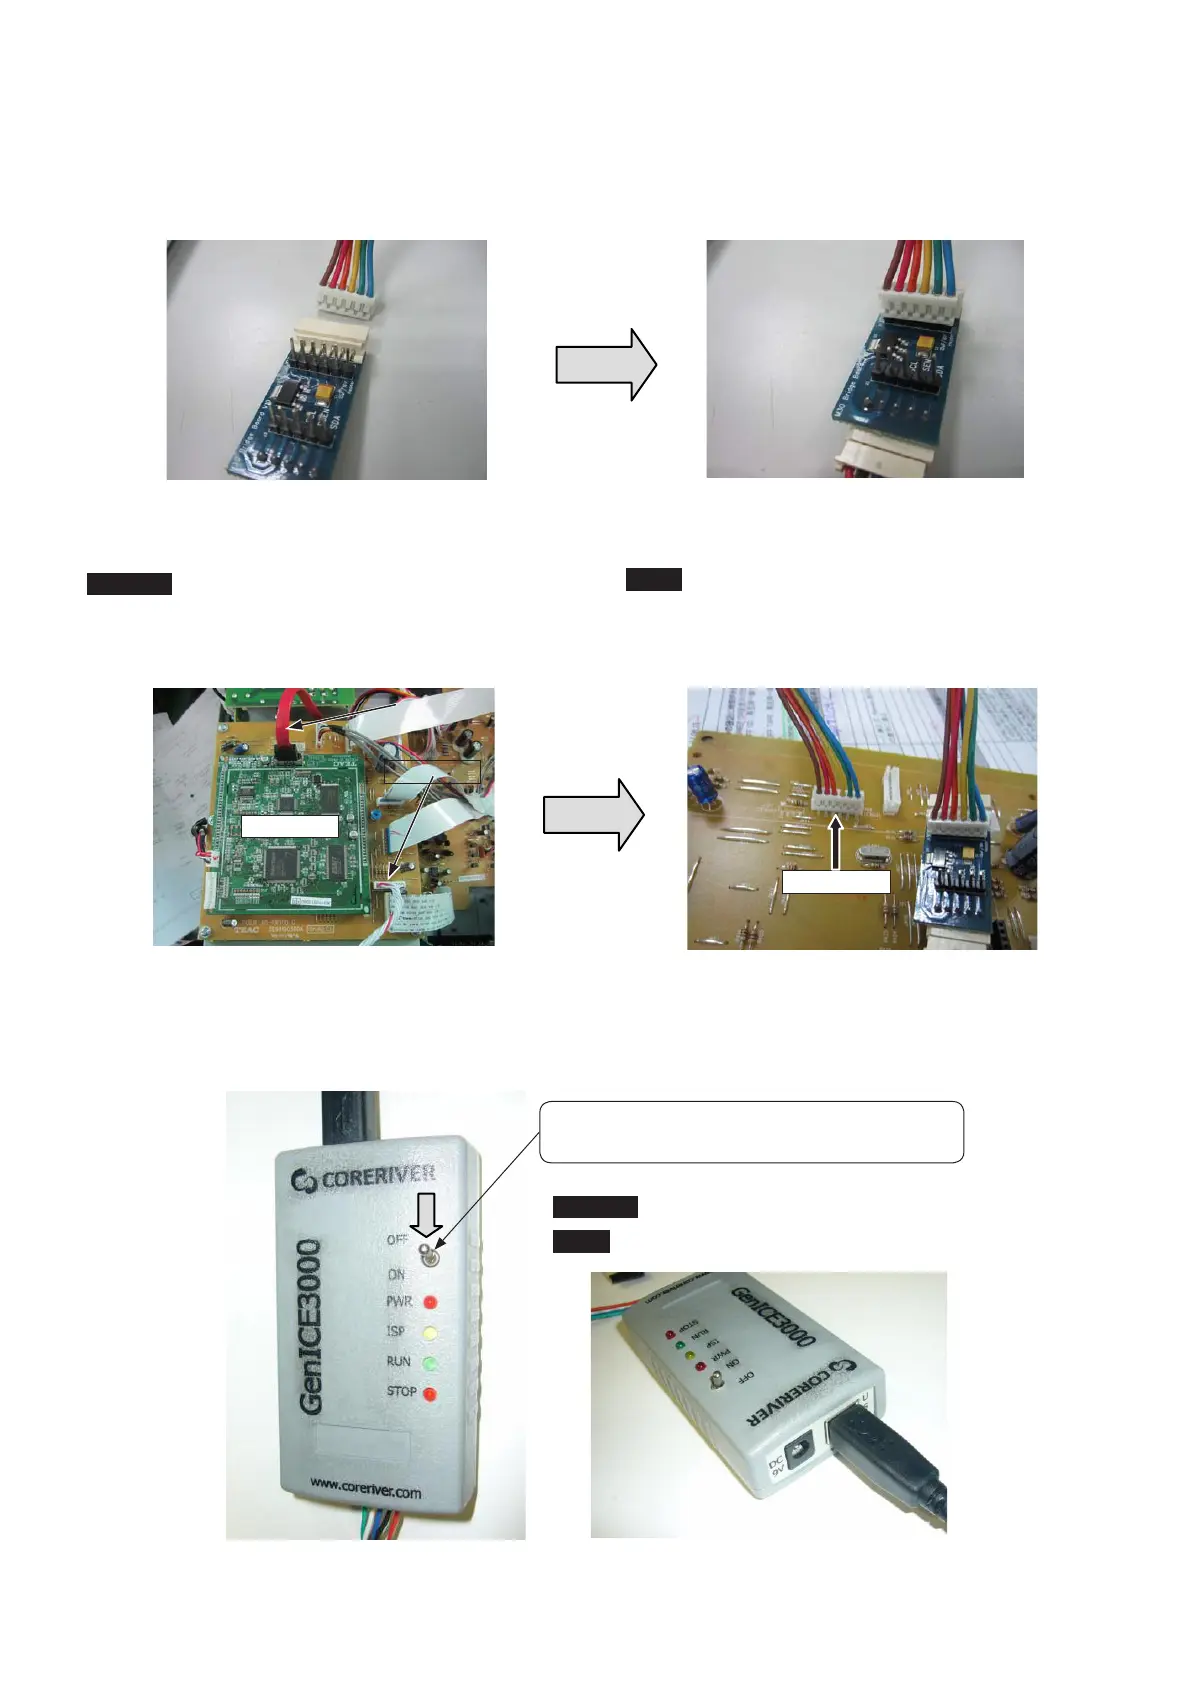
3) Prepare 6P Connector (EH–EH (pitch 2.5mm) type)
Connect 6P Connector as the below picture(Opposite side is
connect to "IF PCB")
4) Connect 6P Connector to IF PCB J108 (Main power is OFF)
CAUTION
If update do for product set, it need to remove connectors
that are SATA and J 117 on IF PCB.
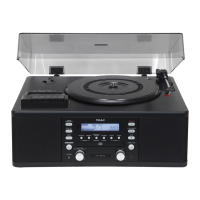
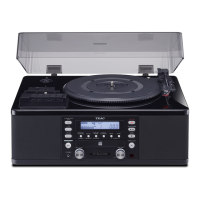
It is this and, nish to prepare for update of AD-RW900/900E.
4-2-2. Execution of update
1) The switch (below picture) of writer turns ON.
3)6Pコネクタ(EH-EH(2.5mmピッチ)タイプ)の準備
下図のように6Pコネクタを挿入します。
(反対側はIFPCB)
4)IFPCBJ108に6Pコネクタを挿入(電源はOFF)
注意
製 品 の 場 合 はIFPCB に 挿 入 し て あ るCPUPCB と
J117(LCD)への線材を抜いてください。
これでAD-RW900/900EのUPDATE準備は完了です。
4-2-2.書き換えの実行
1)ライターのスイッチをONにする。
CPU PCB
J108 (6P)
J117
SATA
Switch is lowered. (GenICE3000 is ON)
Switchを[OFF]から[ON]にしてGenICE3000をONにする。
CAUTION
: It is no need to connect to Exterior Power.
注意
:外部電源の接続は不要です。
- 7 -
TEAC AD-RW900/900E