ST-HD50
|
m@
Contents
Page
LOGatOn
Ot
COntOls
ccna
ieee
deh
aa
eee
crcl
nea
as
2
SOtting
CHS
TiC
isos
cus
cas
i
oeeeencesseact
eas
cen
esasnucduvaseeteascecmaceneetersieneieeeat
2
About
the
Self-Diagnostic
Mode
.............ccscscesccssteeseesersrcecsteesessnecesseses
3
Operation
Checks
and
Main
Component
Replacement
Procedures
..............sss0se0
4,5
Type
Illustration
of
ICs,
Transistors
and
Diodes
...........:::scccessscecceseneens
5
To
Supply
Power
Source
...........cceccsssssscsscececesessnsscsscneceesceussesoseeoeseceess
6
SCHEMANC-DIAGraM
sivenicecaeissan
codices
disniaceuweesan
7
~
14
NOTE:
Page
Printed
Circuit
Board
Diagram
...............ccccsccescesssssessessssrsessceaees
15~17
Wiring
Connection
Diagram
.............:cccccesesesceseessscecsreesevsssssessscsseceeees
18
Termitial:
FUNCUOM
OF
1C'S
coscseisnccccves
a
ieescise
casicads
scneascsessevpceave
sovctgeveredes
19
BIOGK
Di
SQreann
ig
eccecteccastesudepe
cane
sessed
eceetisetswne
wiaketend
Saoe
eee
20
~
22
Replacement
Parts
List
(Electrical)
.................cccccececsssesceeseseseeeeees
23,
24
Resistors
ANd
Capacitors
..........ccccecescescscescsceserssssccecesseseseeeesnsesees
25,
26
Replacement
Parts
List
(Cabinet,
Packing)
...........ccceeesereeseteceeeeeees
27
Cabdinet
Pans
EOCAMOMN
scsic.orscccecetccvstauszateaselatvchoaceva
eatanccacaaunseevoonaues
28
Refer
to
the
service
manual
for
Model
No.
SE-HD50
(ORDER
No.
AD9702022C3)
for
information
on
“Accessories”,
“Installation”,
“Connections”
and
“Packaging”.
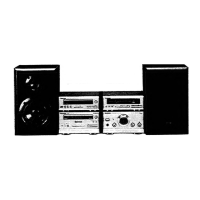
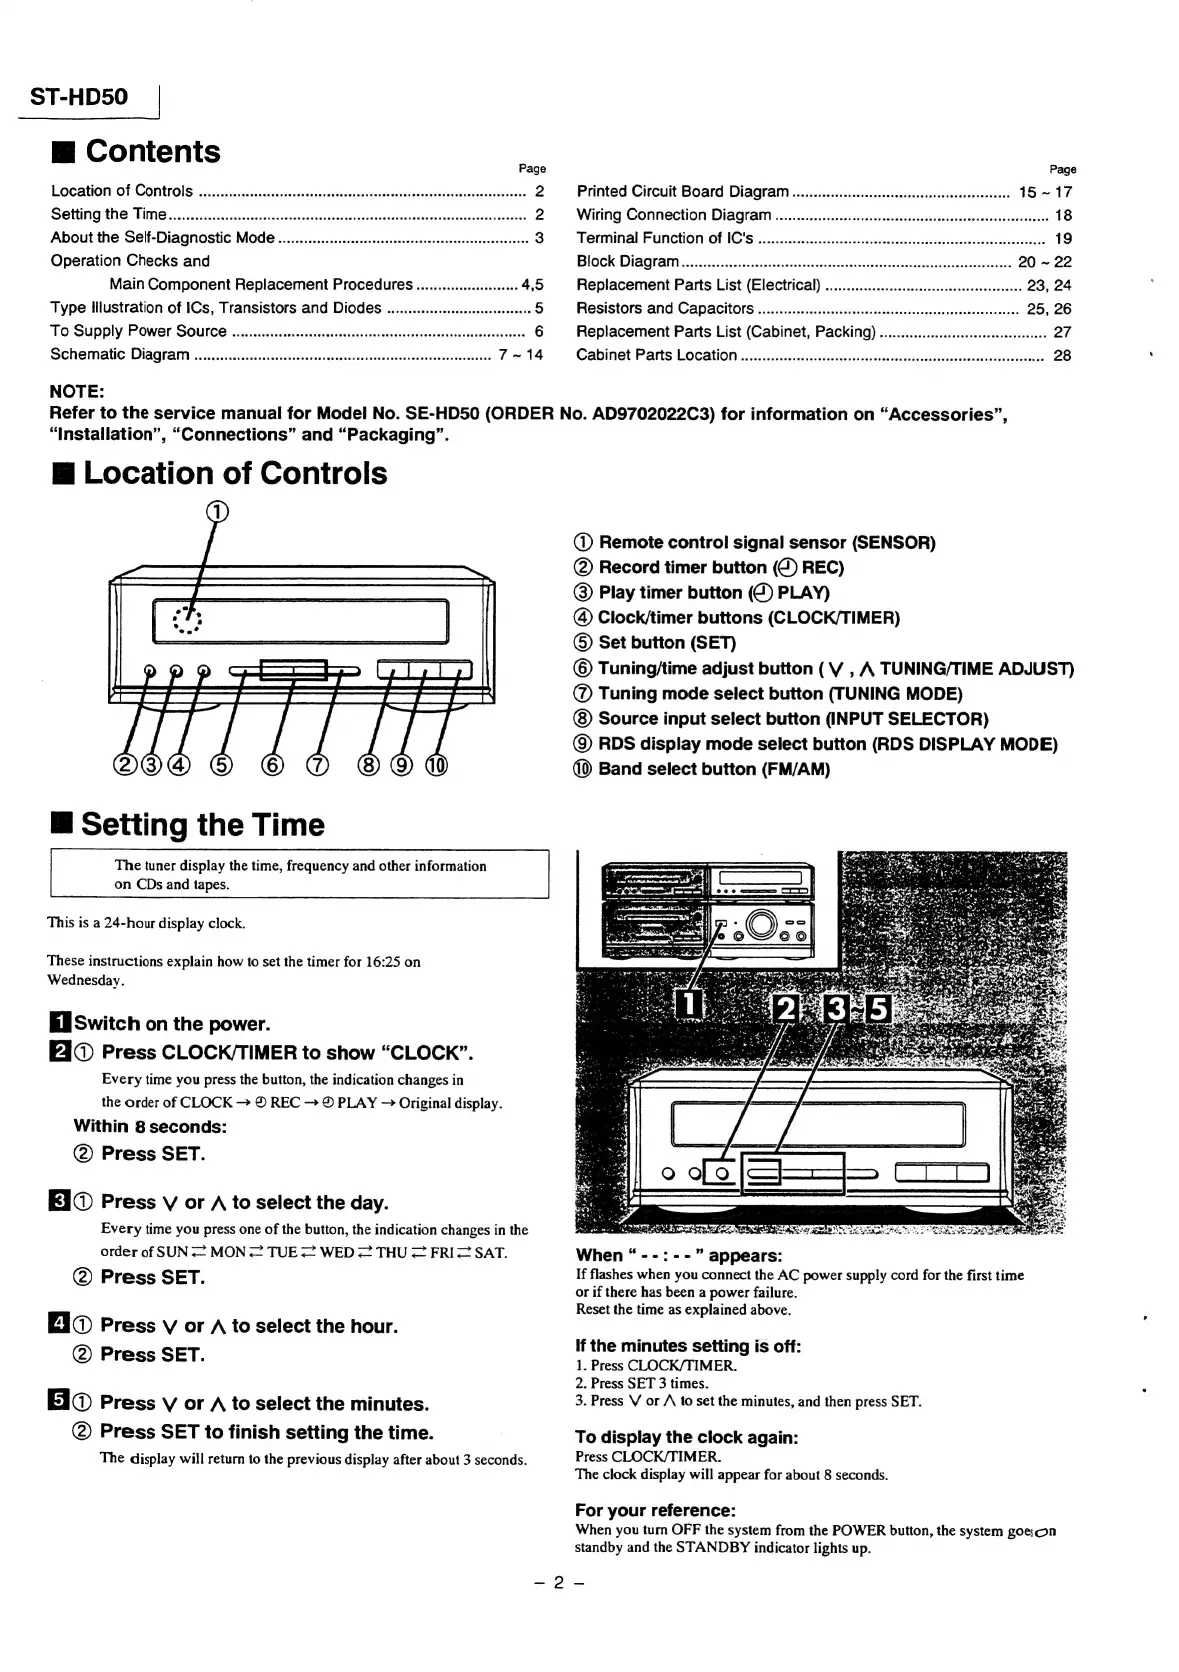
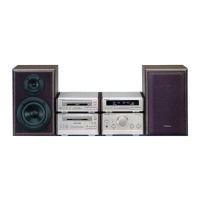
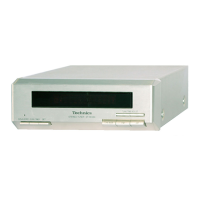
@
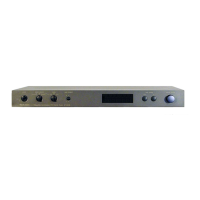
Location
of
Controls
@
Setting
the
Time
The
tuner
display
the
time,
frequency
and
other
information
on
CDs
and
tapes.
This
is
a
24-hour
display
clock.
These
instructions
explain
how
to
set
the
timer
for
16:25
on
Wednesday.
El
Switch
on
the
power.
FI@
Press
CLOCK/TIMER
to
show
“CLOCK”.
Every
time
you
press
the
button,
the
indication
changes
in
the
order
of
CLOCK
—
©
REC
—
©
PLAY
-—
Original
display.
Within
8
seconds:
@
Press
SET.
EI@
Press
v
or
A
to
select
the
day.
Every
time
you
press
one
of
the
button,
the
indication
changes
in
the
order
of
SUN
—
MON
—
TUE
@
WED
2
THU
=
FRI
=
SAT.
@
Press
SET.
Lia
Press
V
or
A
to
select
the
hour.
@)
Press
SET.
EA
Press
v
or
A
to
select
the
minutes.
@
Press
SET
to
finish
setting
the
time.
The
display
will
return
to
the
previous
display
after
about
3
seconds.
@)
Remote
control
signal
sensor
(SENSOR)
@)
Record
timer
button
(G)
REC)
@)
Play
timer
button
(©)
PLAY)
@)
Clock/timer
buttons
(CLOCK/TIMER)
6)
Set
button
(SET)
©
Tuning/time
adjust
button
(V
,
A
TUNING/TIME
ADJUST)
@)
Tuning
mode
select
button
(TUNING
MODE)
Source
input
select
button
(INPUT
SELECTOR)
@)
RDS
display
mode
select
button
(RDS
DISPLAY
MODE)
()
Band
select
button
(FM/AM)
i
Morne
aacacas
cal
as
|
1
=
2
om
———
’
Deke"
=
oe
a
teh
eatin
Mt
hPa
«
meet
akcwnan
ee
PN
BOR
SS
Go
ne
anh
eg
15
Myra
Se
gs
aot
ete
EE
ORES
nS
Pas
When
“--:--”
appears:
If
flashes
when
you
connect
the
AC
power
supply
cord
for
the
first
time
or
if
there
has
been
a
power
failure.
Reset
the
time
as
explained
above.
If
the
minutes
setting
is
off:
1.
Press
CLOCK/TIMER.
2.
Press
SET
3
times.
3.
Press
V
or
A
to
set
the
minutes,
and
then
press
SET.
To
display
the
clock
again:
Press
CLOCK/TIMER.
The
clock
display
will
appear
for
about
8
seconds.
For
your
reference:
When
you
turn
OFF
the
system
from
the
POWER
button,
the
system
goe;on
standby
and
the
STANDBY
indicator
lights
up.
aes
ee