Doc No: OMM50001243
Rev: C Page 31 of 68
This document and all the information contained herei
n are the confidential and exclusive property of TechnipFMC,
and may not be reproduced, disclosed, or made public in
any manner prior to express written authorization by TechnipFMC.
3. Disconnect the suction and discharge piping.
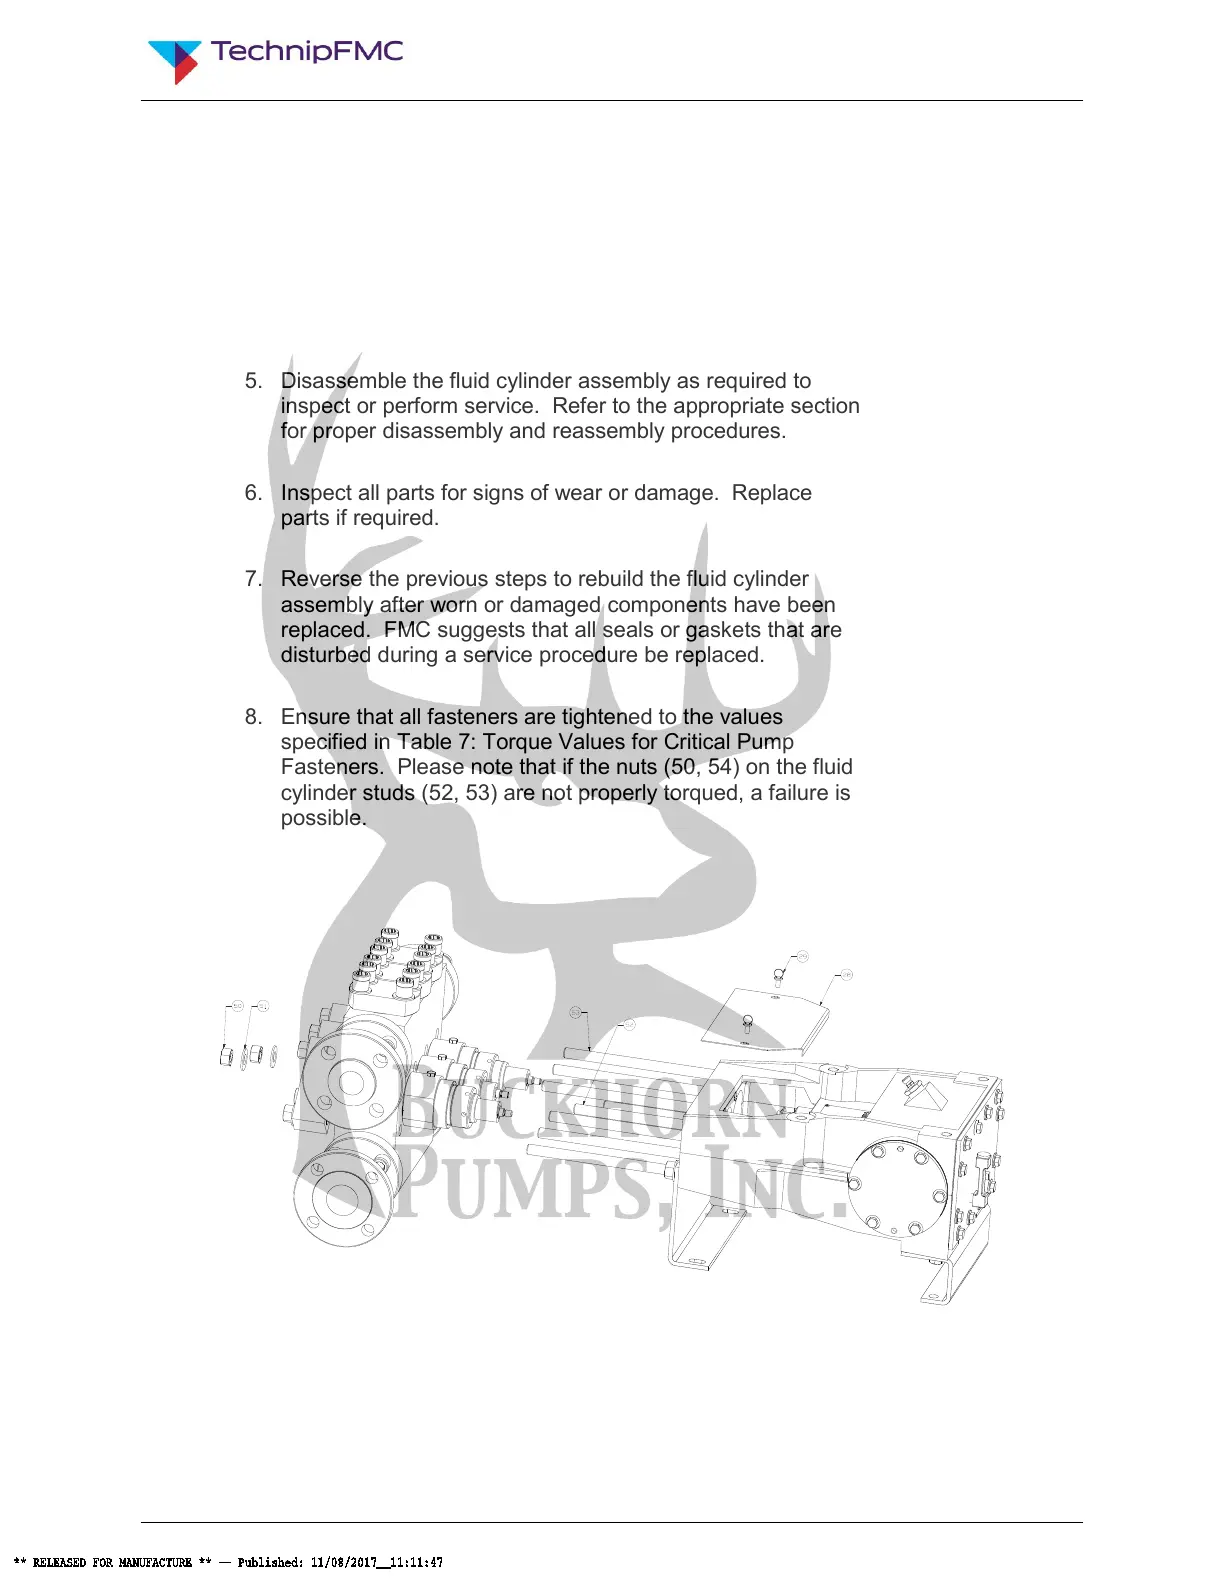
4. Remove the 2 nuts (54) holding the fluid cylinder assembly
on to the power frame (1). Support the weight of the fluid
cylinder assembly and slide the assembly away from the
power frame. CAUTION: Use care as the fluid cylinder
slides off the studs (52, 53) to avoid injury.
5. Disassemble the fluid cylinder assembly as required to
inspect or perform service. Refer to the appropriate section
for proper disassembly and reassembly procedures.
6. Inspect all parts for signs of wear or damage. Replace
parts if required.
7. Reverse the previous steps to rebuild the fluid cylinder
assembly after worn or damaged components have been
replaced. FMC suggests that all seals or gaskets that are
disturbed during a service procedure be replaced.
8. Ensure that all fasteners are tightened to the values
specified in Table 7: Torque Values for Critical Pump
Fasteners. Please note that if the nuts (50, 54) on the fluid
cylinder studs (52, 53) are not properly torqued, a failure is
possible.
Figure 6: Fluid Cylinder Removal