GETTING START
Powering ON/OFF
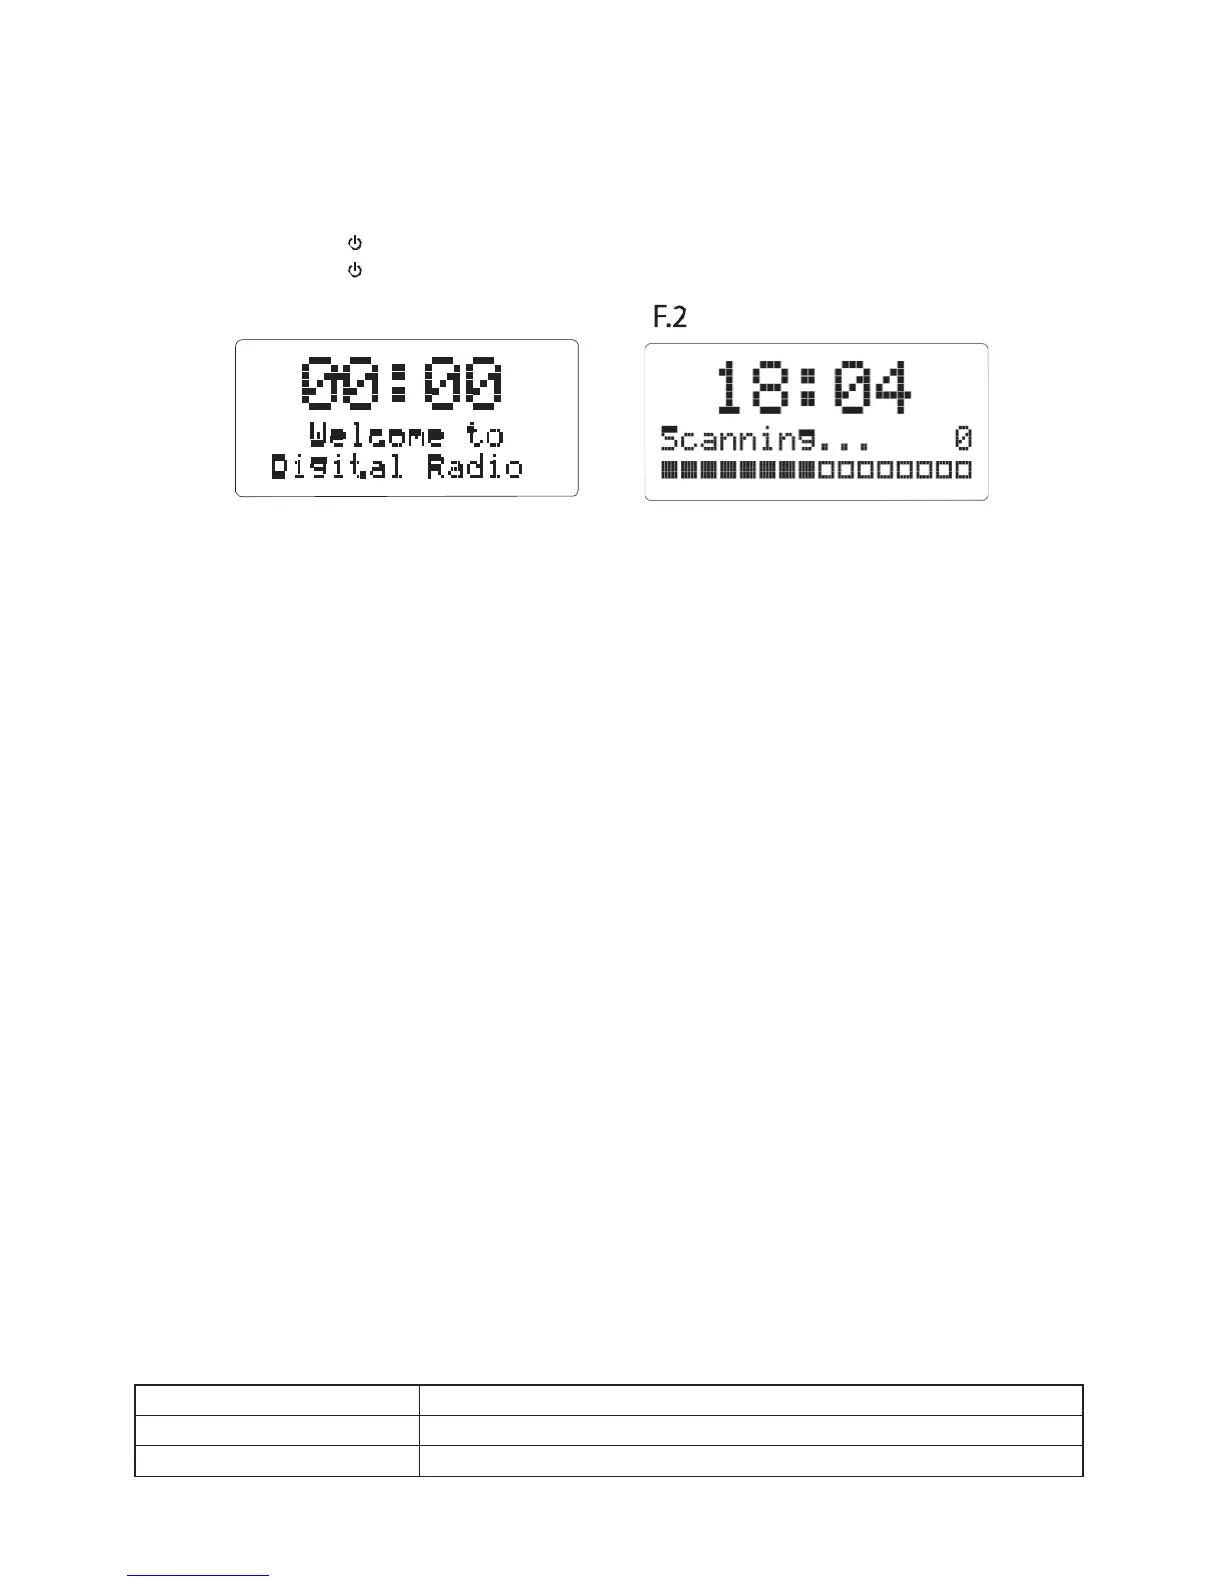
When you first connect the unit to the mains adapter cable, the unit will be in standby mode after
showing “Welcome to Digital Radio” (F.1)(F.2)
1. Press the Standby button to switch the unit on.
2. Press the Standby button to switch the unit back to standby mode.
Selecting Modes
Press the MODE button repeatedly to switch between FM, Auxiliary Input and DAB modes.
Navigating the Menu
1. Press and hold the MENU/INFO to access the menu.
2. Turn the VOLUME/SELECT Knob to select your choice.
3. Press the same knob to confirm your selection.
System Settings
Press and hold the MENU/INFO button to display the menu. Turn the VOLUME/SELECT Knob to
select System and then press the same knob to confirm.
Time
The Time can be automatically set once it has been received DAB+ or FM radio station with time
information. You may also adjust the Time manually.
During System mode, turn the VOLUME/SELECT Knob to select Time and press the same knob
to confirm. Turn the VOLUME/SELECT Knob to select Set Time/Date and press the sam
e knob to
confirm.
1. The hour digits will flash on the display.
2. Turn the VOLUME/SELECT Knob to adjust the hour and then press the same knob to confirm.
3. Repeat above Step (2) to set the Minute/Date/ Month/Year.
4. The time and date settings are now complete.
For the other settings under Time, turn the VOLUME/SELECT Knob to select from the following
options and then press the same knob to confirm.
Auto update
Update from Any / DAB / FM.
Set 12/24 hour
Set 12 / 24 hour format.
Set date format
DD-MM-YYYY or MM-DD-YYYY