- 14 -
Installation
Phase 3
Phase 4
Phase 3
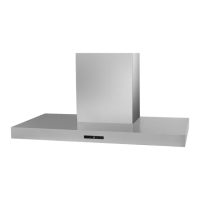
- Drill the holes A respecting the distances indicated. Fix the appli-
ance to the wall and align it in horizontal position to the wall units.
Phase 4
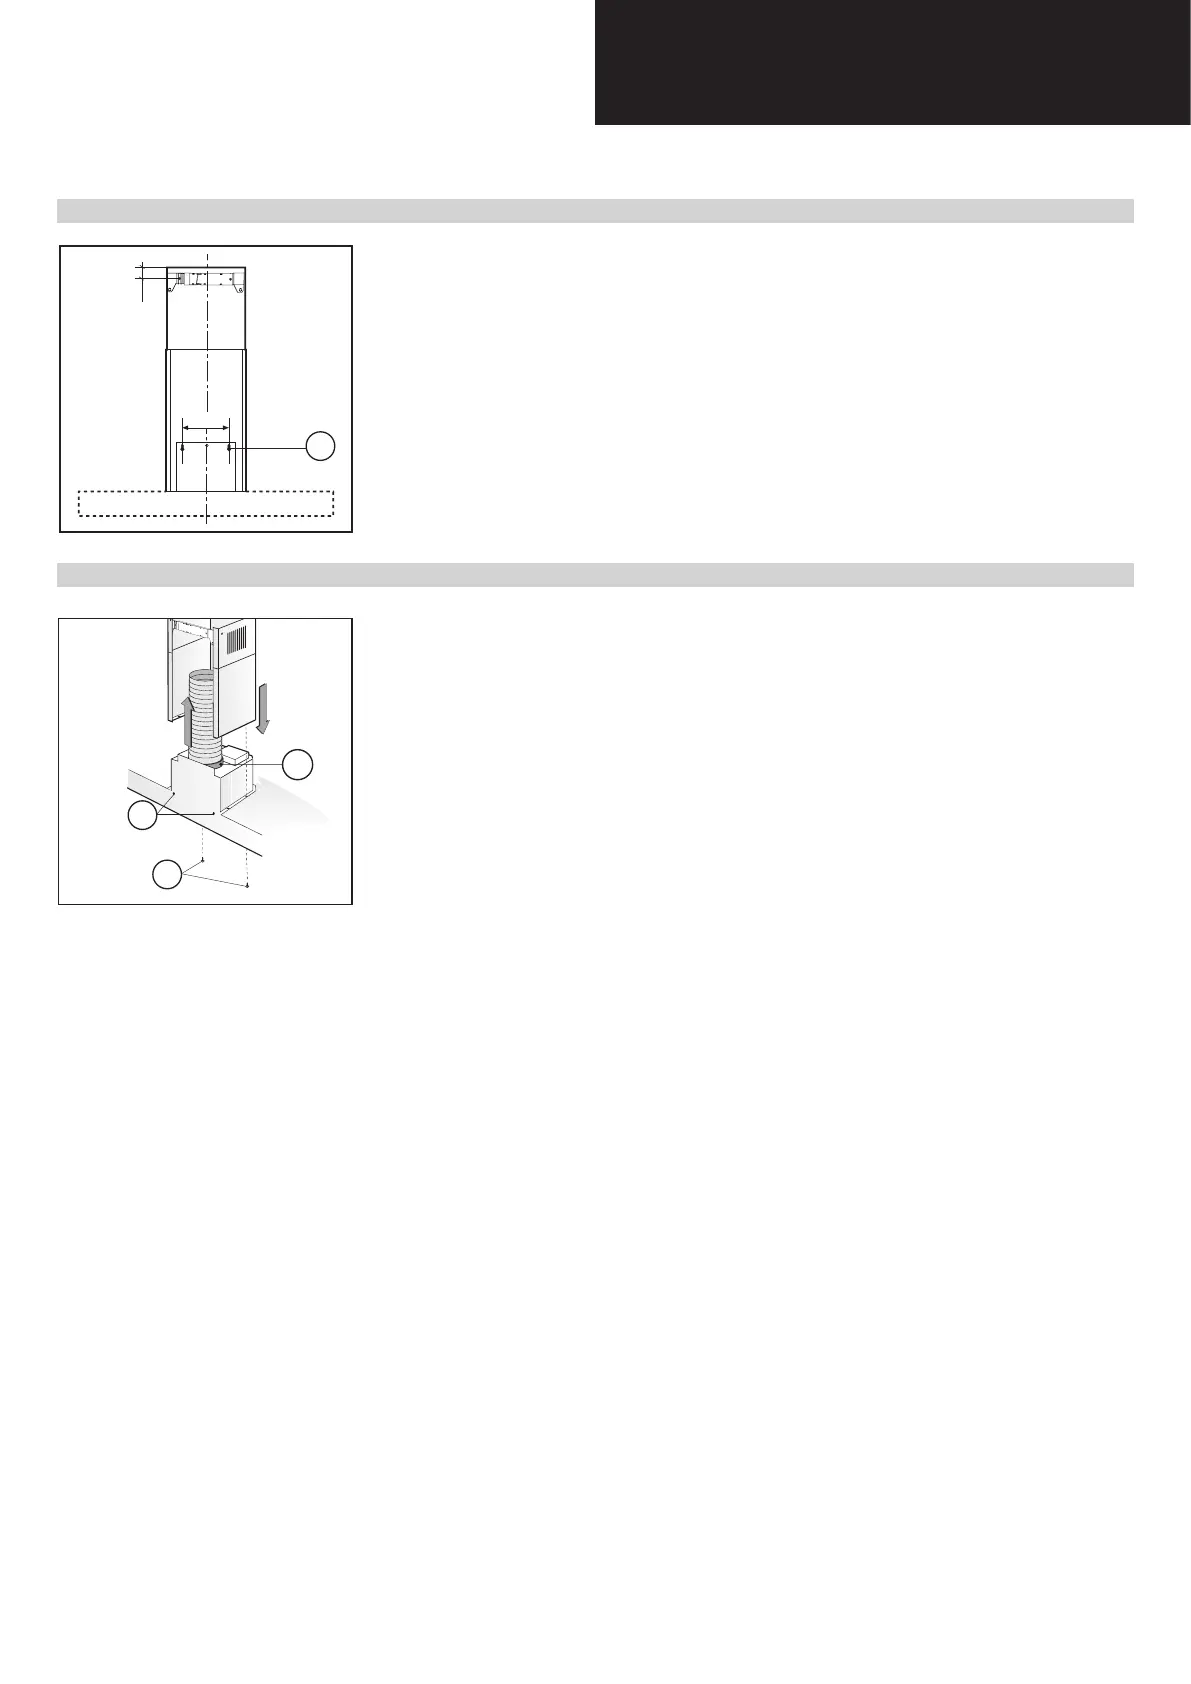
- When the appliance has been adjusted, definitely fix the hood
using the screws A. For the various installations use screws and
screw anchors suited to the type of wall (e.g. reinforced concrete,
plasterboard, etc.). If the screws and screw anchors are provided
with the product, check that they are suitable for the type of wall
on which the hood is to be fixed.
The hood is now fixed to the wall.