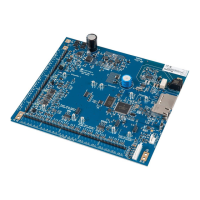
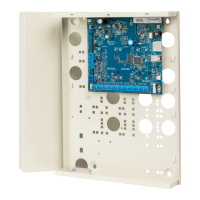
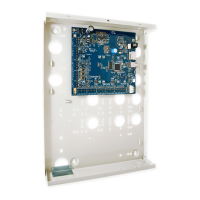
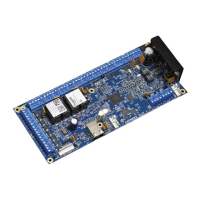
20 Challenger10 Installation and Quick Programming Manual
Initial programming
This section describes basic initial programming via a RAS. Advanced
programming is typically performed via management software such as Titan,
Security Commander, or Forcefield, so basic programming also includes the
items required to connect with a management software computer. Refer to the
documentation provided with the management software for additional details.
Challenger panel programming is described in detail in Challenger10
Programming Manual. This section describes the following programming steps
that are part of the installation process:
• “Disarming the system” below
• “Accessing the Challenger menu” below
• “Clearing the memory” on page 24
• “Working with multi-area systems” on page 26
• “Changing the default installer PIN” on page 26
• “Enabling communications” on page 27
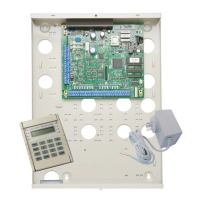
An LCD RAS configured as RAS 1 must be connected to LAN 1.
Disarming the system
A new (or defaulted) Challenger10 panel is armed, and the RAS LED for area 1
illuminates. Previous Challenger versions armed all areas.
The system must be completely disarmed before you can access the Install
menu on a system keypad (LCD RAS).
To disarm the system:
1. The default message displays on the top line of the RAS. This line may
display “There Are No Alarms In This Area”, the time and date, or a custom
message.
There Are No Alarms In This Area
Code:
2. Press 4346 (the default Installer code), press [OFF] [0] (to select all areas),
and then press [ENTER].
Tip: When using the system keypad, numbers are entered in sequence. For
example “press 4346” means press the 4 button, the 3 button, the 4 button, and
then the 6 button.
Accessing the Challenger menu
The Challenger menu system, as displayed on an LCD RAS, has a first-level
User menu and a second-level Install menu (the Install menu is option 19 of the
User menu). Access to the Install menu is typically limited to installers or
administrators.