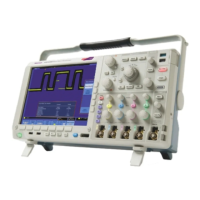
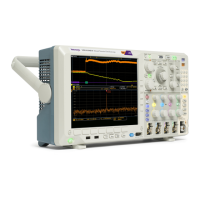
Performance Verification
3. Unzip the files a
nd copy the "firmware.img" file into the root folder of a
USB fl ash drive.
4. Power off your
oscilloscope.
5. Insert the USB flash drive into a USB Host port on the front or back of the
oscillosco
pe.
6. Power on the oscilloscope. The oscilloscope automatically recognizes the
replacemen
t firmware and installs it.
If the instrument does not install the firmware, rerun the procedure. If the
problem co
ntinues, contact qualified service personnel.
NOTE. Do not power off the oscilloscope or remove the USB flash drive until the
oscilloscope finishes installing the firmware.
The oscilloscope displays a message when the installation is complete.
7. Power o
ff the oscilloscope and remove the USB flash drive.
8. Power on the oscilloscope.
9. Push the Utility front-panel button.
10. Push the Utility Page lower-bezel button.
11. Turn multipurpose knob a and select Config.
12. Push the About lower-bezel button. The oscilloscope displays the firmware
version number.
13. Confirm that the version number matches that of the new firmware.
18 MSO4000 and DPO4000 Series Specifications and Performance Verification
 Loading...