Performance Verification
d. Set the Source t
o External.
e. Check that the Status Bar shows Ref: Ext.
f. Set the Source to Internal (10 MHz).
g. Set the signal generator output level to +6 dBm.
h. Set the Source to External.
i. Check that the Status Bar shows Ref: Ext.
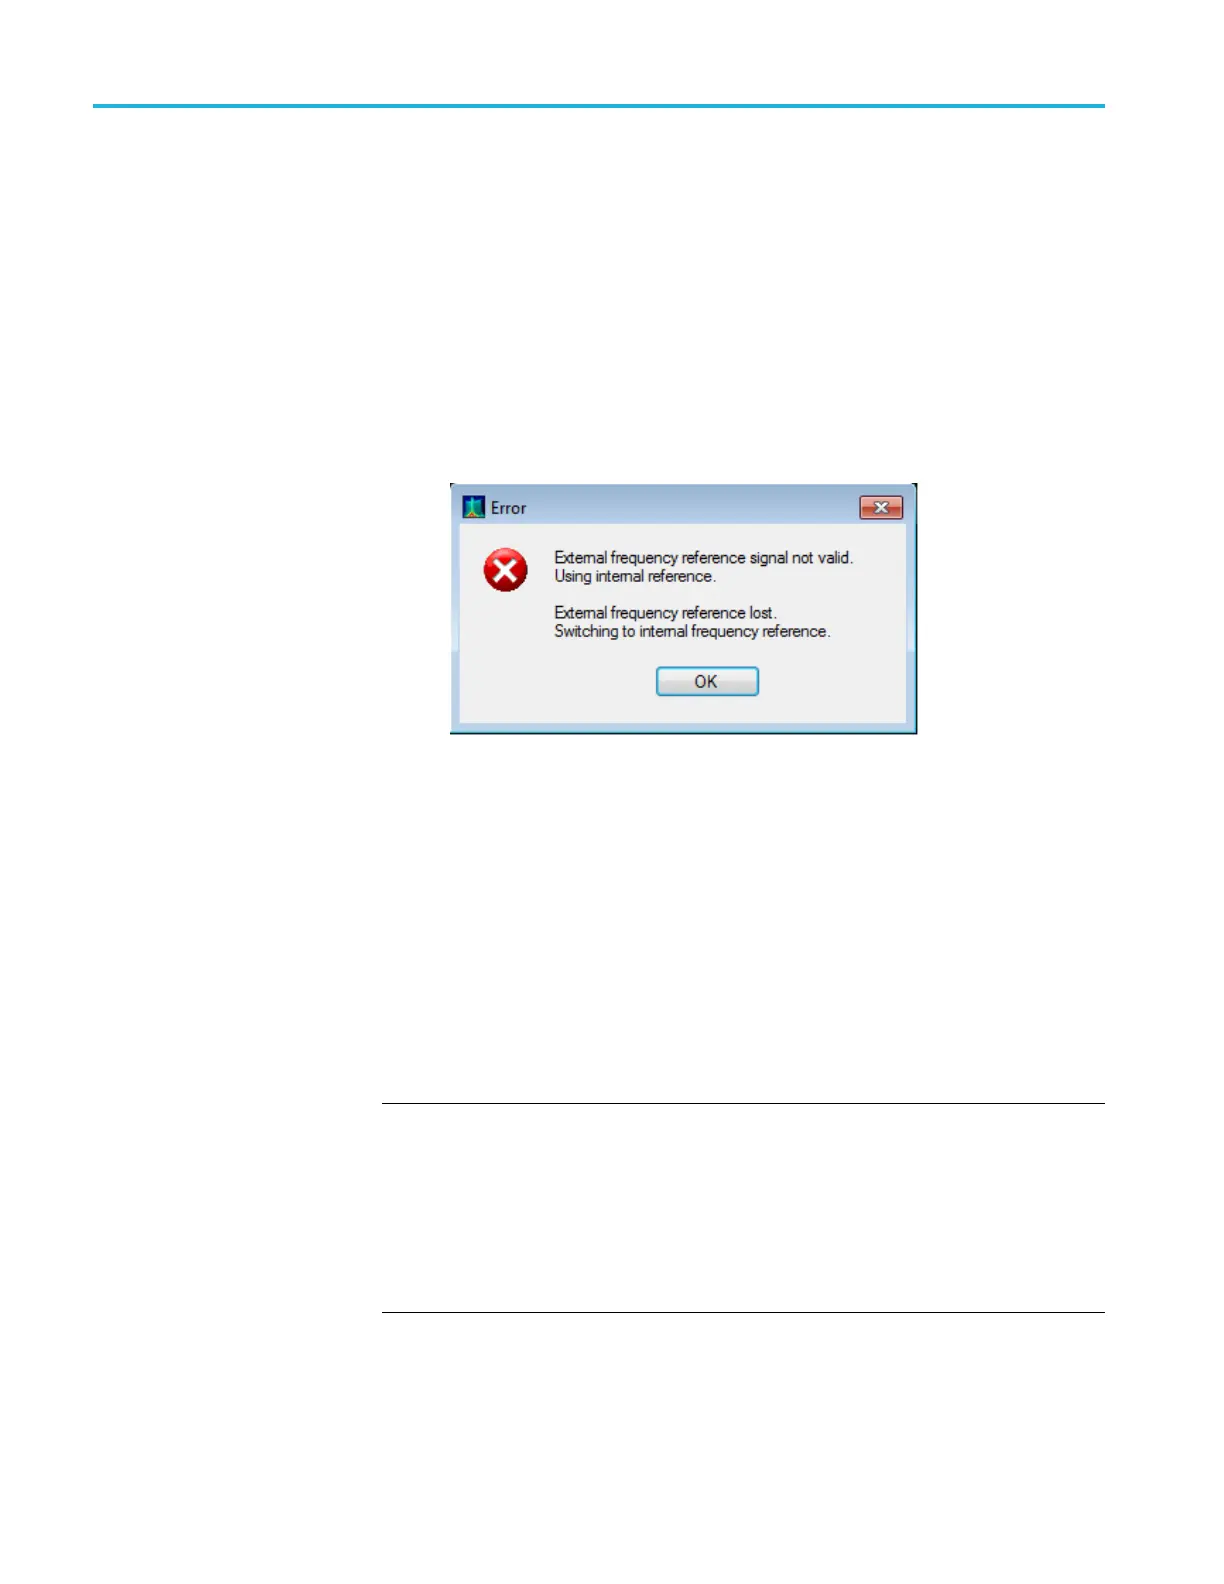
j. Disconnec
t the signal generator from the Ref In connector. An error
message should pop up to indicate loss of lock (see the following figure).
k. Click OK on the error message, and check that the Status Bar shows
Ref: Int.
l. Enter Pass or Fail in the test record.
m. Repeat the test at 100 MHz, beginning with step 2.
Phase Noise (Instruments with Option 11)
If Option 11 is installed in your instrument, use the following procedure to check
the phase noise. If Option 11 is not installed in your instrument, use the procedure
that follows. (See page 80, Phase Noise (Instruments without Option 11).)
NOTE. The intent of the Phase Noise test is to measure the phase noise level of the
in
strument. The phase noise specification does not cover re sidual spurs. If the
specific measurement frequency results in measuring a residual spur that is visible
above the noise level, the phase noise specification applies not to the spur but to
the noise level on either side of the spur. Please refer to the Spurious Response
specifications. (See Table 20.) Also, refer to the Spurious Response section of this
procedure to determine whether or not a residual spur is within the specification.
(See page 124, Spurious Response.)
78 RSA5100B Series Technical Reference
 Loading...