Removal and Replacement
TDS 340A, TDS 360 & TDS 380 Technical Reference
6–21
4. Unplug the power supply cable at the power supply.
5. Unplug the monitor cable at the monitor assembly and power supply;
carefully route the cable out through its access hole.
6. Unplug the front panel cable.
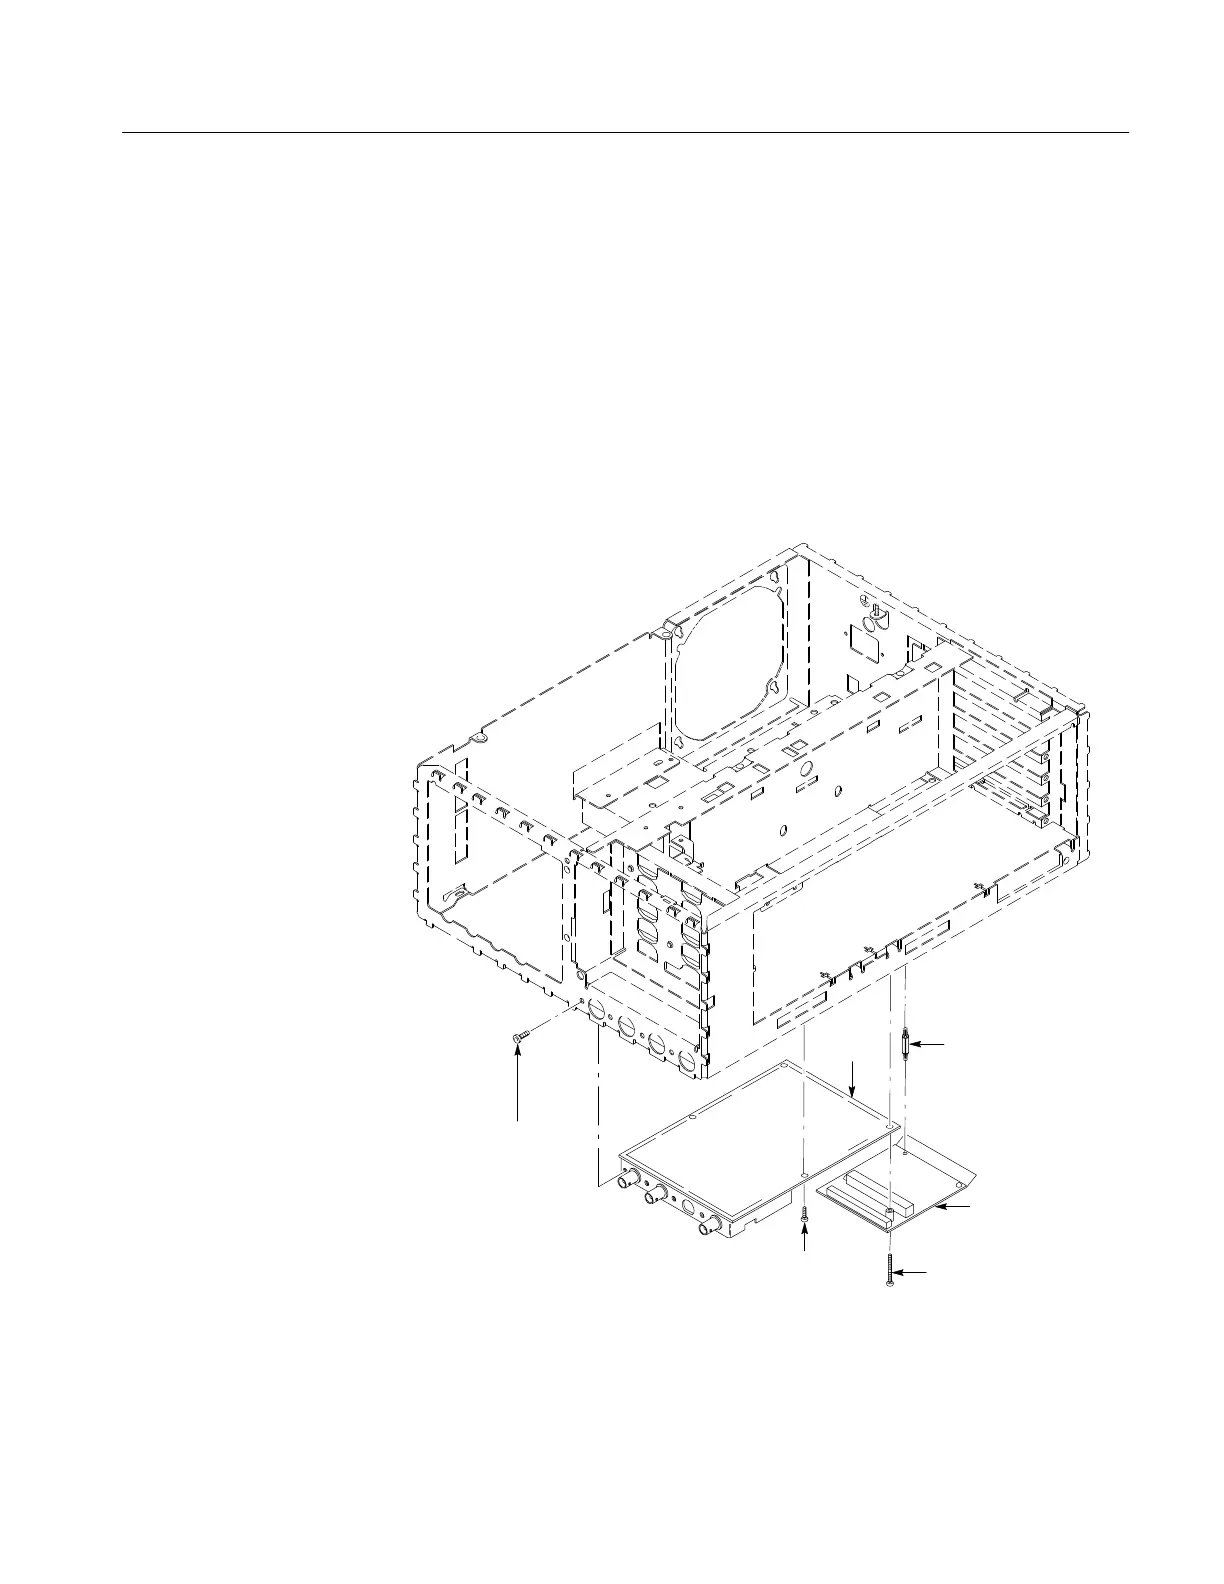
7. Using Figure 6–12 as a guide, remove the T-15 TorxR mounting screws
securing the main board assembly to the chassis.
8. Lift the main board assembly away from the oscilloscope to complete its
removal.
Main
board
Mounting screws (4)
Mounting screws (4)
Long mounting screw
Spacer post
Floppy interface
board
Figure 6–12: Removing the main board
 Loading...