Removal and Installation Procedures
TDS 420A, TDS 430A & TDS 460A Service Manual
6-71
1. Remove the main chassis: Since the removal of the main chassis requires the
removal of virtually all modules, perform the procedure Disassembly for
Cleaning that follows.
2. Reinstallation: See reinstallation instructions in Disassembly for Cleaning.
Disassembly for Cleaning
This procedure is for disassembly of the digitizing oscilloscope into its individu-
al modules so they can be cleaned. Read the cleaning instructions in Inspection
and Cleaning on page 6--4 before disassembling this oscilloscope.
1. Assemble equipment and locate modules to be removed:
a. Have handy a screwdriver with a size T-15 TorxR tip (Items 1 and 2), a
T-20 TorxR tip (Item 3), a flat-bladed screwdriver (Item 5), a pair of
angle-tip tweezers (Item 10), duck bill pliers (Item 8), flat bladed
spudger (Item 11), and a soldering iron (Item 12).
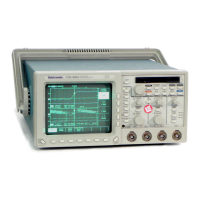
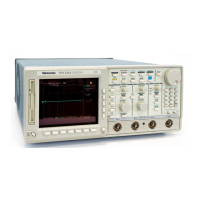
b. Familiarize yourself with the modules illustrated in Figures 6--2, 6--3,
and 6--4 on pages 6--16, 6--19, and 6--22 respectively .
2. Remove all modules: Do, in the order listed the following procedures. They
are found under Procedures for Module Removal and Installation which
starts on page 6--23.
a. Line Fuse and Line Cord (page 6 --26)
b. Front Cover, Rear Cover, Cabinet, Rear EMI Gasket, and Cabinet
Handle and Feet (page 6--27)
c. Disk Drive (page 6--34)
d. Trim Ring, Menu Elastomer, Menu Buttons, and Front EMI Gaskets
(page 6--31)
e. A06 Front-Panel Assembly, ESD Shield, and Menu Flex and Probe Code
Flex Circuits (page 6--35)
f. Fan and Fan Mount (page 6--63)
g. A25 Low Voltage Power Supply and its Mount (page 6--57)
h. A26 Monitor Assembly (page 6--41)
i. A07 Auxiliary Power Supply
B010100 -- B079999 (page 6--67)
j. Line Filter (page 6--65)
Main Chassis

 Loading...


