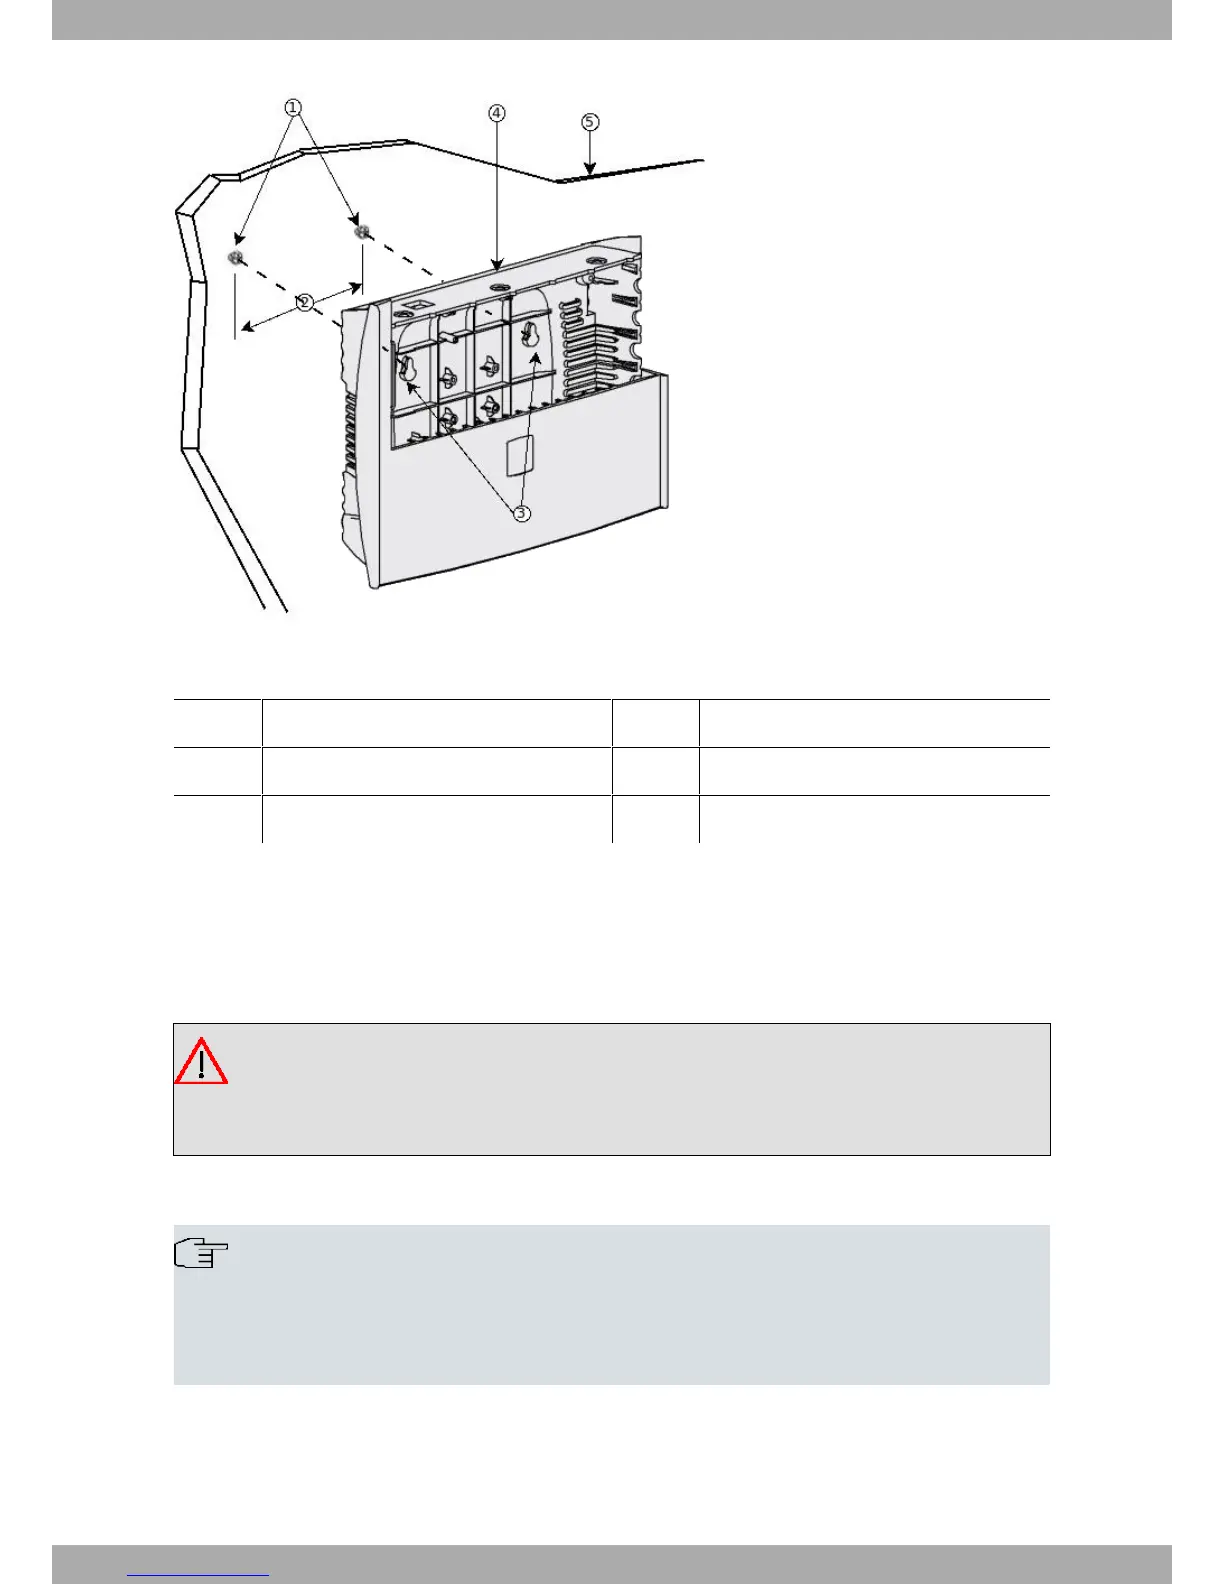
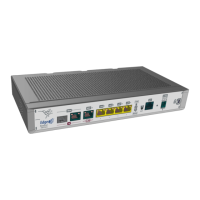
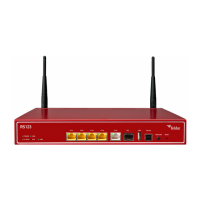
Fig. 8: Wall-Mounting Features on the Teldat V Router
Previous Figure shows the wall-mounting features on the Teldat V.
1 Wall screws 2 10.2 cm (4.02 inches)
3 Chassis mounting holes (on bottom) 4 Router chassis
5 Mounting surface
To install the router on a wall, or any other surface, follow these steps:
Procedure
Step 1: Place the two screws (3.5x30) on the wall, or in any other vertical surface, horizontally and apart.
The screws should protrude 0.6 cm (0.25 inches) from the surface of the wall.
Warning
If you install the screws in drywall, use hollow-wall anchors (8mm – 5/16 inch) to secure the screws. If
the screws are not properly anchored, the strain of the cables connected to the router's back panel
could pull the router from the wall.
Step 2: Hang the router on the screws as shown (see Fig. 8 on page 9) for safety reasons.
Note
• The accessories to mount the device on a wall are not provided in the package and have to be ac-
quired separately.
• The accessories must be appropriate for the kind of wall you have and chosen. Make sure they can
support the weight of the device.
Teldat S.A.
3 Components and Power Supply
Teldat V Router 9