ECLIPSE 8/16/32/99 Series – User Operation Manual
30
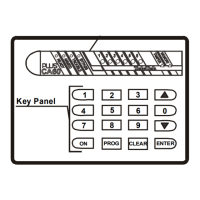
Depending on the keyboard used, the visualization on screen is as follows:
LCD 32 and LCD 32 Sensitive
In text menus the user will see the described above options as a list. To enable an
option, press button “1” – a symbol “” is assigned in front of the option. To disable an
option, press button “0”. To scroll over the available options, use the arrow buttons.
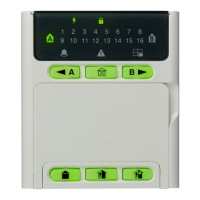
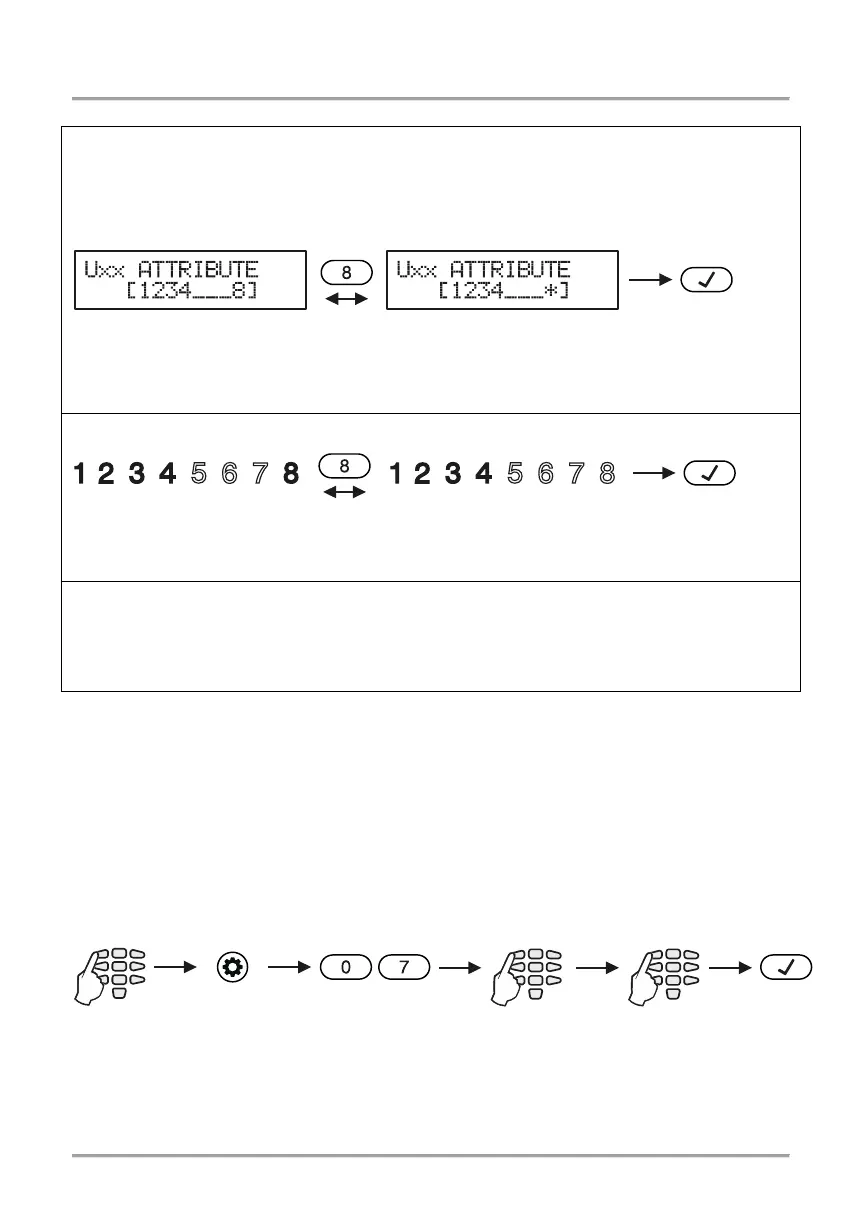
In address menus the screen displays:
By pressing the respective digit button, the attribute is alternatively enabled or disabled.
The attribute is enabled when the digit is visualized on the screen. Disabled attributes are
*
By pressing the respective digit button, the attribute is alternatively enabled or disabled.
The attribute is enabled when the respective digit on the screen is lit.
Enter at the address 06 and choose a user number– the LED for zone 1 is blinking on the
display. The digit buttons corresponding to the assigned attributes are lighting on in red.
To disable an attribute, press the respective number – the button is off, meaning the
The final choice is confirmed by pushing the ENTER button.
Note: If all attributes for a certain user code are disabled it does not get deleted from the
system and it can be used for FULL ARM, viewing the memory log and system troubles.
5.8 Associating Area numbers to User
Attention: This menu is available for ECLIPSE 16/32/99 control panels.
Associating areas to user codes is done in menu “1. USERS – xx. User – 03. Areas” or
Address 07, after entering manager code:at address 07, after entering manager code:
To every user code can be assigned one or more areas.
By default, for User code 01 (Manager) are assigned for operation all area numbers.
1. USERS - xx. User -
All attributes are enabled
All attributes are enabled