99
6. Click OK on the pop-up window, and wait until the CPE1 completes reboot.
Step 2 Set the WLAN VLAN ID of Base Station 2 to 20 according to the steps in Step 1.
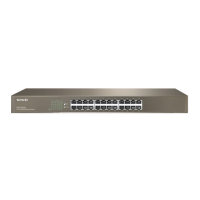
Step 3 Set up the switch as shown in the following table.
The following table shows the configuration on the switch:
VLAN ID (Allow the packets
belonging to the following VLANs
to access)
Uplink port (Connected
to a router)
Port 1 (Connected to
CPE1)
Port 2 (Connected to
CPE2)
Keep the default settings for the parameters which are not mentioned here. Refer to the user
guide of the switch for details.
The following form shows the configuration on the router:
Enables two DHCP servers on the router, and assign them to VLAN10 and VLAN20 respectively.
Port of the router is
connected to
VLAN ID (Allow the packets
belonging to the following VLANs
to access)
Refer to the user guide of the router for details.
----End
Verification
If the router enables two DHCP servers which belong to VLAN10 and VLAN20 respectively, the IP
camera connected to the CPE1 obtains an IP address and related parameters from the DHCP
server belonging to VLAN10, and the IP camera connected to CPE2 obtains these parameters from
the DHCP sever belonging to VLAN20.
 Loading...