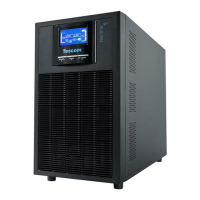
USER MANUAL
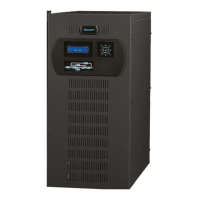
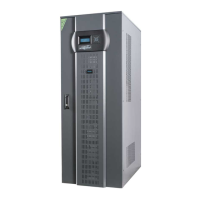
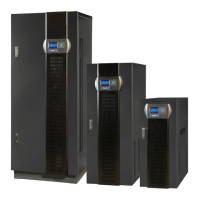
NEOLINE PLUS � 1/1 � 1-3 kVA � ONLINE UPS
2-2. Setup the UPS
Step 1: UPS input connection
Plug the UPS into a two-pole, three-wire, grounded receptacle only. Avoid using extension cords. The
power cord is supplied in the UPS package.
Step 2: UPS output connection
1. For socket-type outputs, simply connect devices to the outlets.
2. For terminal-type input or outputs, please follow below steps for the wiring conguration:
a) Remote the small cover of the terminal block.
b) Suggest using AWG14 or 2.1mm
2
power cords.
c) Upon completion oF tHe wiring conguration, please check whether the wires are
securely afxed.
d) Put the small cover back to the rear panel.
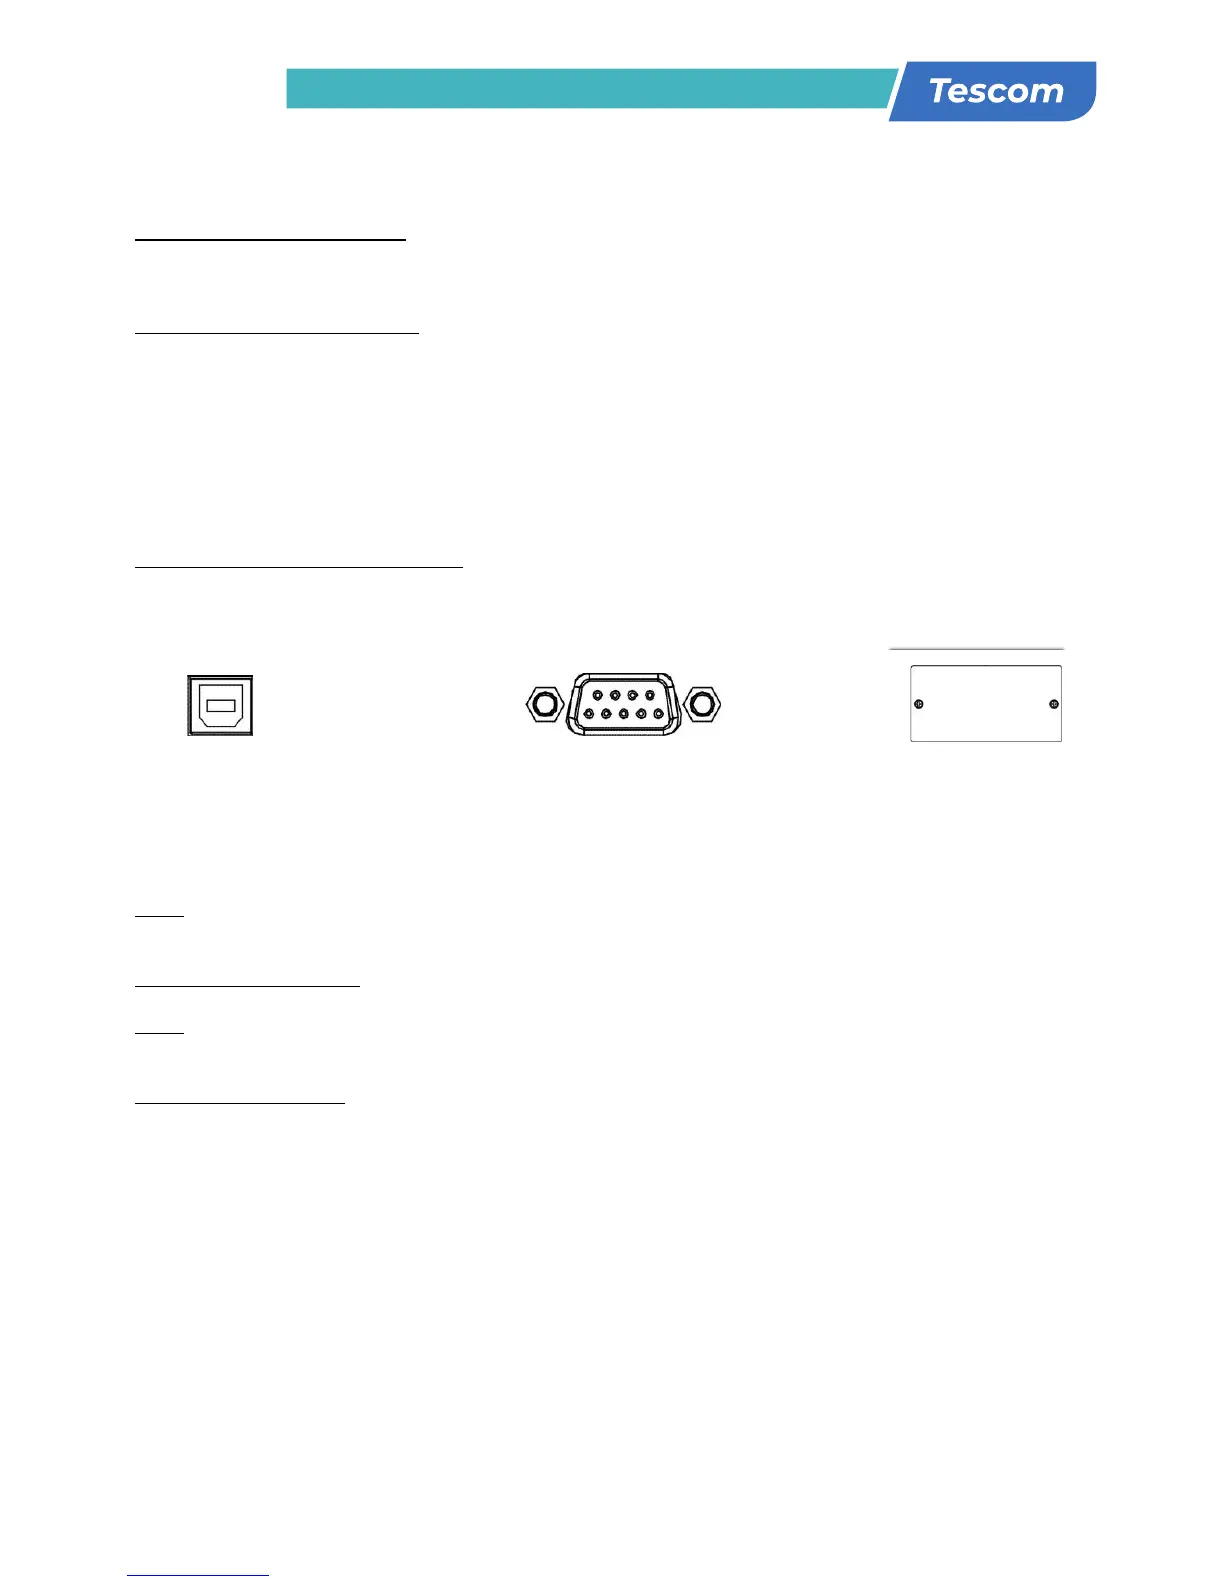
Step 3: Communication connection:
To allow for unattended UPS shutdown/start-up and status monitoring, connect the communication cable
one end to the USB/RS-232 port and the other to the communication port on your PC. With the monitoring
software installed, you can schedule UPS shutdown/start-up and monitor UPS status through PC.
The UPS is equipped with intelligent slot perfect for either SNMP or AS400 card. When installing either
SNMP or AS400 card in the UPS, it will provide advanced communication and monitoring options.
Note: USB port and RS-232 port can’t work at the same time.
Step 4: Turn on the UPS
Press the ON/Mute button on the front panel for two seconds to power on the UPS.
Note: The battery charges fully during the rst ve hours of normal operation. Do not expect full battery
run capability during this initial charge period..
Step 5: Install software
For optimal computer system protection, install UPS monitoring software to fully congure UPS
shutdown. You may insert provided CD into CD-ROM to install the monitoring software. If not, please
follow steps below to download and install monitoring software from the internet:
1. Go to the website http://www.power-software-download.com
2. Click ViewPower software icon and then choose your required OS to download the software.
3. Follow the on-screen instructions to install the software.
4. When your computer restarts, the monitoring software will appear as an orange plug icon located
5. in the system tray, near the clock.
USB port RS-232 port Intelligent slot
8
Step 3: UPS output connection
For socket-type outputs, simply connect devices to the outlets.
For terminal-type input or outputs, please follow below steps for the wiring configuration:
a) Remove the small cover of the terminal block
b) Suggest using AWG14 or 2.1mm
2
power cords for 3KVA (208/220/230/240VAC models).
Suggest using AWG12-10 or 3.3mm
2
-5.3mm
2
power cords for 3KVA
(110/115/120/127VAC models). Please also install a circuit breaker (40A) between the
mains and AC input of UPS in 3KVA (110/115/120127VAC models) for safety operation.
c) Upon completion of the wiring configuration, please check whether the wires are
securely affixed.
d) Put the small cover back to the rear panel.
Step 4: Communication connection
Communication port:
USB port RS-232 port Intelligent slot
T
o allow for unattended UPS shutdown/start-up and status monitoring, connect the
communication cable one end to the USB/RS-232 port and the other to the communication port
of your PC. With the monitoring software installed, you can schedule UPS shutdown/start-up and
monitor UPS status through PC.
The UPS is equipped with intelligent slot perfect for either SNMP or AS400 card. When installing
either SNMP or AS400 card in the UPS, it will provide advanced communication and monitoring
options.
PS. USB port and RS-232 port can’t work at the same time.
Step 5: Turn on the UPS
Press the ON/Mute button on the front panel for two seconds to power on the UPS.
Note: The battery charges fully during the first five hours of normal operation. Do not expect
full battery run capability during this initial charge period.
Step 6: Install software
For optimal computer system protection, install UPS monitoring software to fully configure UPS
shutdown. You may insert provided CD into CD-ROM to install the monitoring software. If not,
please follow steps below to download and install monitoring software from the internet:
1. G
o to the website http://www.power-software-download.com
2. Click ViewPower software icon and then choose your required OS to download the software.
3. Follow the on-screen instructions to install the software.
4. When your computer restarts, the monitoring software will appear as an orange plug icon
located in the system tray, near the clock.
 Loading...