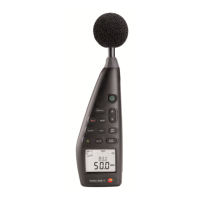
5 Using the product
16
5 Using the product
5.1. Commissioning
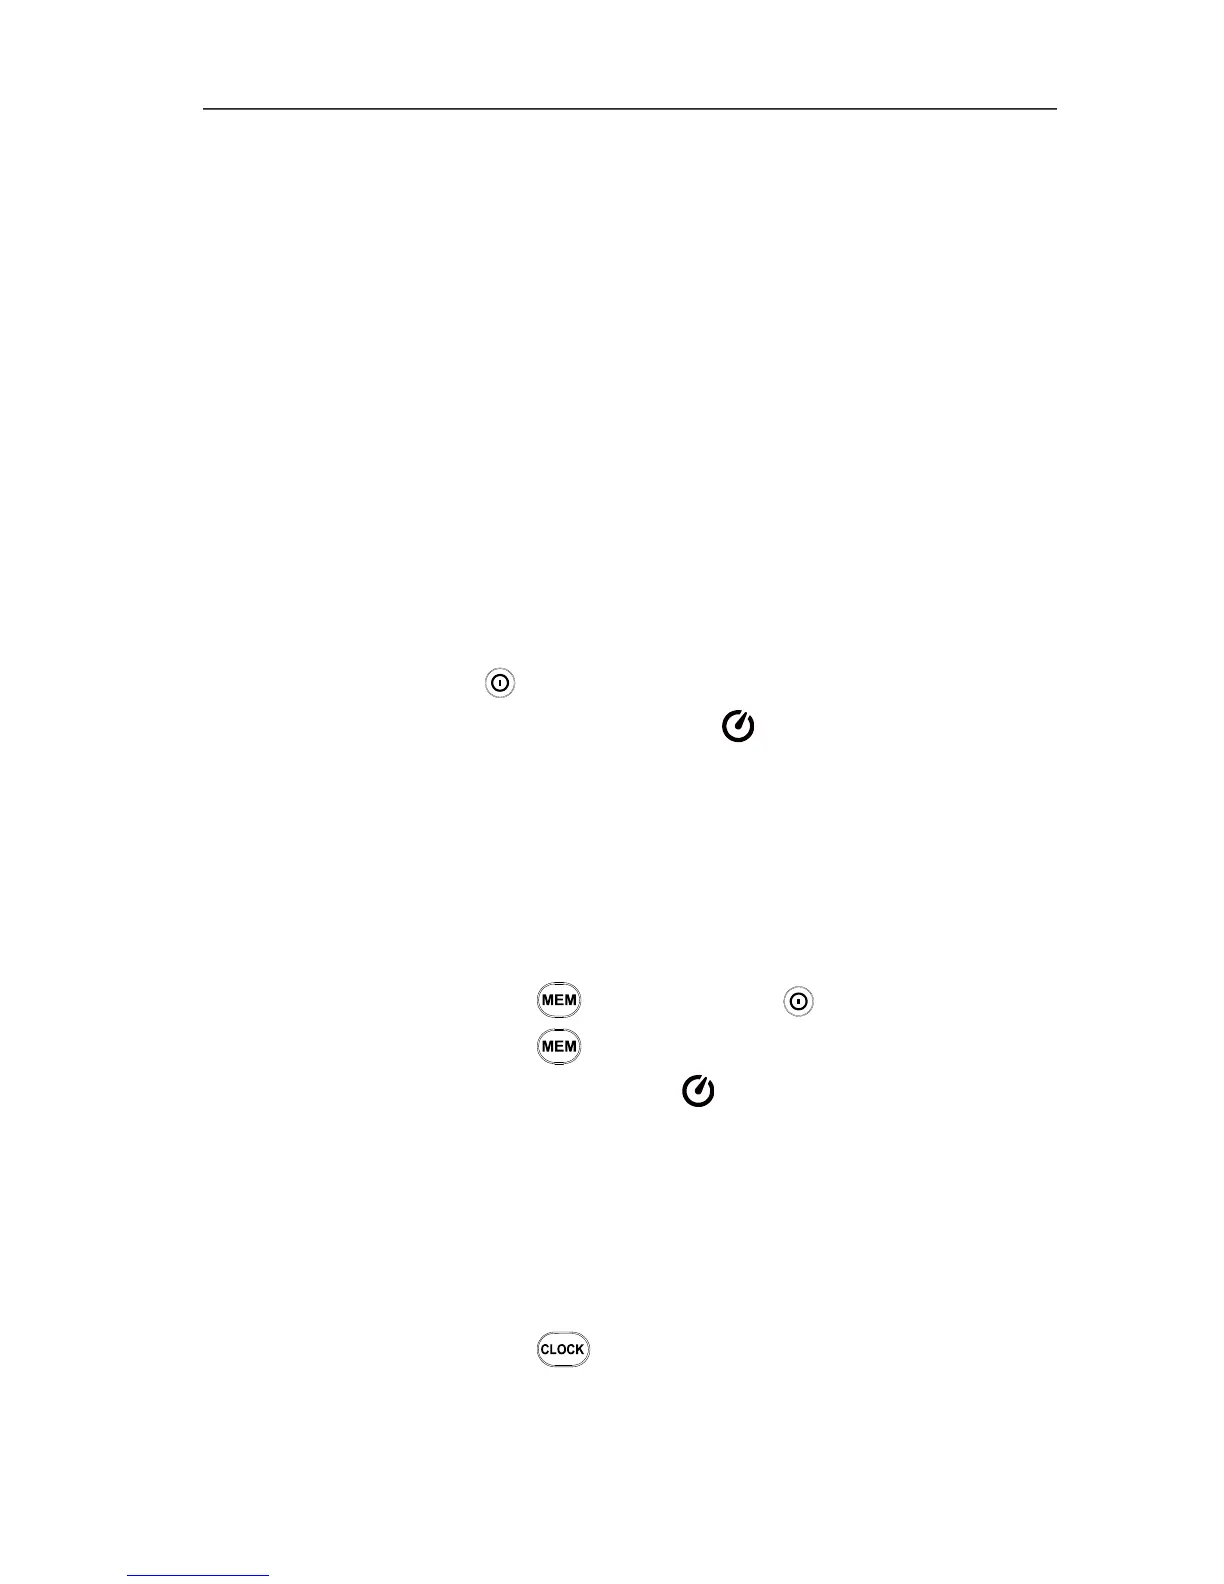
Inserting batteries
1. Remove Philips screw from the battery compartment using
a screwdriver.
2. Remove battery compartment cover.
3. Insert batteries. Observe the polarity!
4. Put cover back on the battery compartment.
5. Tighten screw using a screwdriver.
5.2. Switching on / off
Switching on (with automatic shut-down activation)
> Press the key.
- The instrument switches on and (automatic shut-down
activated) is displayed.
- The instrument switches off automatically if no key is pressed
for 30 minutes.
- The automatic shut-down is deactivated when the instrument is
connected to a PC or when automatic data recording is in
process.
Switching on (without automatic shut-down activation)
1. Hold down the key and press the key.
2. Hold down the key until the instrument switches on.
- The instrument switches on. is not displayed.
Switching off
> Hold the key down until P-OFF is displayed.
5.3. Setting the date / time
The integrated clock enables readings to be stored with the date
and time.
1. Hold down the key for 2 s.
The values are set in the following order: (year), (month), (day),
(hour), (minute), (second).