12
OPERATION section 4.7
Operating Instructions for Electric PTO Clutch (Serial No. 1642 - )
follow these steps for implement drive belt installation:
1. Place the correct size implement drive belt
around the left hitch arm of the implement
before attaching to the quick hitch front lift. See
the belt size chart (section 4.7) for belt sizes.
2. Attach the implement to the front lift. Push down
on the latch handle to open latches. Pull up to
lock latches.
3. Stop engine and release the belt tension
adjustment lever by moving it as far as it will go
toward the rear.
4. Install the implement drive belt on the double
idler pulley.
5. Each time a PTO belt driven attachment is
installed, it is necessary to adjust the drive belt
tension. This is done by moving the belt
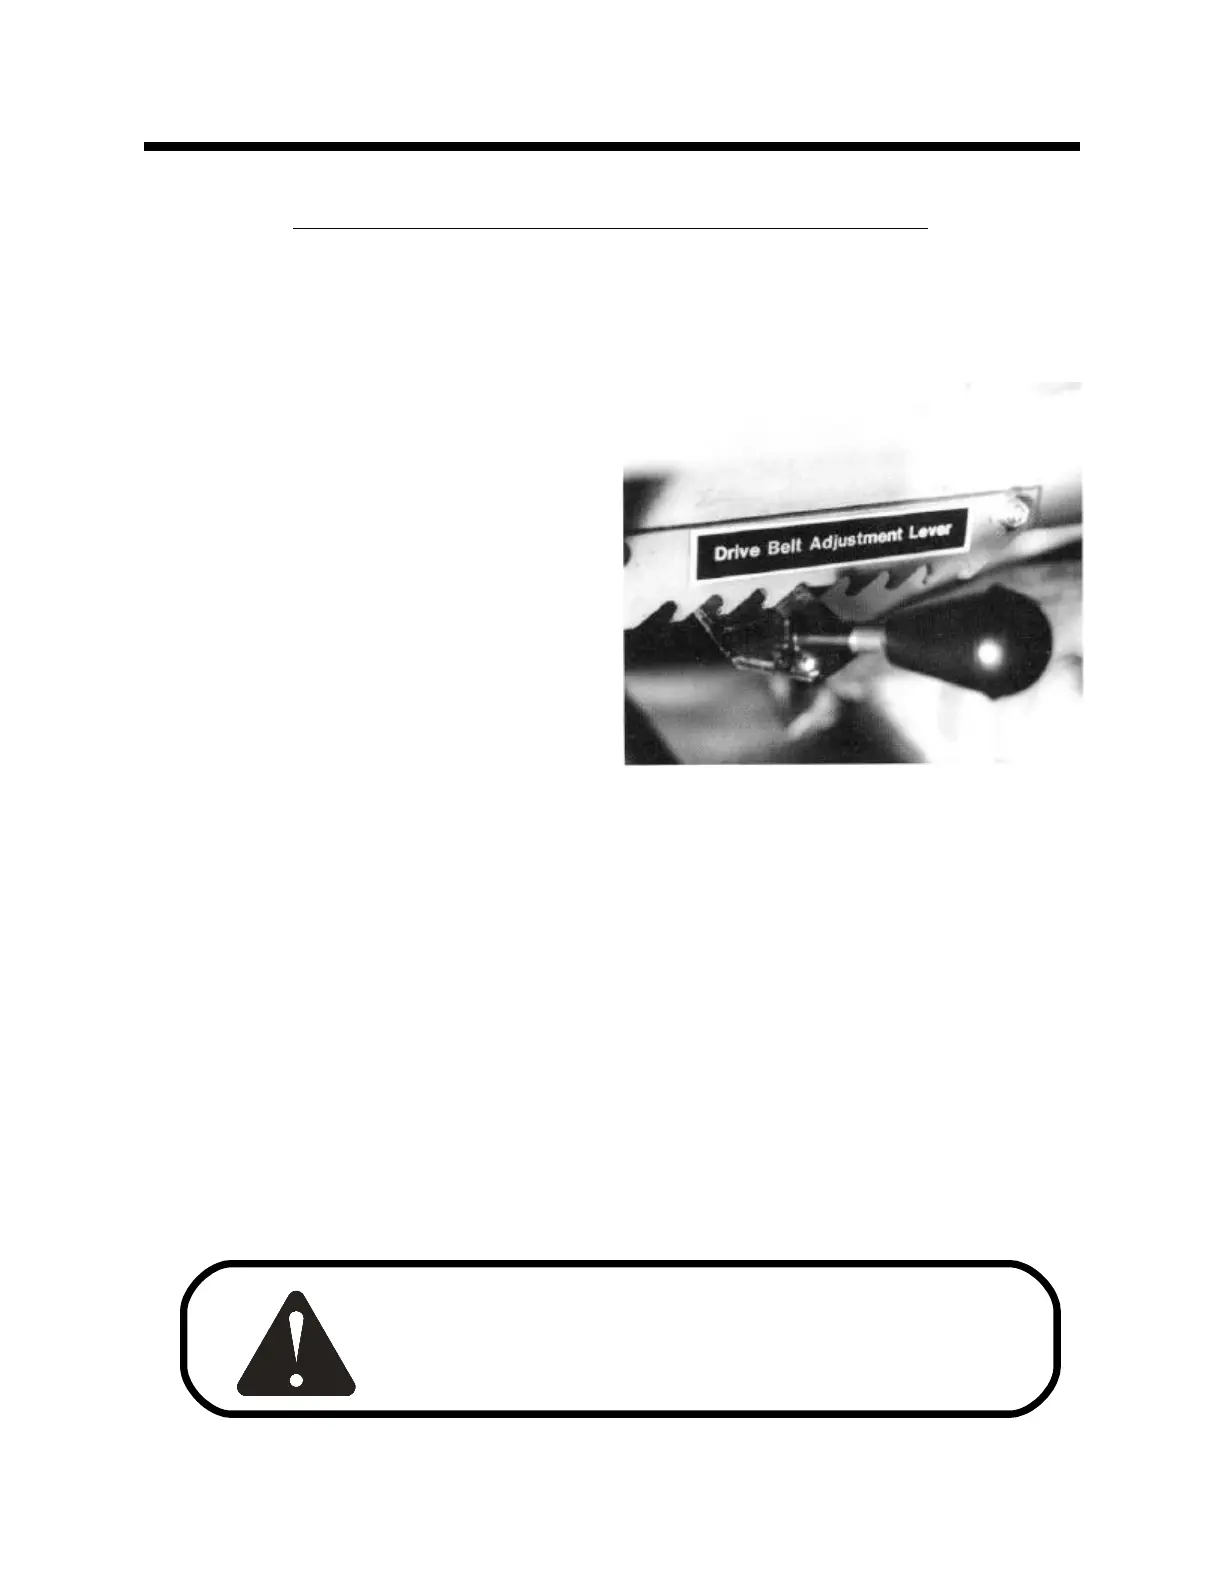
tension adjustment lever on the left side of the
front tractor frame. (See Photo 4A) Proper
tension is very important! The proper setting is
obtained by moving the lever two notches after
all slack is taken up on the drive belts. If drive
belt slips, tighten one additional notch.
6. The PTO clutch is engaged or disengaged with the PTO push-pull switch. Engage the clutch with the
engine at approximately 1/2 throttle.
7. NOTE: The operator must be seated for the PTO electric clutch to operate. Do not attempt to by-pass this
safety device.
8. SPECIAL INSTRUCTION FOR DIESEL ENGINES: To stop the engine... Pull the knob on the fuel shut-off
cable and hold it until the engine stops. Push it in after the engine stops so the engine is ready to start the
next time. Engine will not start with the fuel shut-off knob pulled out.
Photo 4A - Belt Tension Adjustment Lever
CAUTION!
DO NOT ENGAGE CLUTCH WITH ENGINE AT FULL THROTTLE.
STARTING HEAVY LOADS AT FULL THROTTLE WILL SHORTEN
CLUTCH AND/OR BELT LIFE.