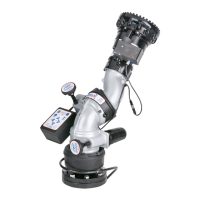
6.2.1.3 TETHER OPERATOR STATION (Y4E-CT-##)
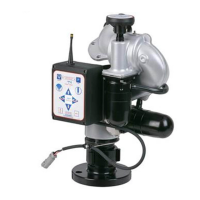
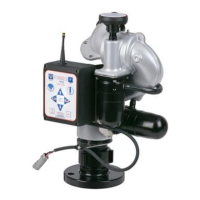
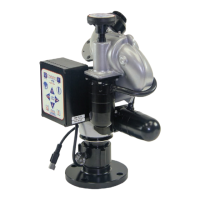
6.2.1.4 WIRELESS OPERATOR STATION (YE-RF-##)
This operator station is tethered to the truck with either a 30 foot (9 meter) cable or a 100 foot (30.5 meter) cable. It is used to move
slightly away from the truck to get a better view for redirecting the monitor.
6.2.1.5 JOYSTICK OPERATOR STATION (Y4E-JS)
This operator station is installed in a protected location and allows the monitor to be controlled by a joystick.
6.2.1.6 TOGGLE SWITCH OPERATOR STATION (Y4E-TS)
This operator station allows the monitor to be operated by three toggle switches.
24
The Wireless Operator Station allows a user to move away from the truck to get a better view for redirecting the monitor. This operator
station gives the user full control of the monitor including the STOW, OSCillate, and any AUXiliary functions. Every TFT RC monitor is
shipped with the antenna pre-mounted in the monitor control box. All the user needs to do is mount the storage bracket and teach the ID
code to the handheld unit.
The range of the wireless operator station is 500 ft (152 m) and the handheld unit is powered by four (4) AAbatteries, lithium batteries are
recommended. Lithium batteries will provide 33 hours of continuous operation. When the battery voltage is low, the POWER light will
begin to flash. At this point there is approximately 3 hours of continuous operation remaining.
The handheld unit will automatically turn off after 5 minutes if no buttons are pressed.
-Press POWER button to turn on electronics.
-Use operator station just like any other wired operator station.
-Press POWER button again to turn off electronics or after 5 minutes of idle operation, handheld unit will automatically turn off.
If after pressing a button, the OSC & STOW lights alternately flash, this indicates no communication link is present with the
monitor. The handheld unit is out of range or cannot establish a link with the monitor. Move to a different location and then retry, also
verify monitor has power applied.
NOTE!!!
6.2.3 STOW FEATURE
The STOW position needs to be programmed during installation. The monitor needs to “find” two (2) hard stops, one for each axis,
before the monitor can move to the STOW position. When programming, the first two commands teach the monitor where to find the
hard stops. This guarantees that the position is accurate. From that point, the programmer can program the move to the final STOW
position.
During normal operation, each time the STOW button is pressed, the monitor moves the nozzle to the full straight stream position,
moves to each programmed hard stop, and then moves to the STOW position. While the monitor is performing the STOW feature,
pressing any button will stop the monitor.
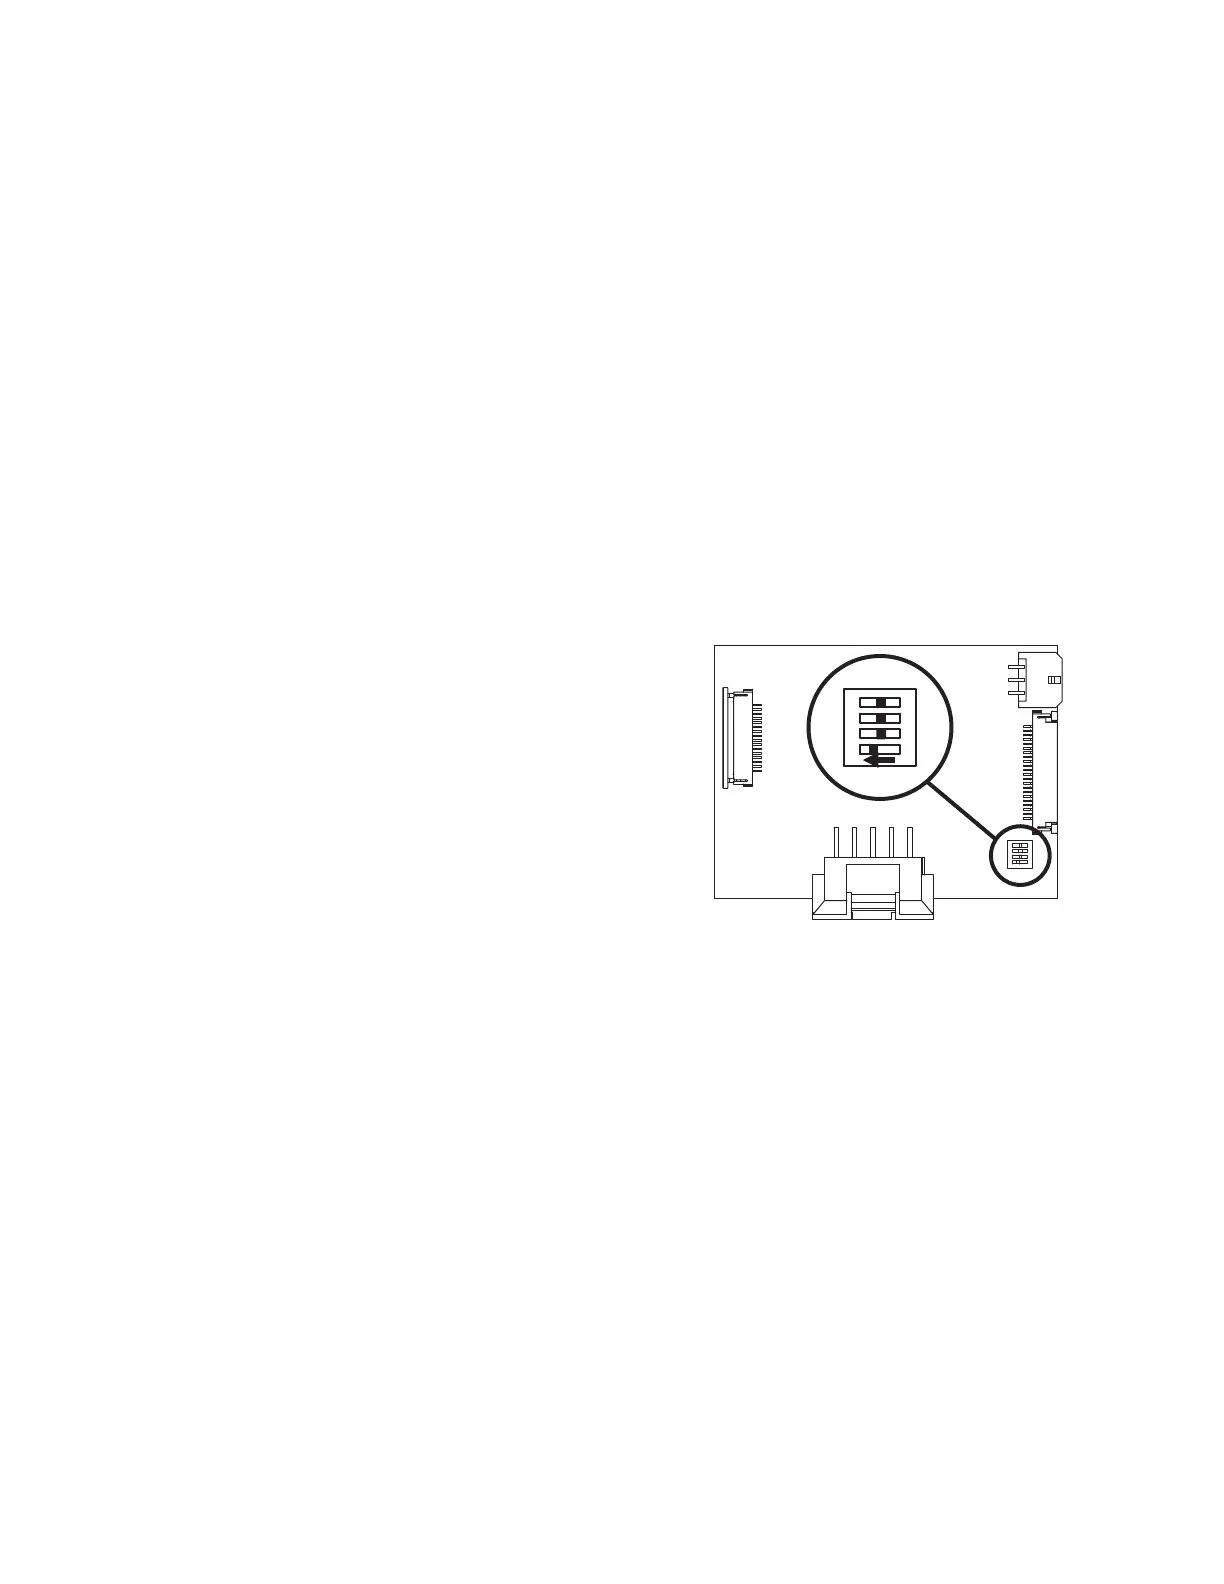
6.2.2 MASTER OVERRIDE FEATURE (DIP #1)
Any operator station with a communication board can be
reconfigured with the master override feature. These stations
include the Y4E-RP, Y4E-CT-30, Y4E-CT-100, Y4E-TS, or
any inputs connected to an Y4E-COMM. To enable the
master override feature on an operator station, follow these
steps:
1. Remove lid from enclosure.
2. Locate DIP switches on communication board.
3. Slide DIP switch #1 to the ON position.
4. Replace lid. Verify rubber seal is clean and undamaged.
Verify that no wires are caught between lid and box.
Figure 6.2.2
Master Override Setup
ON CTS
12
3
4
6.2.3.1 PROGRAMMING
STOW programming must be initiated within 1 minute of applying power to monitor. After 1 minute, programming access is blocked.
Power must then be cycled to reset 1 minute timer.
Press and hold STOW button (~10 seconds) until light blinks. Release button. Light will continue to blink while in program mode.
Press release LEFT/RIGHT or UP/DOWN button of axis that will move to first hard stop. Light will blink rapidly when hard stop is
reached.
Press release LEFT/RIGHT or UP/DOWN button of axis that will move to second hard stop. Light will blink rapidly when hard stop is
reached.
Use LEFT/RIGHT or UP/DOWN buttons to move monitor to first point of stow routine, press release STOW button. Light will blink
rapidly to acknowledge position.
Repeat until pattern is complete (up to 10 points).
Press hold STOW button until light turns off. Release button.
FIRST AXIS TO MOVE:
SECOND AXIS TO MOVE:
MOVE TO STOW POSITION:
and
and
and
and