Chapter 6: Tips and Tricks
USB and eSATA Storage Expansion
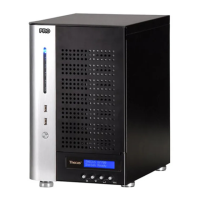
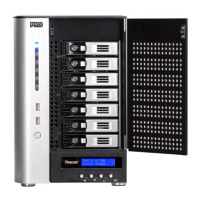
The N7700 supports external USB hard disks through its four USB ports. Once a USB
hard disk has successfully mounted, the entire volume will be linked automatically
to the default USB HDD folder. The N7700 supports up to 4 USB external storage
devices. All file names on the USB disk volume are case sensitive.
The N7700 also supports eSATA hard disks with its eSATA port.
Before attaching an eSATA or USB disk drive to N7700, you have to partition and
format it on a desktop computer or a notebook first. The attached device will be
located at \\192.168.1.100\usbhdd\sdf1 where 192.168.1.100 means the IP
address of N7700 and sdf1 stands for the first partition on disk #6, the eSATA or
USB disk drive. If it is an NTFS partition, NAS users can open or copy files from
\\192.168.1.100\usbhdd\sdf1 but cannot add new files or modify existing files.
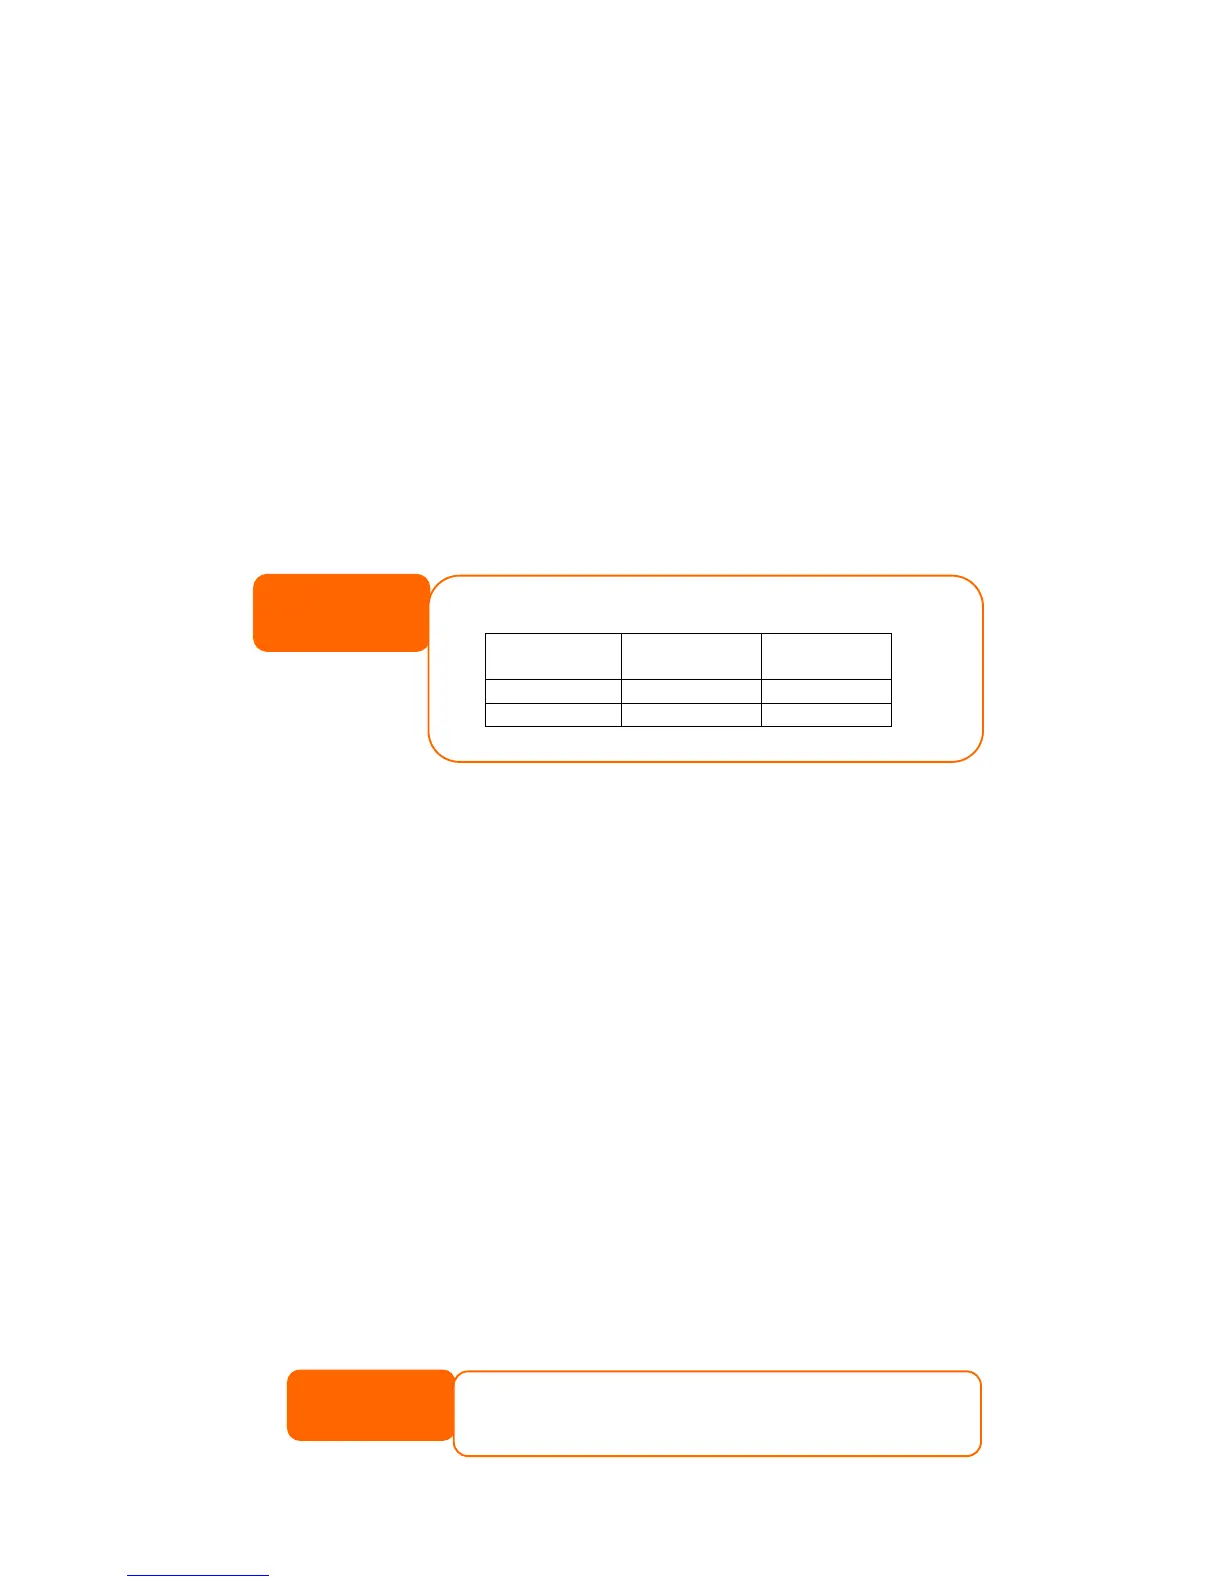
NOTE
If you want to write to an USB storage device, the file system must be FAT32.
USB
Storage
FAT32
Partition
NTFS
Partition
Read OK OK
Write OK -
Adding a Spare Disk
With a RAID 1, RAID 5, RAID 6, or RAID 10 volume, you can add a spare disk after
the initial RAID is setup. To add a spare disk, follow the steps below:
1. On the RAID Configuration Screen, tick the checkbox of the hard disk you
wish to designate as a spare disk.
2. Click Add Spare. The disk will be configured as a spare disk. The system
automatically rebuilds the spare disk when one of the disks in the RAID set
fails.
Remote Administration
You can set up your N7700 for remote administration. With remote administration,
you can access your N7700 over the Internet, even if your N7700 is behind a router.
This is especially useful if you are traveling and suddenly need a file from your
N7700.
Setting up remote administration is a three-part process, and will require the
following equipment:
• Thecus N7700 NAS device
• Cable / DSL Router with Dynamic DNS support
• Home PC
• Internet Connection
NOTE
Router setup will differ slightly depending on router used. For this example,
we will use the Asus WL500g because it has support for Dynamic DNS.
Contact your router hardware vendor for setup help.
115