Dionex AXP/AXP-MS Manual
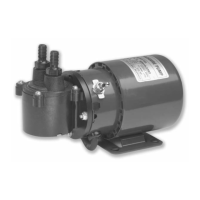
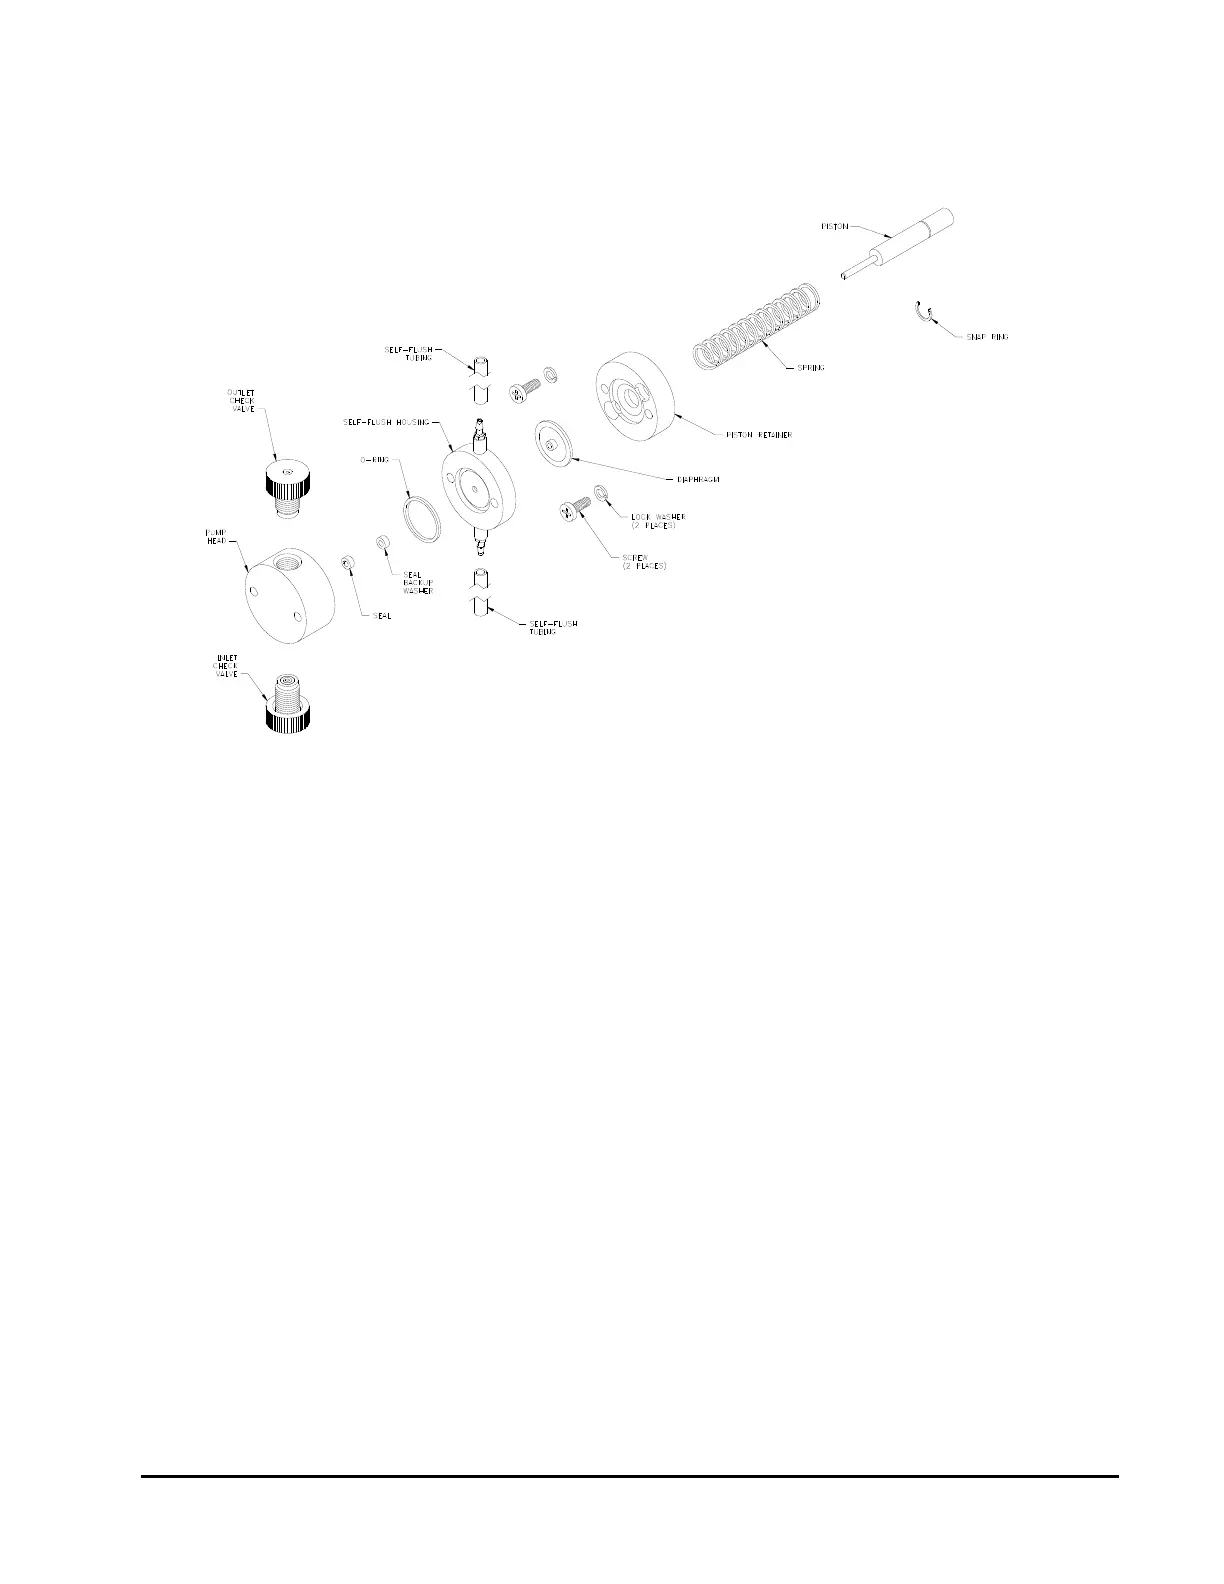
Figure 5-1. Self-Flushing Pump Head Assembly
5.2.3 Cleaning the Pump Head Assembly
Note: If you choose to remove the piston seal or self-flush
diaphragm, you should have a new set on hand to install after
cleaning. It is not recommended that you reinstall the used piston
seal or diaphragm, since they may be scratched and damaged
during removal and would not provide a reliable seal if reused. If
you decide to remove the seal, use only the flanged end of the
plastic seal removal tool supplied with the seal replacement kit,
and avoid scratching the sealing surface in the pump head. See
Section 5.2.2 for seal replacement instructions.
1. Inspect the piston seal cavity in the pump head. Use a cotton swab
or equivalent to remove any foreign material, and avoid scratching
the sealing surfaces. Be sure no fibers from the cleaning swab
remain in the components.
19
 Loading...