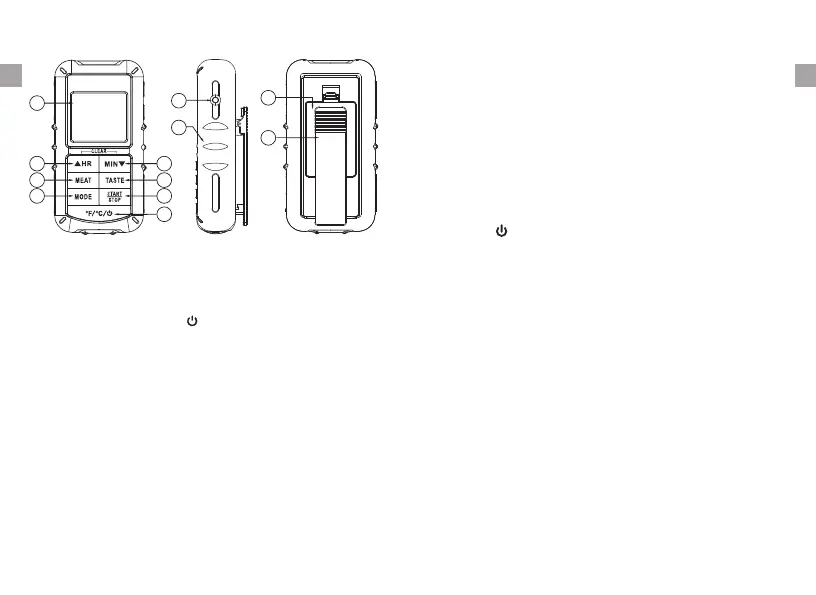
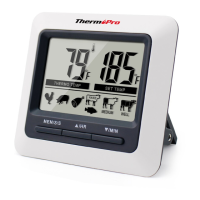
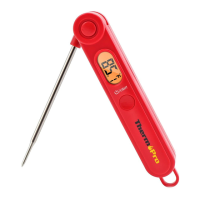
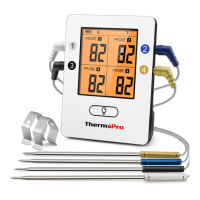
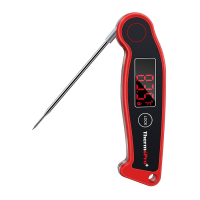
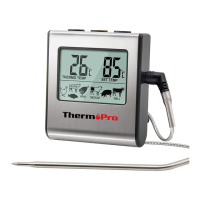
LCD (Liquid Crystal Display) – Displays all icons,
temperature and timer. The back light will flash Blue
once the temperature increases 10ºF, will change to
Green when the temperature is within 15ºF of the set
temperature and will turn Red when it reaches the set
temperature. See LCD diagram for detailed information.
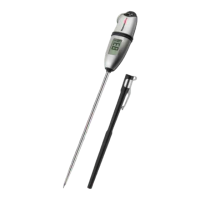
CLIP – Battery compartment clip.
Sensor socket - Probe cable outlet hole.
BATTERY COMPARTMENT – Holds 2 AAA batteries.
Buttons
1. MODE – Press to select thermometer or timer mode.
Key Definition
4. MIN – In timer mode, press to set minutes.
& hold for 2 seconds, the minutes will increase 10
minutes per second. In thermometer mode, press to
decrease the temperature value. Press & hold for 2
seconds, the temperature value will decrease 10
degrees per second.
▼ Press
5. MEAT – In thermometer mode, press to select
type, PROG (program), GBEEF (ground beef), GPOUL
(ground poultry), BEEF, VEAL, CHCKE (chicken),
PORK, POULT (poultry), LAMB & FISH. In Timer
mode switches between hour/minute timer to a
minute/second timer and back.
meat
3. F C –
In thermometer mode press to select
temperature readings in Celsius or Fahrenheit.
º º turn on
/off the unit.
/ / Press and hold it for 2 seconds to
2. HR – In timer mode, press to set hour. Press
hold for 2 seconds, the hours will increase 10 hours
per second. In thermometer mode, press to increase
the temperature value. Press & hold for 2 seconds,
the temperature value will increase 10 degrees per
second.
▲ &
ENEN
-2-
-3-
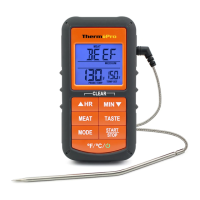
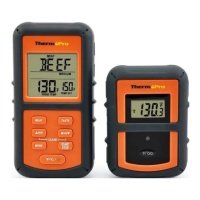
05 MIN
06 TASTE
07 START/STOP
08 ºF/ºC/
▼
09 Sensor socket
10 Soft rubber sleeve
11 Battery Compartment
12 Belt Clip
01 LCD display
02 HR
03 MEAT
04 MODE
▲
01
02
03
04
05
06
07
08
09
10
11
12