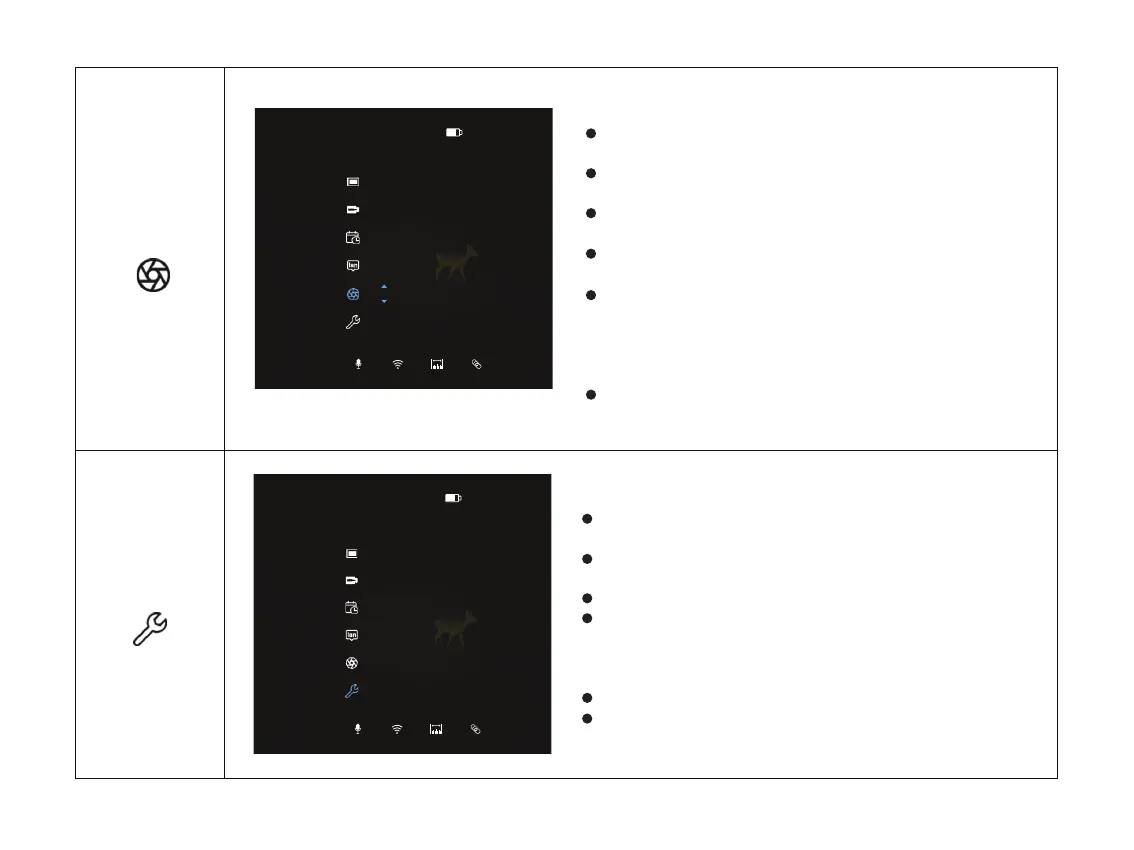
Double click the menu button “M” to enter the main
menu.
Select the Correction option with the “+ / -” button. Short
press menu button “M” to enter Correction.
The icon will be turned into blue when Correction is
selected.
Choose Auto or Manual to enter the mode of auto correc-
tion or manual correction respectively.
Under auto correction mode, the image would be
calibrated automatically as per the actual conditions. It
would count down from 5s every time when the image is
under auto correction. The screen would freeze when the
image is under correction.
Short press the menu button “M” to exit, or press and
hold the “M” to exit.
Turn Correction on/off
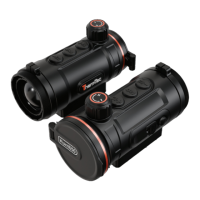
Double click the menu button “M” to enter the main
menu.
Select the System option with the “+ / -” button. Short
press menu button “M” to enter System.
The icon will be turned into blue when System is selected.
After entering the system settings, you can choose to reset
or upgrade. Information like firmware version, serial
number and other relevant information could be checked
on the reset page.
It only supports upgrading via PC on this page.
Short press the Menu button “M” to confirm current
settings, or press and hold the “M” to exit.
System setting
System
Correction
14:04P1
Reset UpdateVersion
SN:
FpaVer:
Version:
System/Reset
28
14:04P1
Auto
Correction