Chapter 1: Connections and Setup
8
5. Ensure that the wall you use is smooth, flat, dry and sturdy and use the 3 screw holes which
both are 101.6mm apart.
6. Fix the screws into the wall, leaving their heads 3 mm (0.12 in.) clear of the wall surface.
7. Remove any connections to the unit and locate it over the screw heads. When in line, gently
push the unit on to the wall and move it downwards to secure.
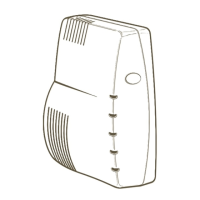
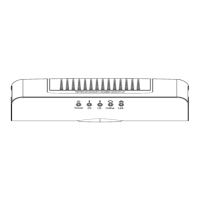
8. Wall mounting orientation: LED panel upper.
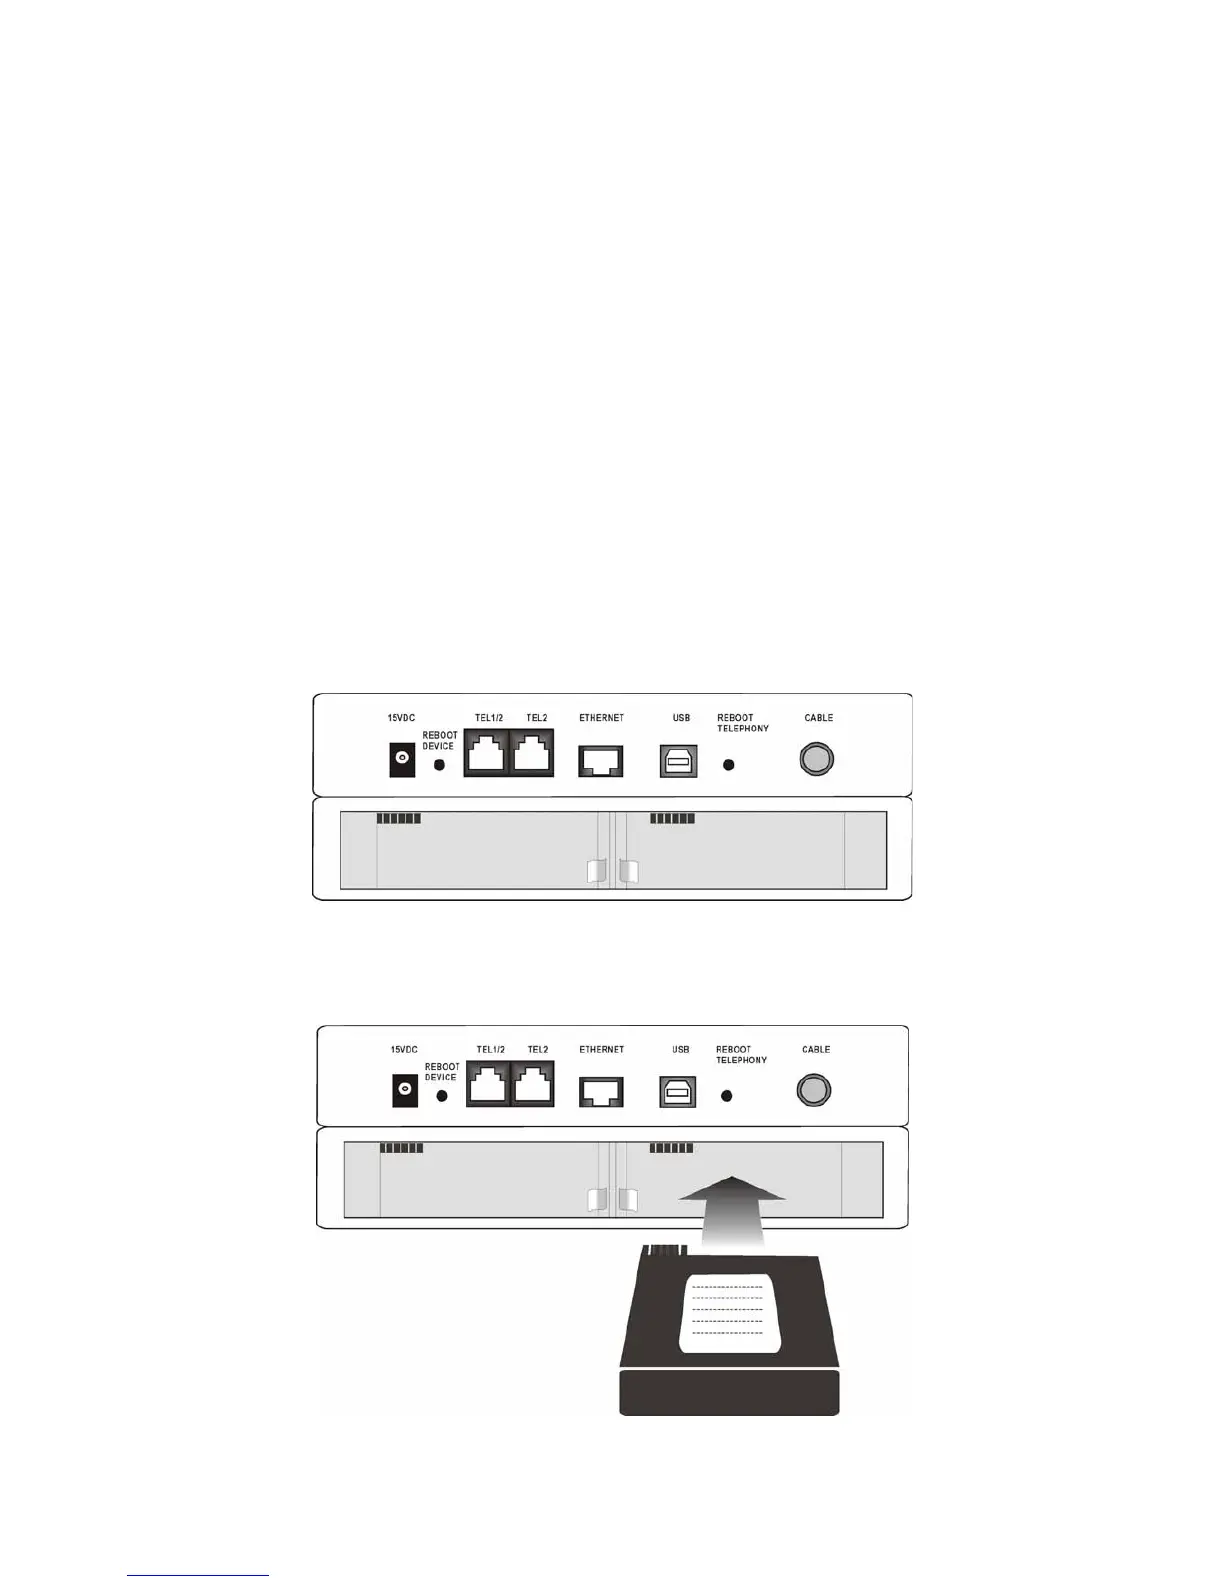
Installing the Battery
This section provides you information of installing batteries into the modem. Follow the steps
below:
1. Unplug the power cord of the power adapter from the modem if you have plugged it.
2. Remove the cover of the rear panel. There are two spare drives for you to install the
battery.
3. Insert the battery into the rear battery drive with the direction that the following picture
shows you.