Page 11
Installing Impression Rail
™
Express
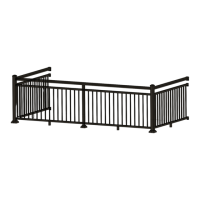
Open Mid-Rail Stair Panels
UPPER BOTTOM SNAP
LOWER
BOTTOM SNAP
STAIR
PANEL
STAIR PANEL
ATACH CLIPS
UNPUNCHED H-CHANNEL
AND TOP SNAP
3” POST KIT
Important Notes:
• Actual Stair Panel Lengths: 6' Panels =
69.43" and 8' Panels = 91.31". 3″ posts are
required to reach 6' and 8' lengths.
• Stair railing panels are shipped at a
37 degree angle. Panels are adjustable
+/- 3 degrees.
• Maximum post spans on stair railing
application is 96" on center. Additional posts
are required on any stair application more
than 8' in length.
• For all other applications, consult a design
professional or an Impression Rail
®
Express
representative for more information.
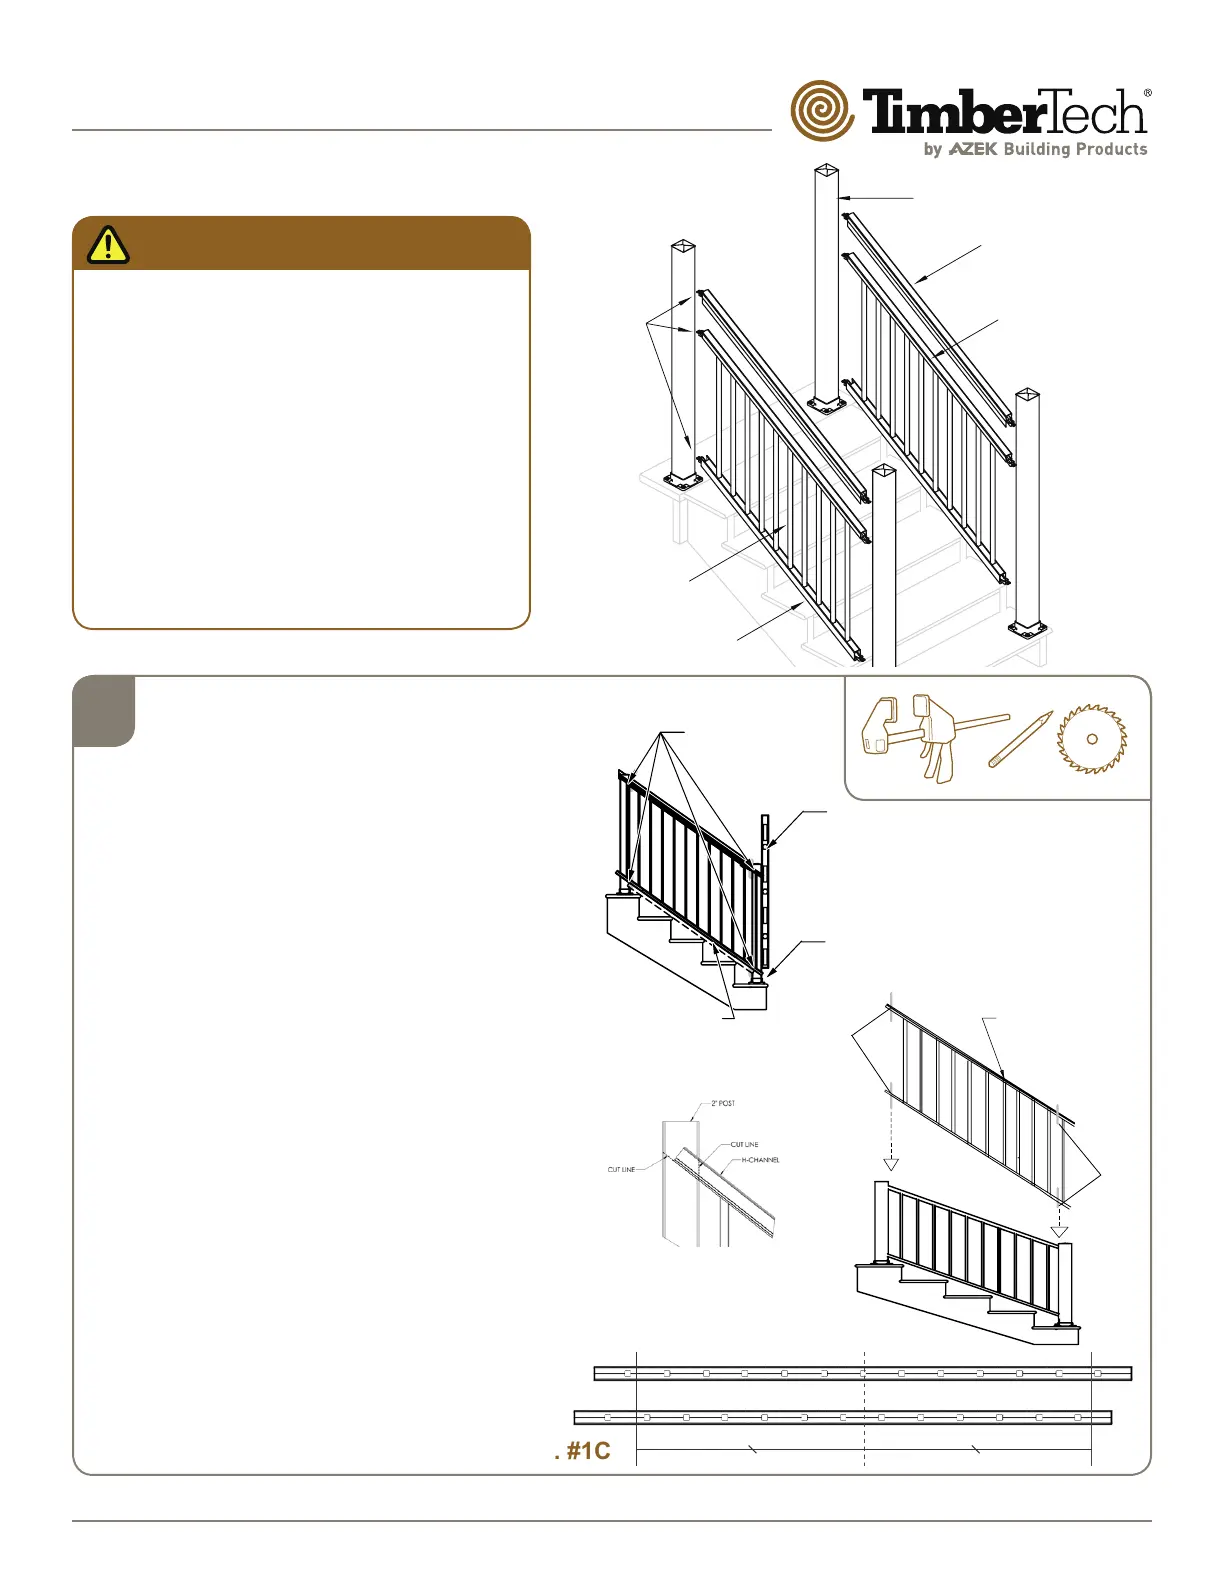
Dia. #1A
Dia. #2
1
Fit Stair Railing Panels
• Position stair railing panel alongside 3" top
stair post and temporarily installed 3" bottom
post. (Dia. 1A)
• Determine the desired center of the rail:
either a baluster hole or between two
baluster holes. (Dia. 1C)
• Measuring from the determined center, cut
both ends of the rails.
• Position stair panel approximately 1 1/2"
above stair nosing. Tip: lay a 2x4" board
at on nose of stair treads. This will allow
enough room for installation of bottom
snap. Clamp stair panel against top and
bottom 3" posts. Using a sharp #2 pencil,
mark the stair channels at four (4) locations.
• If using a continuous top rail, after panel has
been clamped to post, mark cut lines on the
H-channel and the 2" post using the bottom
of the H-channel to nd your angle for post
cut. (Dia. 1B)
• Remove clamps and cut stair panel at all four
(4) locations. (Dia. 2) Take care to cut stair
channels at appropriate stair angle. Use of
Miter saw with a sharp non-ferrous blade is
recommended.
• Clean cut areas and apply touch-up
paint on all exposed ends.
4x cut
panel
to fit
4x cut
panel
to fit
Stair railing
panel
Temporary clamp
panel against
posts and mark
for miter cuts
TIP: Lay a
2” x 4” board on
nose of stair treads
Level post
Temporarily
Installed Post
Dia. #1C
Centerline
Even number of balusters
Dia. #1B