Page 4
Installing Impression Rail
™
Express
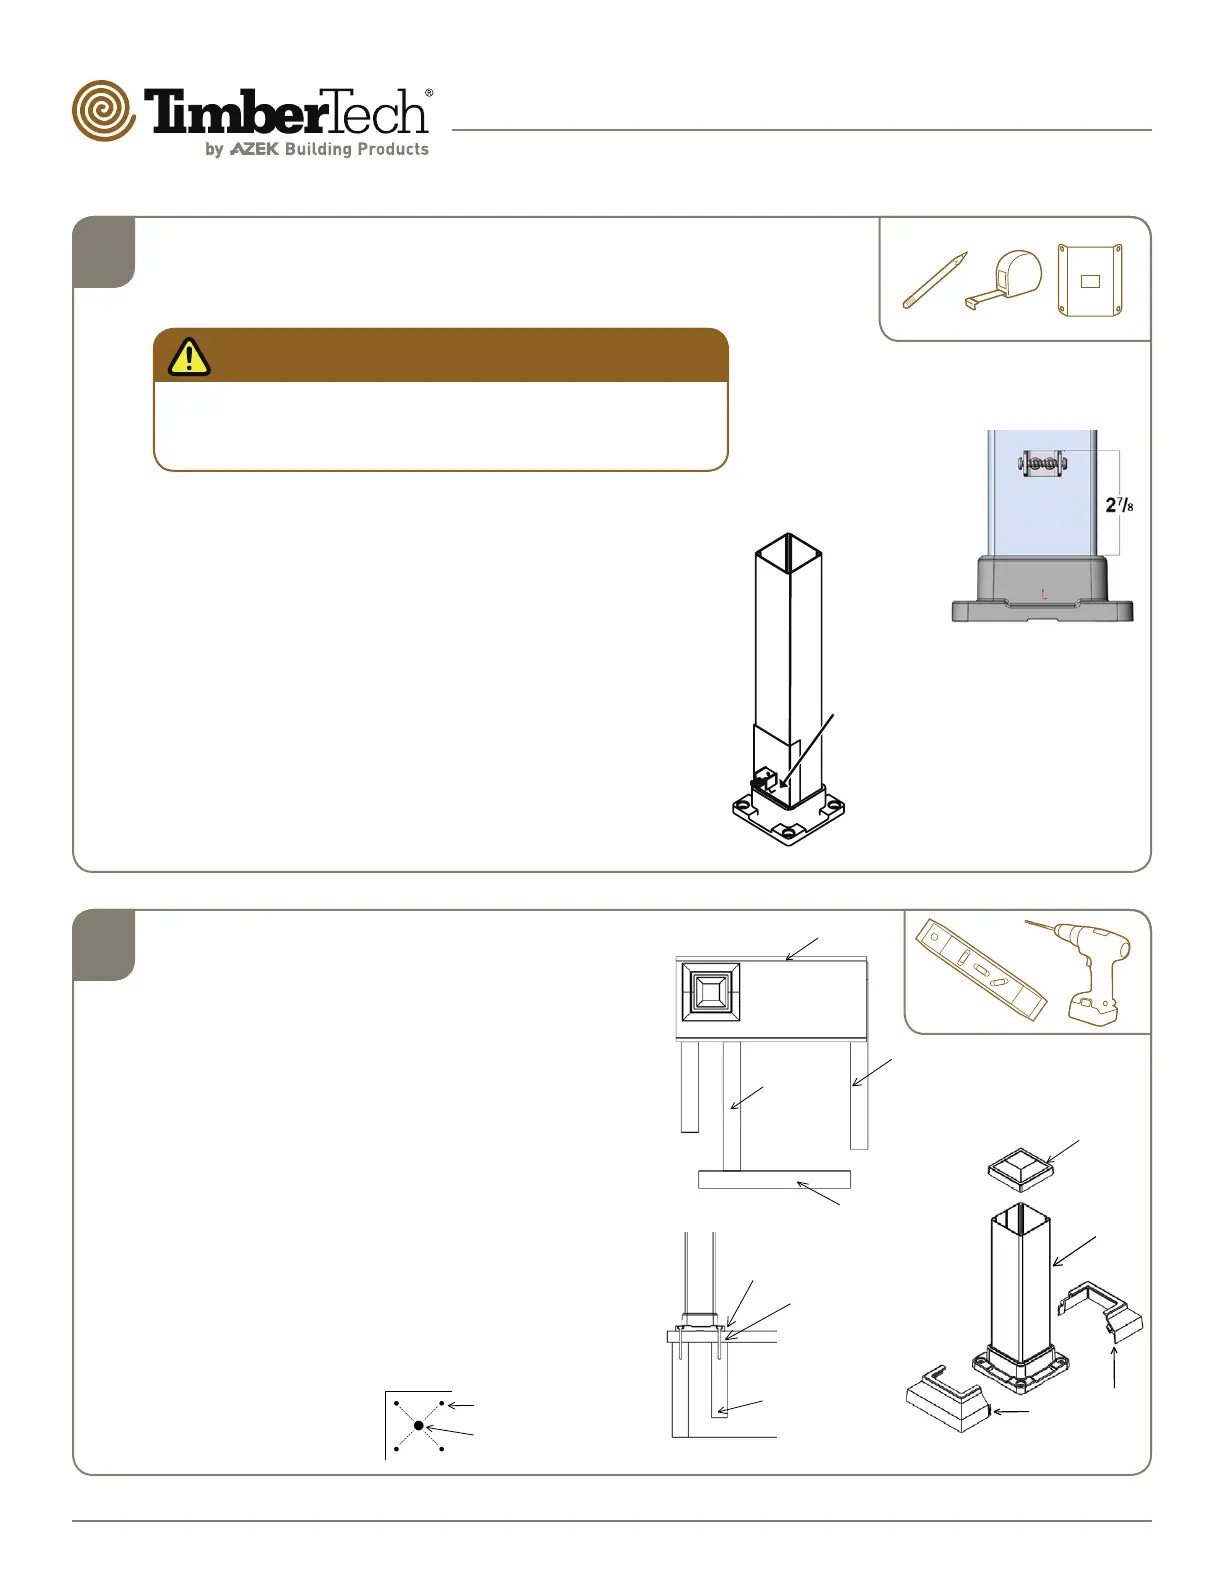
Aluminum Posts
Dia. #4
2
Cap
Square Post
Post Base Plate
Vinyl Cover
*Do not install until
railing assembly is
completed.
Deck Edge
Joist
Stringer
2x6 Blocking
2x6 Cross
Block
Shims
below
base
2x6 Blocking
4X 3/8"x6" construction lag
screws (sold separately)
*Verify local code
requirements for post
attachment hardware.
Dia. #3B
(SIDE VIEW)
Dia. #3A
(TOP VIEW)
How to Secure 3" Posts to Deck
• Install proper post blocking (Dia. #3A & 3B).
Use proper attachment screws or anchors
shown in diagram. (Hardware for post
attachment are not provided with the posts.)
• With 3/16″ drill bit, pre-drill through deck
boards and into blocking.
(Dia. #3C)
• Drill a 5/8" hole in center of four deck screw
holes for lighting wires (optional).
• Level and plumb post using shims.
• Secure posts to deck frame with suggested
screws.
(Dia. #3B)
*Verify local code requirements for post
attachment hardware.
• Install post caps (after panels are installed).
(Dia. #4)
Pre-drill 3/16" holes for
post attachment fasteners
(sold separately).
5/8" hole for lighting wires
(optional)
Dia. #3C
(TOP VIEW)
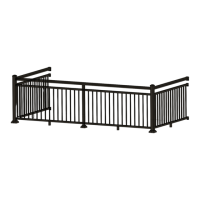
Determine All Posts Needed and Prepare
(end, center or corner)
Important Note:
3" posts are required to reach 6' and 8' lengths. 2" posts must
be set in-line to panel. Do not install post caps and vinyl
post base covers until railing assembly is completed.
Install Lower Deck Rail Clips – Two Options:
Option A - When No Installation Jig Is Available
• Measure 2 7/8" from top of casting shoulder and place a pencil
mark for location of the top edge of the rail clip. (Dia. #1)
• Center clip on post and secure with (2) - #8x3/4" self-drilling
screws. Clips are included in the Panel Kits.
Option B - Using Installation Jig (Sold separately.
Accessory
pack includes Installation Jig and Touch-up paint.)
• Place Installation Jig (w/arrow facing base plate) on top of
base plate upper edge. (Dia. #2)
• Place clip in hole and fasten with (2) - #8x3/4" self-drilling
screws. Clips are included in the Panel Kits.
1
Dia. #1
Rest
Installation Jig
on Base Plate
– Arrow Down
Place Clip in
hole, hold clip
rmly while
installing (2)
Self-Drilling
Screws.
Dia. #2