19
1. Loop Record - Select the duration of each
recorded footage.
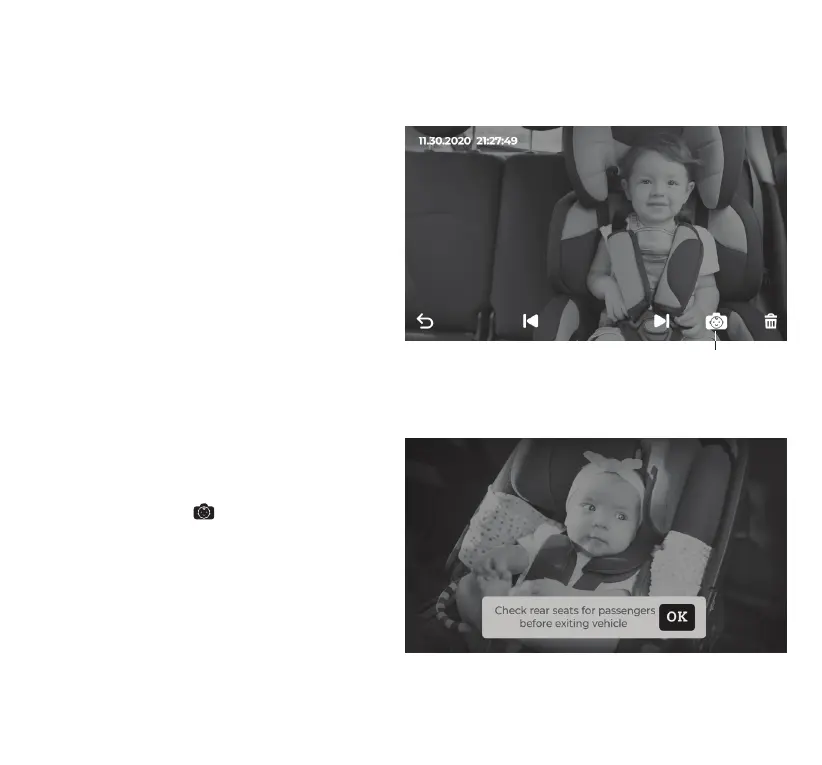
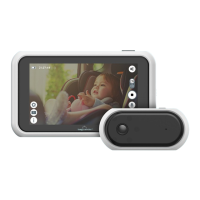
2. Warning Image - Turn the Warning Notication
On/Off. Tap the Warning Notication
icon on a pre-recorded photo to set it as the
background image of the warning notication.
3. Screen Save - Monitor screen will be turned
off after a chosen period of time. Alternatively,
press the Monitor power button once to enter
screen save mode. You can wake up the
Monitor by tapping on the screen or voice
activation.
4. Monitor Brightness - Swipe the slider to adjust
brightness of the Monitor.
5. Language - Set your preferred language.
Warning Notication
Camera Settings
Monitor Settings
NOTE: Camera settings are not available in Split
Screen Mode. You must switch to Camera 1 or
Camera 2 by tapping the Split Screen Mode Icon
before conguring any camera settings.
1. Contrast - Swipe the slider to adjust screen contrast.
2. Saturation - Swipe the slider to adjust Car
Camera color saturation.
3. Rotate Camera - Rotate the screen orientation
if your mounting angle requires you to ip the
Car Camera.
4. Voice Activation - Swipe the slider to adjust
to your desired level of voice sensitivity. The
higher the sensitivity the Car Camera will more
likely detect sound in the surroundings and
wake up the screen from screen save mode.
Voice activation can also be turned off.
5. Night Vision - Swipe the slider to adjust night
vision exposure level or to disable night vision.
Tap this icon to set the photo as the background
image of the warning notication. Tap the icon
on the same photo again to switch back to the
default photo.