Table 2-2 Installation Workflow
2.3 Titan System Installation Steps
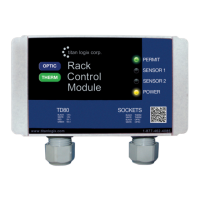
1. Program the TD100 and FINCH II Display
The TD100 must be programmed before use. Programming may be done at the factory when
purchased, programmed by the customer prior to installation or after installation on the vehicle when
necessary.
The FINCH II display may need to be programmed. Alarms are assigned to internal relay actions for
flexible alarm annunciation and high-level shutdown. The factory settings are appropriate for most
applications. Programming may be done by prior to installation or after installation on the vehicle when
necessary.
2. Install the TD100 as indicated in the TD100 Installation and Operation manual. (TPM 057)
3. Mount the FINCH II display in a suitable location (preferably in a weatherproof enclosure)
4. Optional Alarm accessories mounting
(Lights, Horns, Alarm Acknowledge push button)
5. Inspect the Mechanical Installation
6. Electrical Installation
- The TD100 transmitter is provided with a 50’/ 75’ cable kit. It is recommended to use the kit with
included sealing fitting for connection to the FINCH II display.
- All electrical grounding is to the vehicle or trailer electrical ground connection and not to the chassis.
- Wire splices should be made inside a weatherproof enclosure to prevent premature failure due to
corrosion.
• Probe and Transmitter location
• Probes (Dual Rod & Coaxial)
• FINCH II Display location.
• Optional Alarm Device location.
• Electrical requirements
 Loading...