English
2 ©TitanToolInc.Allrightsreserved.
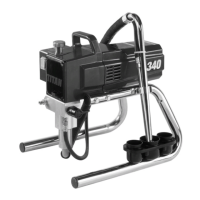
Setup
Never attempt to assemble, change, or clean the gun, tip,
or tip guard without first relieving pressure from the spray
system. Follow the “Pressure Relief Procedure” in the
sprayer’s Owner’s Manual.
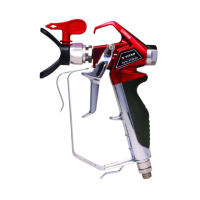
Always use a tip safety guard for added
protection against injection. Beware
that the guard alone will not prevent
injection. Never cut off tip guard! Always
engage gun trigger lock when the gun is
not in use. Before servicing equipment,
consult Owner’s Manuals and follow all
warnings.
Trigger lock in
locked position.
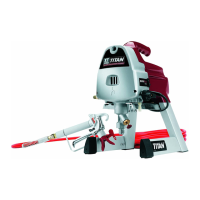
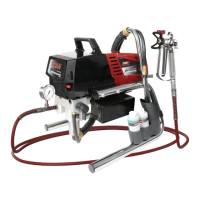
1. Setupthesprayer.Refertotheinstructionsin
thesprayer’sOwner’sManual.
2. Attachaconductiveorgrounded,airlessspray
hosetothematerialinletonthegun.Usingtwowrenches(oneon
thegunandoneonthehose),tightensecurely.
3. Withthetipguard,tipswivel,andpolemountothegun,start
thesprayer.Flushandpreparethespraysystemaccordingtothe
sprayer’sOwner’sManual.Inspectthespraysystemtomakesurethat
all ttings are secure and that there are no leaks.
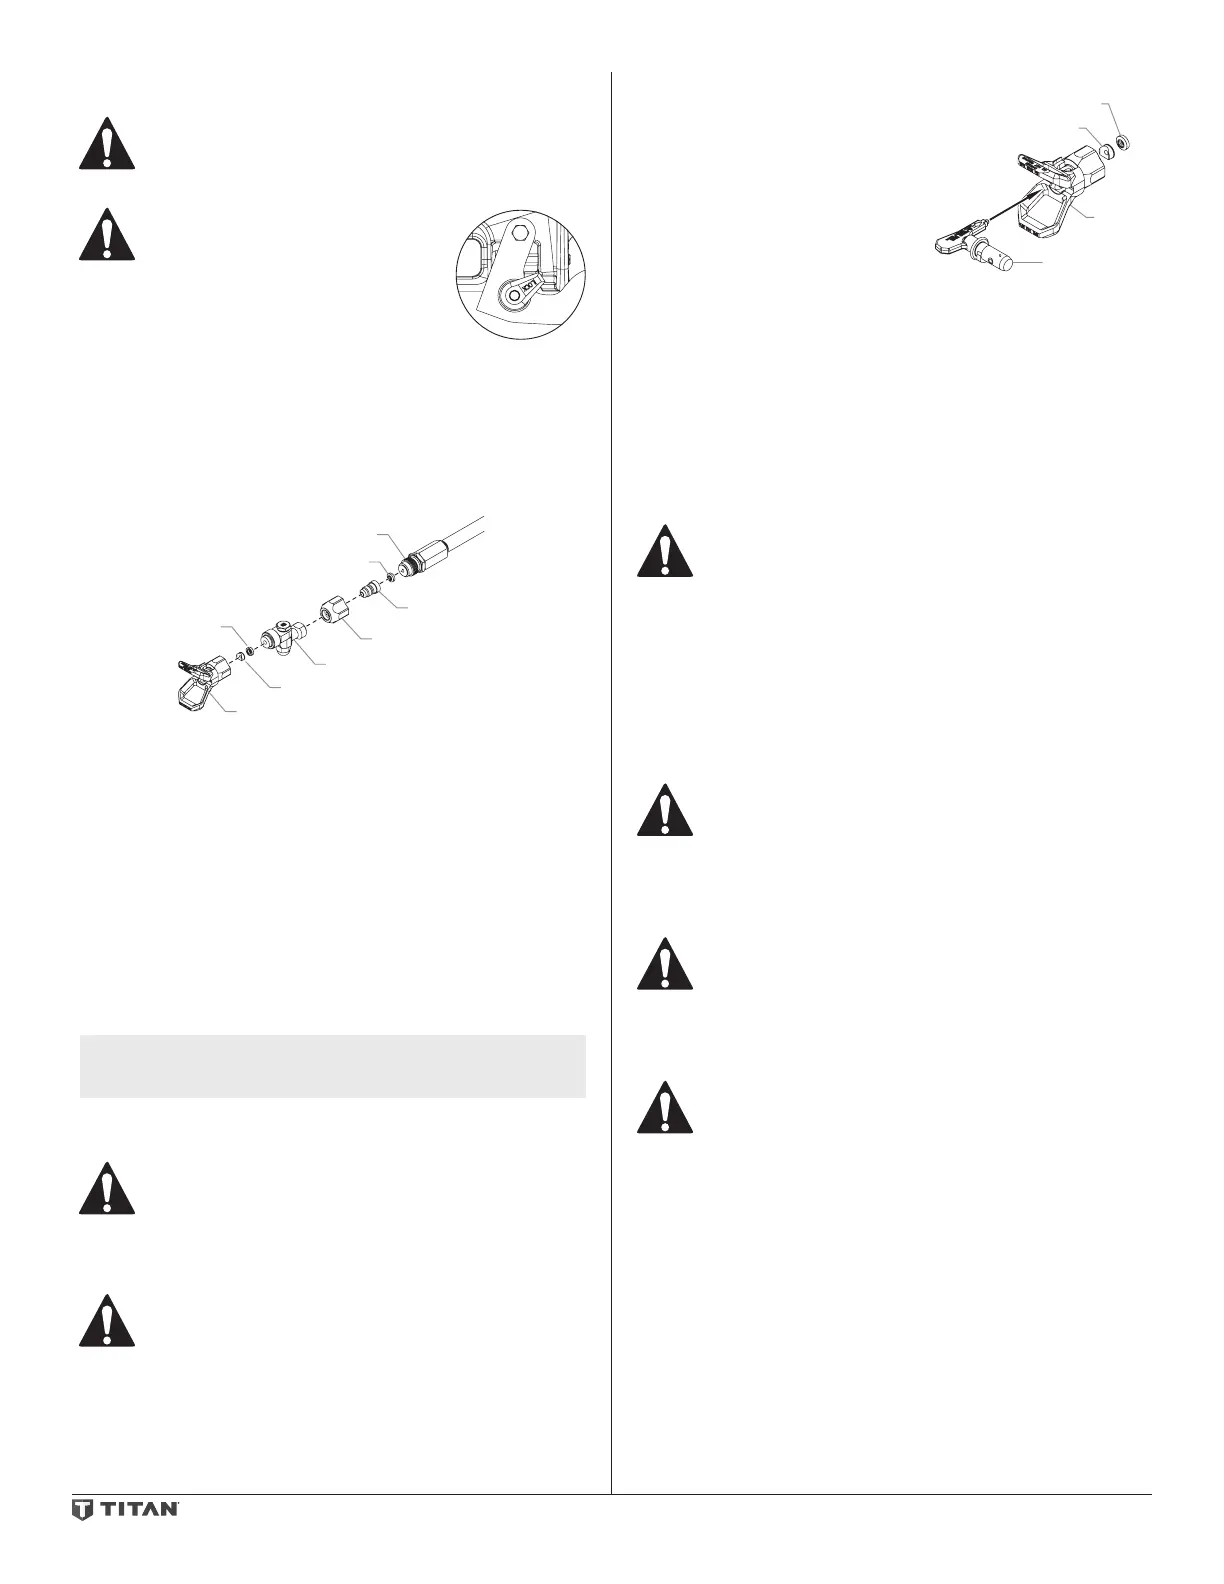
Diuser
Seal Washer
Tip
Seal
Pole Moun
Retaining Nut
Tip Swivel
Tip Seal Retainer
4. Performthe“PressureReliefProcedure”describedinthesprayer’s
Owner’sManual.
5. Placethesealwasherandpolemountoverthediuser,andsecurein
position using the retaining nut. Tighten securely using a wrench.
6. Threadthetipswivelontothepolemount.Tightensecurelyusinga
wrench.
7. Threadthetipguardontothetipswivel.Tightensecurelyusinga
wrench.
Operation
1. Insertthedesiredtipassemblyintothetipguard.
2. Startthesprayer.Refertotheinstructionsinthesprayer’sOwner’s
Manual.
3. Adjusttheuidpressureonthesprayeruntilthesprayiscompletely
atomized.Alwayssprayatthelowestpressurenecessarytogetthe
desired results.
NOTE: The spray tip determines the size of spray pattern and
coverage. When more coverage is needed, use a larger tip
instead of increasing uid pressure.
4. Operatethetriggerandusethesamesprayingtechniquesaswith
standardpistol-gripairlesssprayguns.
Use extreme caution when spraying with a extension pole.
Do not spray near power lines. Avoid all other over-head
obstacles.
Changing a Tip
Tipscanberemovedandreplacedeasilywithoutdisassemblingthegun.
Never attempt to change or clean the tip or tip guard without
first performing the “Pressure Relief Procedure.”
1. Performthe“PressureReliefProcedure”describedinthesprayer’s
Owner’sManual.
2. Removethetipfromtheslotonthetipguard.
3. Insertthenewtipintotheslotonthetipguard.Thearrowonthetip
handleshouldbepointingintheforwarddirectionforspraying.
Removing the Tip Seal and Tip Seal Retainer
Tip
Guard
Tip
Tip Seal Retainer
1. Removethetipfromthetip
guard.
2. Insertthetiphandlethroughthe
front of the tip guard.
3. Pushthetipsealandtipseal
retaineroutthroughthebackof
the tip guard.
Identifying Tip Sizes
Toidentifytipsizes,usethefollowing
formula.A“517”tipsizewillbeusedin
this example.
Therstdigitmultipliedbytworepresentsthesizeofthespraypatternwhen
spraying12”awayfromtheworksurface:
5x2=10”spraypattern
Thesecondtwodigitsrepresentthediameteroftheoriceonthetip:
17=.017”orice
Cleanup
Maintainingacleangunisimportanttoensuretrouble-freeoperation.
Removethetipguard,tipswivel,andpolemount,andushthegunaftereach
use.Storeinadrylocation.Donotleavethegunoranyofitspartsinwater
or solvents.
Special cleanup instructions for use with flammable solvents:
• Alwaysushspraygunpreferablyoutsideandatleastonehose
length from spray pump.
• Ifcollectingushedsolventsinaonegallonmetalcontainer,
place it into an empty ve gallon container, then ush solvents.
• Areamustbefreeofammablevapors.
• Followallcleanupinstructions.
IMPORTANT: The sprayer, hose, and gun should be cleaned thoroughly
after daily use. Failure to do so permits material to cake, seriously
affecting the performance of the unit.
Always spray at minimum pressure with the tip guard, tip
swivel, and pole mount removed when using mineral spirits
or any other solvent to clean the sprayer, hose, or gun. Static
electricity buildup may result in a fire or explosion in the
presence of flammable vapors. Hold the gun firmly against a
metal container while flushing.
Maintenance
Follow all safety precautions as described in the Safety
Precautions section of this manual before proceeding.
Replacing/Servicing the Seal Assembly
Ifthespraygunleaksorspitsatthetipwhenthetriggerisreleased,theseal
assemblyisworn,damaged,ordirtyandmustbereplacedorcleaned.
Never attempt to perform maintenance on the spray gun
without first performing the “Pressure Relief Procedure.”
1. Disconnecttheairlesssprayhosefromthegun.
2. Placeonewrenchonthegunheadttingandanotherwrenchonthe
rear tting of the extension pole. Turn the entire extension pole to
unthreaditfromthegunheadtting.Makesurethettingonthe
extension pole does not move during its removal.
IMPORTANT: Do not try to remove either of the fittings on the extension
pole. Movement of these fittings will break the factory seal and cause the
gun to leak.
3. Carefullyremovetheentireextensionpoletoexposetheshaftand
ballholder.Makesurethettingontheextensionpoledoesnot
move during removal of the extension pole.
4. Placealockingpliersontheshaftascloseaspossibletotheseal
assembly.Whileholdingthesealassemblyinplacewithawrench,
unthreadtheshaftfromthesealassemblyusingthelockingpliers.
5. Removethetriggerguard.
a. Pullthebackofthetriggerguarddownsothatitcomesloose
fromtheswivelassemblyonthehandle.
b. Twistthefrontofthetriggerguardoutoftheslotinthegun
head.

 Loading...