Installation
HRV1.25, 1.35, 1.6, 1.65, 1.75, 2, 2.85 & 3 Q Plus
Read and observe the guidance & safety notices listed in Warnings, Safety Information and Guidance .
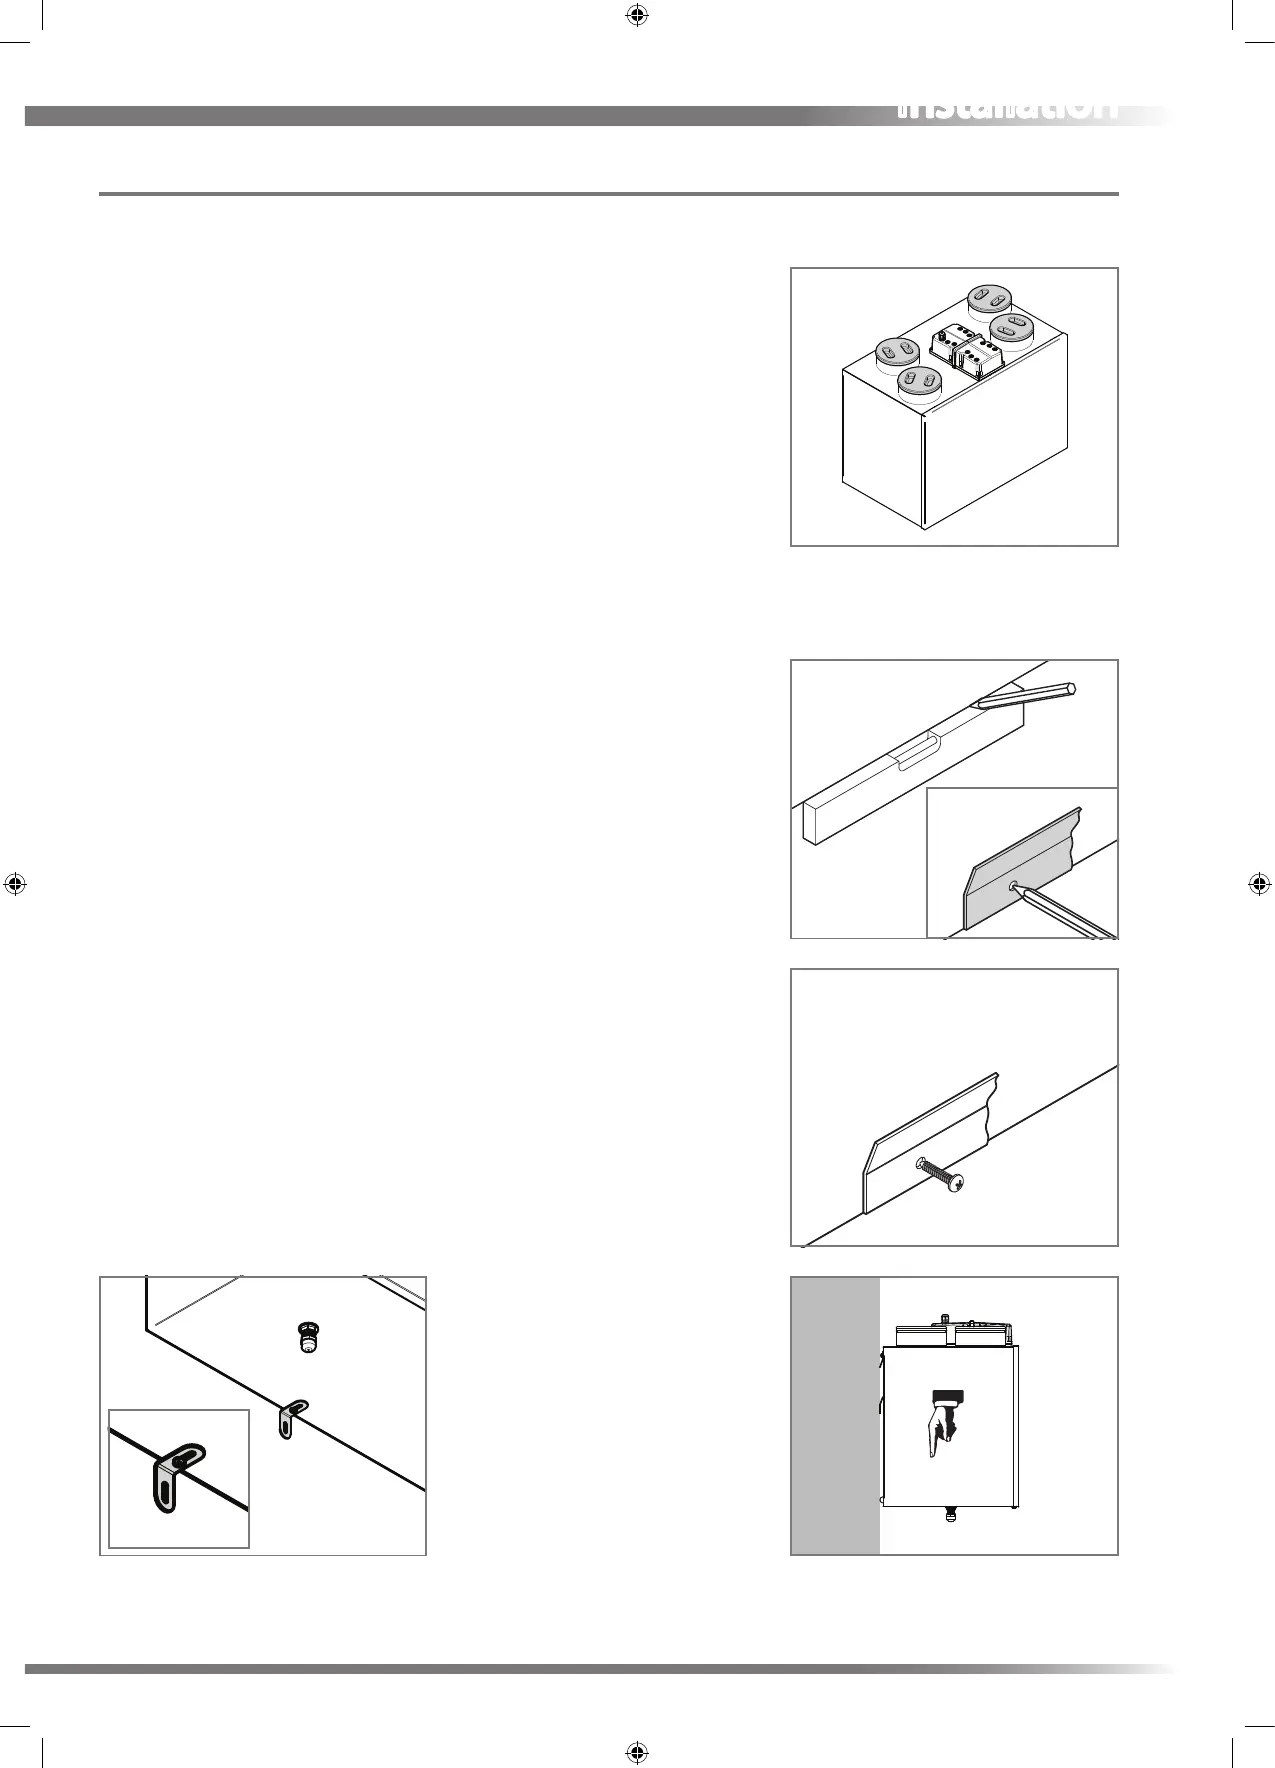
Do not remove the Port Covers until connecting ducting. Port Covers are tted
to prevent debris falling into the unit and causing blockages and damage:
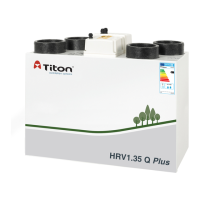
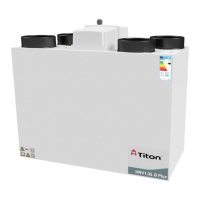
The Titon HRV Q Plus is designed to be mounted on a wall or similar. The
mounting surface must be suciently strong to support the unit.
Consider the positioning of electrical services and the Condensate Drain
when siting the unit.
Ensure there is sucient access around the HRV Q Plus for future
maintenance.
Do not ‘box-in’ the unit making access to the unit dicult for maintenance
and repair.
The Unit Must be mounted plumb and level front to back and side to side.
1. Mark a horizontal line on the wall using a spirit level. This line will be
approximately 95mm below the location of the top face of the unit when
tted (excluding duct ports)
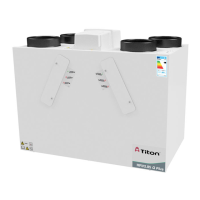
2. Use one of the Mounting Brackets as a template to mark the three xing
hole centres
3. Drill holes for xings, always use a xing suited to the wall type
4. Fix one Mounting Bracket to the wall ensuring the interlocking side is at the
top, as shown
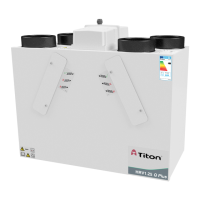
5. Fix the remaining Mounting Bracket to the unit using the M6 screws and
washers provided, ensuring the interlock side is at the bottom. Do not
overtighten
6. Mount the unit by locating the two Mounting Brackets together. Ensure a
positive location is made between the two Mounting Bracket
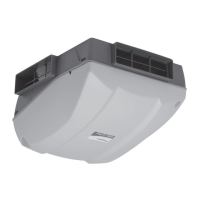
7. The Safety Bracket MUST be tted. Fix the lower Safety Bracket as shown
using the remaining M6 screw, washer and suitable wall xing. Packing to
be used as required behind the Safety Bracket to ensure unit is level
Hook onto
Wall Bracket
Safety Bracket highlighted
Mounting Bracket highlighted
7