Hardware Version : 5.02 Document Version : 1.0.
TECHMAN ROBOT INC. 5F., No. 58-2, Huaya 2nd Rd., Guishan Dist., Taoyuan City, 333411 , Taiwan
18
6. Assembly and Disassembly Guide for Robot
Quick maintance quide
To ensure operational safety, disassembly of Joint 1 and Joint 2 requires the collaborative effort of at least
three people. Disassembly of other components requires a minimum of two people working together.
Before disassembly, ensure that the robot is completely powered off completely and that both the
external power cord and robot cable have been disconnected.
Before disassembly, remove the robot from the platform and place it horizontally on a non-hard surface
(e.g., blanket or sponge pad).
Before disassembly, take photos to record the status and wiring configuration. These photos will serve as
reference points during the reassembly process.
Follow the right-hand rule when disassembling and installing screws.
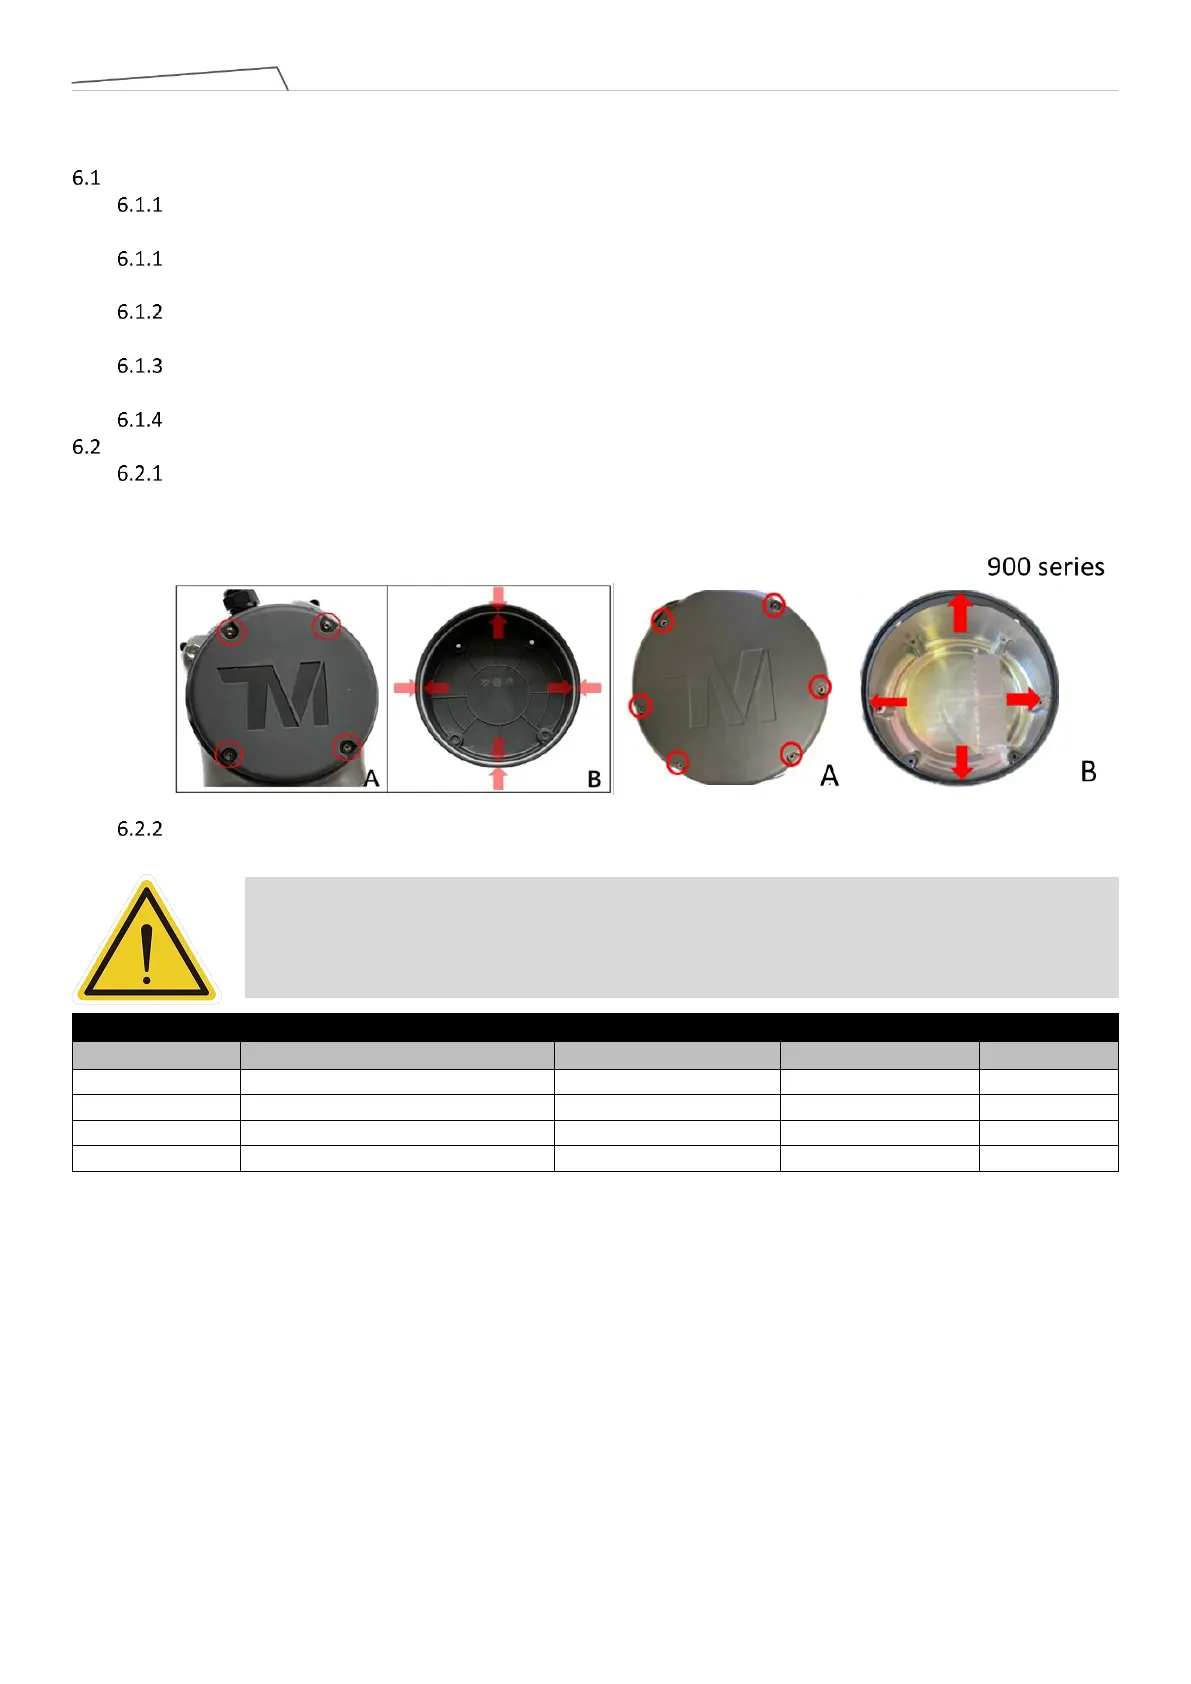
Disassembly and assembly of Joint cover and Joint rubber
Joint cover disassembly: To disassemble the joint cover, use a hex cap screwdriver to loosen the four
hexagonal socket head cap screws (Fig. A). Then, gently remove the cover by hand, being careful to keep
the O-ring in the groove.
Joint cover assembly: To assembly the joint cover, ensure that the O-ring is in the groove (Fig. B) and
tighten the four socket head cap screws using a torque screwdriver and a socket head torque screwdriver.