Hardware Version : 5.02 Document Version : 1.0.
TECHMAN ROBOT INC. 5F., No. 58-2, Huaya 2nd Rd., Guishan Dist., Taoyuan City, 333411 , Taiwan
28
Install the jig, secure the lifting rope to the auxiliary tool, and adjust the lifting rope slightly tight to prevent
the Joint from tilting in other directions after the Joint connection screws are removed.
Remove the connecting screws between Joint 2 and Joint 1, and take off Joint.
When assembling the Joint 2, reverse the steps mentioned above.
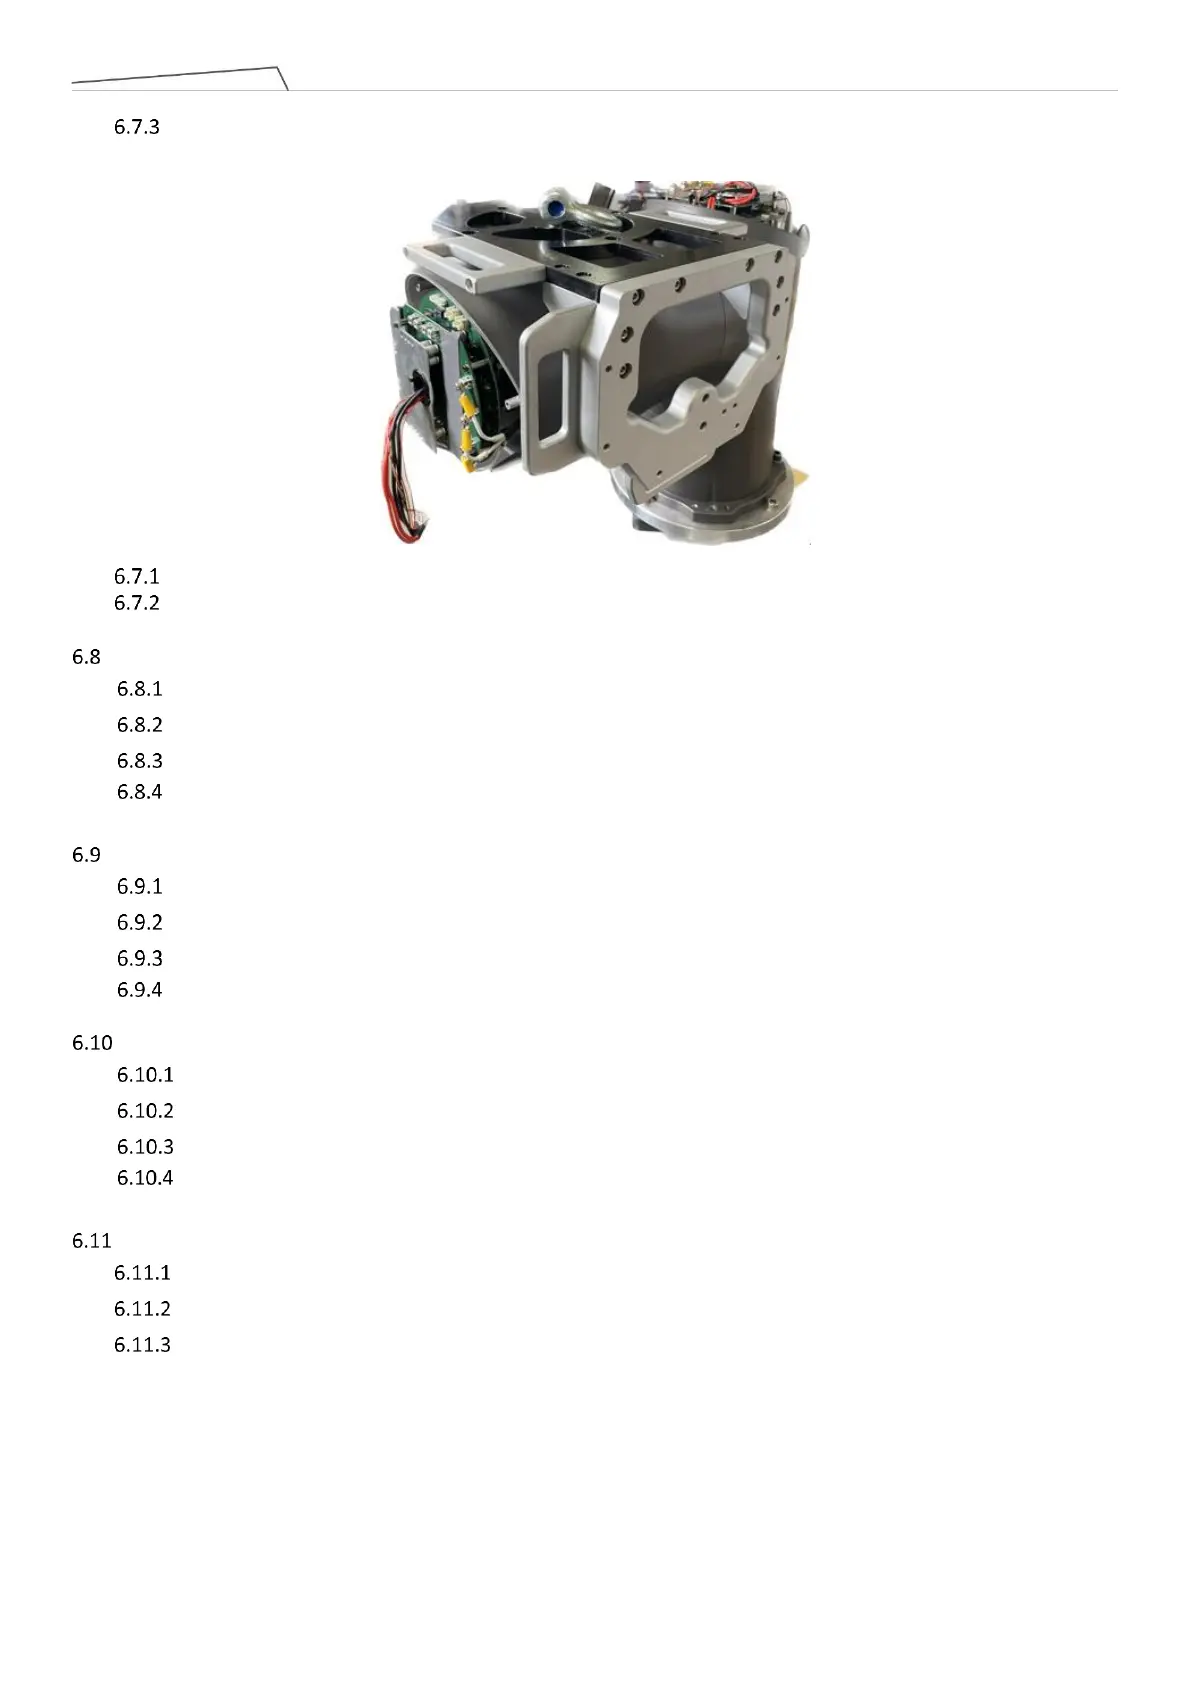
Disassembly and assembly 800 Series Joint
Remove the Joint cover and Joint rubber.
Remove the Joint cable from the Joint.
Remove the screws connecting the Joint to other Joints or the Arm, then detach the Joint.
During assembly, follow the reverse steps of the previously mentioned procedure.
Disassembly and assembly 500 Series Joint
Remove the Joint cover and Joint rubber.
Remove the Joint cable from the Joint.
Remove the screws connecting the Joint to other Joints or the Arm, then detach the Joint.
During assembly, follow the reverse steps of the previously mentioned procedure.
Disassembly and assembly 200L Series Joint
Remove the Joint cover and Joint rubber.
Remove the Joint cable from the Joint.
Remove the screws connecting the Joint to other Joints or the Arm, then detach the Joint.
During assembly, follow the reverse steps of the previously mentioned procedure.
Disassembly and assembly Upper arm
Remove Joint cover and Joint rubber which in Joint 2 & Joint 3
Remove Joint cable which in Joint 2 & Joint 3
Remove the screws connecting the Upper arm to Joint 2 and Joint 3, then detach the Upper arm.