19
Checks and adjustments
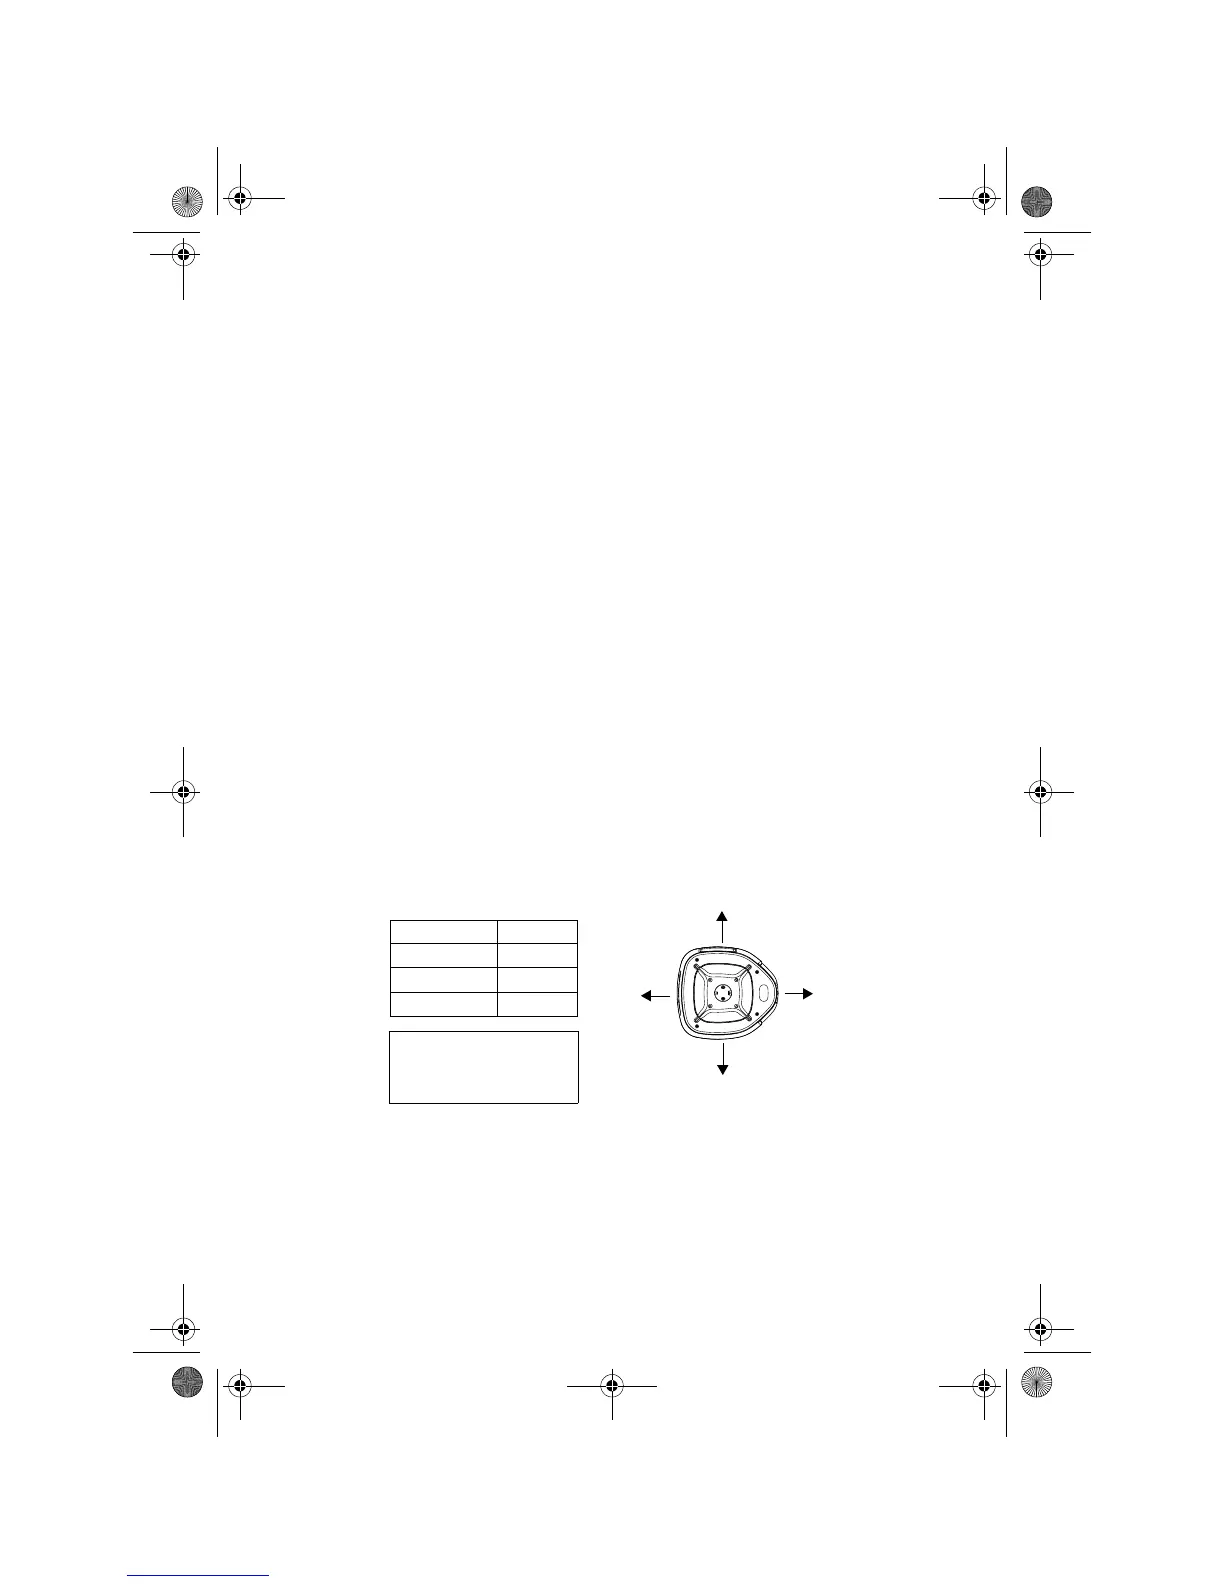
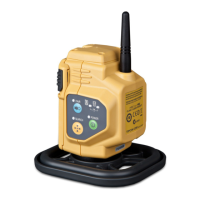
1 Checking and adjusting calibration
Horizontal calibration of the laser beam can be checked by the user.
[Checking]
1 Set up a tripod approx. 50m (160ft) from a wall. Mount the instrument on the
tripod, facing the X1 side toward the wall.
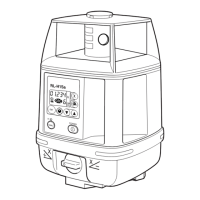
2 Turn the instrument on and allow auto-leveling to complete.
3 Put the laser sensor in fine detection mode by pressing the On-Grade preci-
sion switch.
4 By using the laser sensor, mark the center position of laser beam on the
wall. (X1)
5 Turn off the instrument.
Loosen the tripod screw, rotate the instrument 180 degrees and re-secure it
on the tripod. The X2 side of the instrument faces toward the wall.
When rotating the instrument, avoid changing the height.
6 Turn the unit on again and allow auto-leveling to complete.
7 By using the laser sensor, mark the center position of laser beam on the
wall. (X2)
8 If the difference value of marked two laser beam heights (difference value of
X1 and X2) are less than the value specified in the next table, adjustments
are not needed. If the difference value is greater than the value specified in
the table, adjust the instrument as described below. *
9 Check the X1 (handle) side as the same way.
X1
X2
*If the difference value is
greater than 60mm (2 3/8
inches), contact your Topcon
dealer.
Y1
Y2
Type Value
RL-H3C 7 mm
RL-H3CL 5 mm
RL-H3CS 7 mm
RL-H3C_CL_CS.fm Page 19 Monday, June 12, 2006 9:47 AM