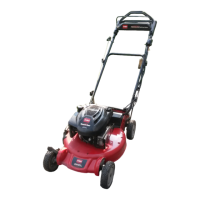
Figure 29
2. W hen the engine stops , remo v e the ignition k ey when
y ou lea v e the mo w er .
Engaging the Blade
W hen y ou star t y our engine , the blade does not tur n. Y ou
m ust eng ag e the blade to mo w .
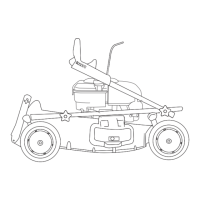
1. Pull the control bar loc k bac k ( Figure 30 ).
Figure 30
2. Pull the blade control bar to the handle ( Figure 31 ).
Figure 31
1. Blade control bar
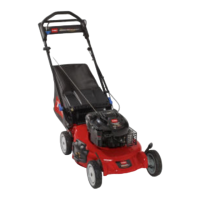
3. Hold the blade control bar ag ainst the handle ( Figure
32 ).
Figure 32
Disengaging the Blade
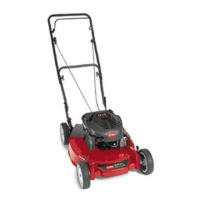
R elease the blade control bar ( Figure 33 ).
Figure 33
Important: W hen y ou r elease the blade contr ol bar ,
the blade should stop within 3 seconds. If it does not
stop pr oper l y , stop using y our mo w er immediatel y and
contact an Authoriz ed Ser vice Dealer .
Checking the Blade Brake
Clutch Operation
Chec k the control bar before eac h use to ensure that the
blade brak e clutc h system is operating properly .
Using the Grass Bag
Y ou can use the g rass bag to perfor m an additional test to
c hec k the blade brak e clutc h.
1. Install the empty g rass bag on the mo w er .
2. Star t the engine .
3. Eng ag e the blade .
Note: T he bag should begin to inflate , indicating that
the blade is eng ag ed and rotating .
4. R elease the blade control bar .
Note: If the bag does not immediately deflate , the
blade is still rotating . T he blade brak e clutc h ma y be
deteriorating and, if ignored, could result in an unsafe
operating condition. Ha v e the mo w er inspected and
ser viced b y an A uthorized Ser vice Dealer .
5. Stop the engine and w ait for all mo ving par ts to stop .
Not Using the Grass Bag
1. Mo v e the mo w er onto a pa v ed surface in a non-windy
area.
2. Set all 4 wheels to the 3-1/4 inc h (8 cm) cut setting .
3. T ak e a half sheet of newspaper and cr umple it into a ball
small enough to g o under the mo w er housing (about 3
inc hes or 7.6 cm in diameter).
4. Place the newspaper ball about 5 inc hes (13 cm) in
front of the mo w er .
5. Star t the engine .
6. Eng ag e the blade .
12