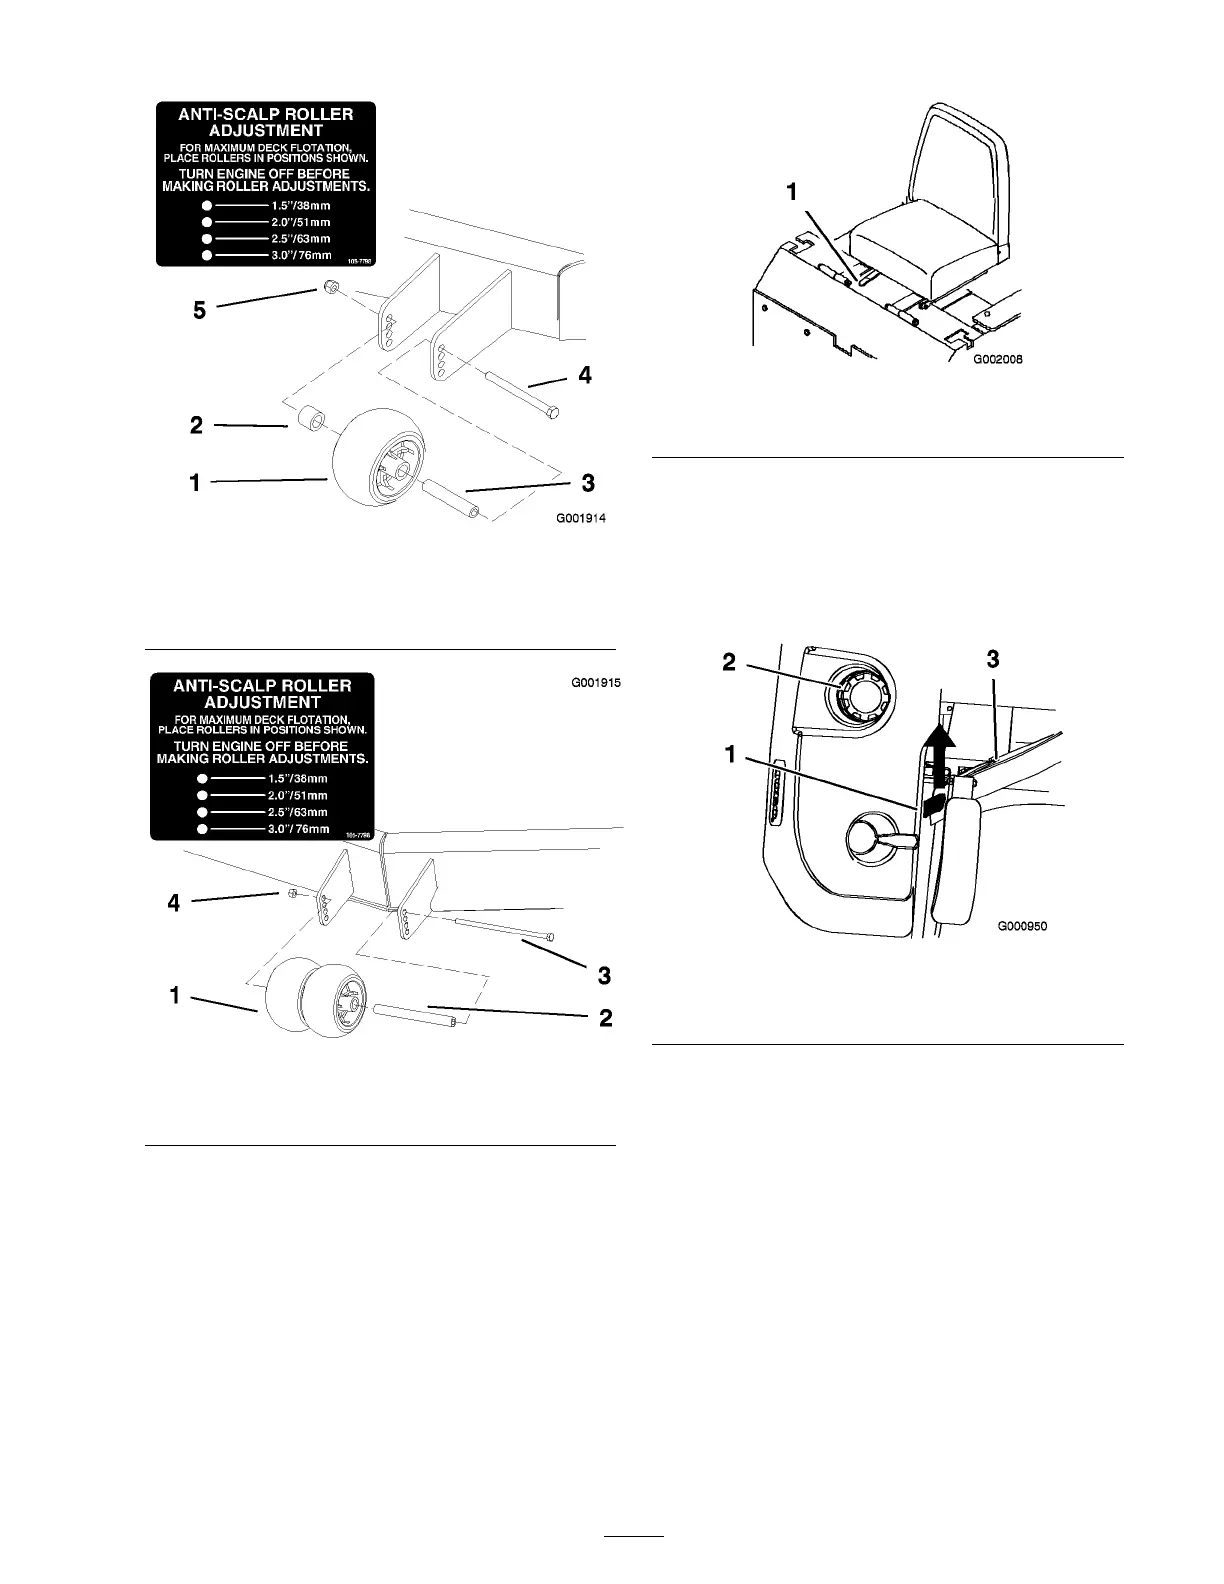
Figure 20
1. Anti-scalp roller 4. Flange Nut
2. Spacer
5. Bolt
3. Bushing
Figure 21
1. Anti-scalp roller 3. Flange Nut
2. Bushing 4. Bolt
Positioning the Seat
T he seat can mo v e forw ard and bac kw ard.
P osition the seat where y ou ha v e the best control
of the mac hine and are most comfor table .
Important: T o adjust, mo v e the lev er
sidew ays to unlock seat ( Figur e 22 ).
Slide the seat to the desired position and release
lev er to loc k in position.
Figure 22
1. Adjustment lever
Unlatching the Seat
Push the seat latc h rearw ard to unlatc h the seat.
T his will allo w access to the mac hine under the
seat ( Figure 23 ).
Figure 23
1. Seat latch
3. Seat
2. Fuel cap
Pushing the Machine by
Hand
Important: Al w ays push the machine
by hand. Nev er to w the machine because
h y draulic dama ge may occur .
Pushing the Machine
1. Diseng ag e the po w er tak e off (PTO) and
tur n the ignition k ey to off . Mo v e the lev ers
to neutral loc k ed position and apply parking
brak e . R emo v e the k ey .
2. R otate the b y-pass v alv es countercloc kwise
1 tur n to push. T his allo ws h y draulic fluid to
21