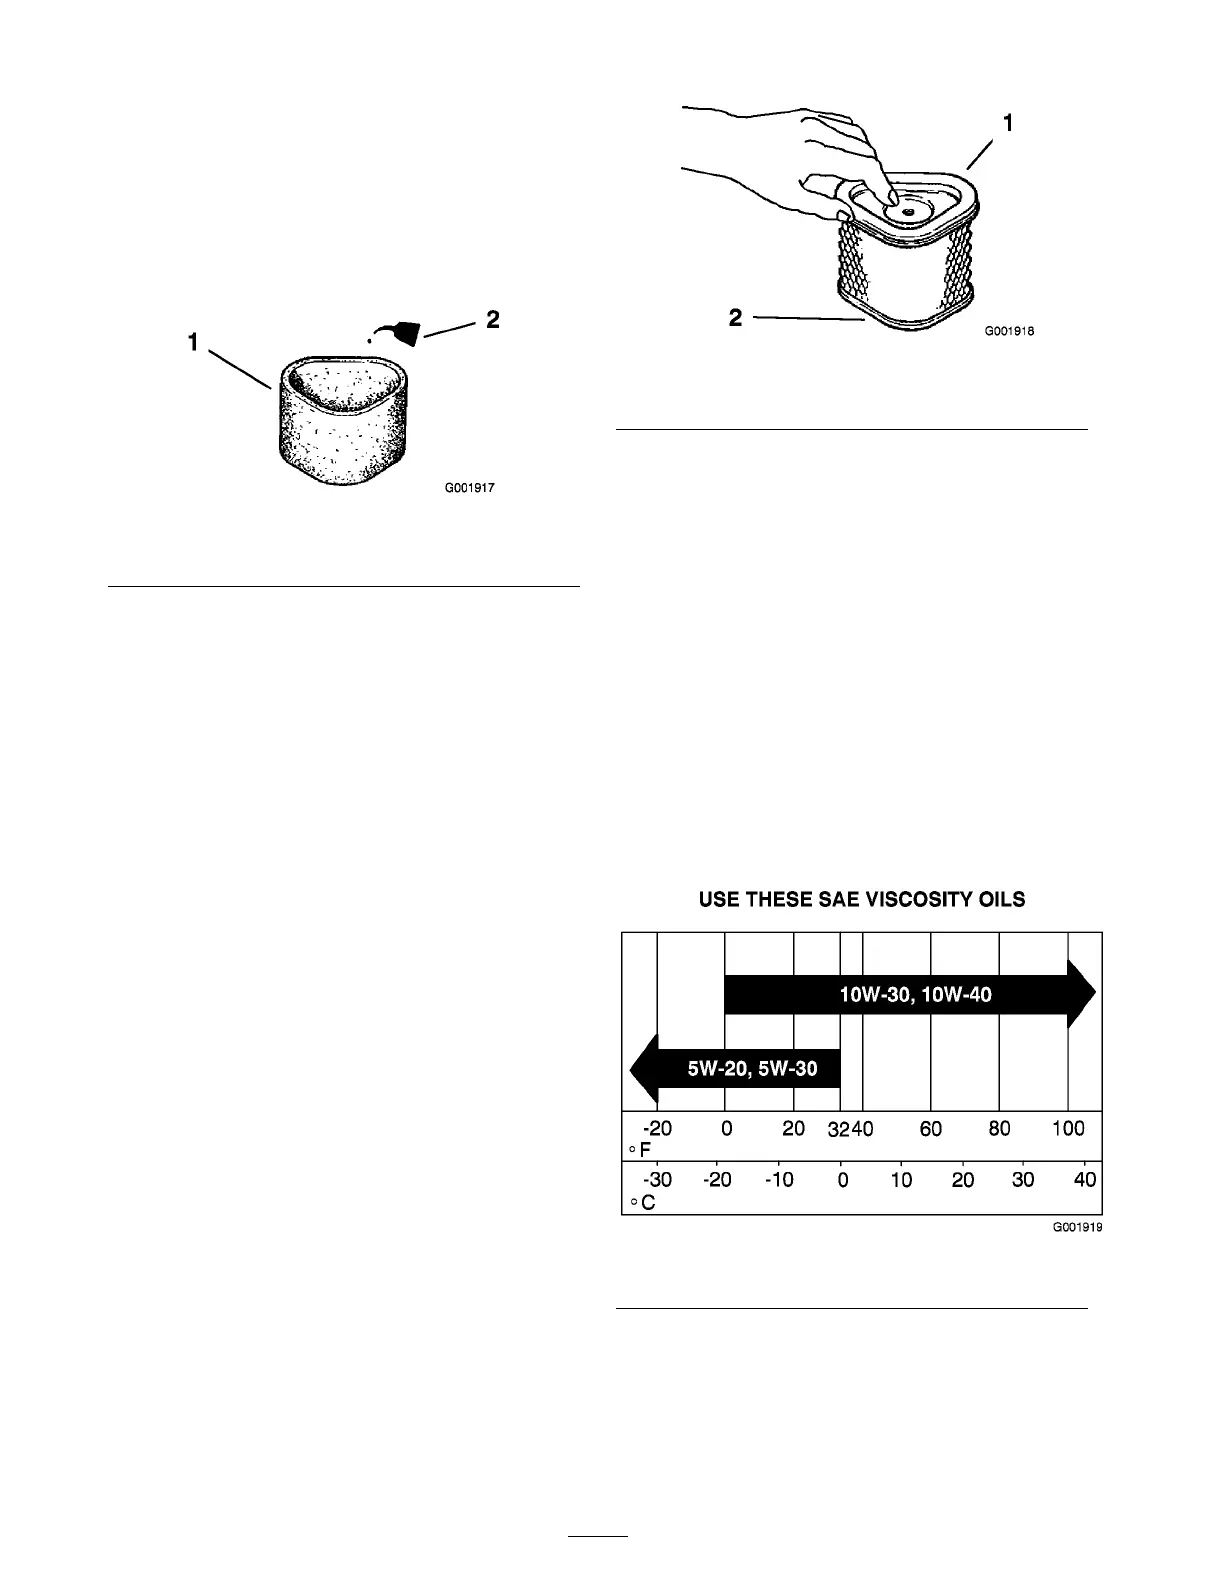
2. Dr y the element b y squeezing it in a clean cloth.
Do not wring it as this ma y cause damag e .
3. Put oil on the element and squeeze it to
distribute the oil.
Important: R eplace the f oam element
if it is tor n or w or n.
Figure 29
1. Foam element 2. Oil
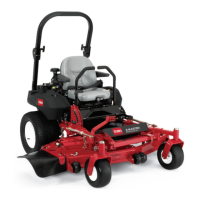
Servicing the Paper Air Cleaner
Element
1. Do not clean the paper filter . R e place it after
100 operating hours ( Figure 28 ).
2. Inspect the element for tears , an oily film, or
damag e to the r ubber seal.
3. R e place the paper element if it is damag ed.
Installing the Foam and Paper
Elements
Important: T o pr ev ent engine dama ge,
al w ays operate the engine with the complete
f oam and paper air cleaner assembl y installed.
1. Carefully slide the foam element onto the
paper air cleaner element ( Figure 28 ).
2. Place the air cleaner assembly onto the air
cleaner base and secure it with the wing n ut
( Figure 28 ).
3. Place the air cleaner co v er into position and
tighten the co v er knob ( Figure 28 ).
Figure 30
1. Paper element 2. Rubber seal
Servicing the Engine Oil
Service Interval/Specication
Chang e the engine oil as follo ws after ev er y
100 operating hours .
Note: Chang e the oil more frequently when the
operating conditions are extremely dusty or sandy .
Oil T ype: Deterg ent oil (API ser vice SF , SG , SH,
or SJ)
Crankcase Capacity: 64 ounces (1.9 liter) with the
filter .
Viscosity: R efer to the table belo w
Figure 31
Checking the Engine Oil Level
1. P ark the mac hine on a lev el surface .
2. Diseng ag e the PTO , tur n the ignition k ey to
off , and remo v e the k ey .
28