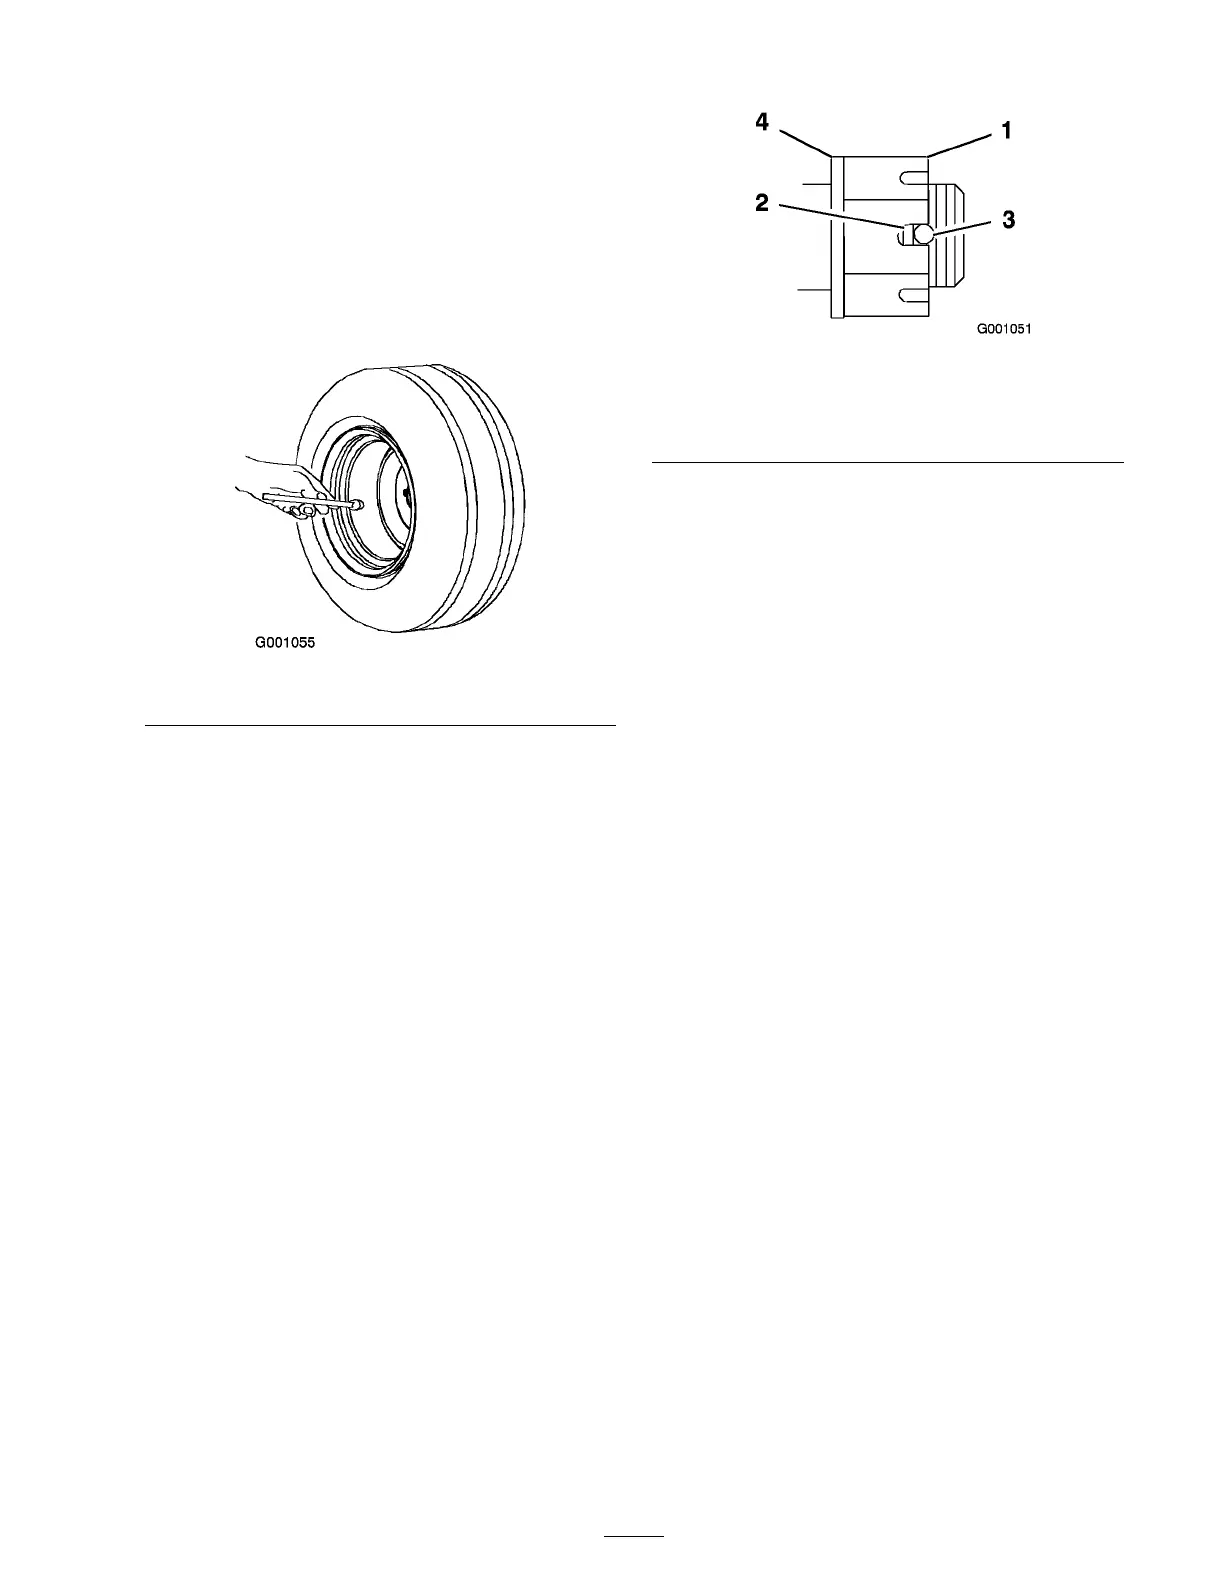
Checking the Tire Pressure
Chec k the pressure at the v alv e stem after ev er y
50 operating hours or monthly , whic hev er occurs
first ( Figure 42 ).
Maintain the air pressure in the front and rear tires
at 13 psi (90 kP a).. Unev en tire pressure can cause
unev en cut. Chec k the tires when they are cold to
g et the most accurate pressure reading .
Figure 42
Checking the Wheel Hub
Slotted Nut
Chec k after ev er y 500 operating hours .
T he slotted n ut needs to be tor qued to 125 ft-lb
(170 N•m).
1. Diseng ag e the PTO , mo v e the motion control
lev ers to the neutral loc k ed position and set
the parking brak e .
2. Stop the engine , remo v e the k ey , and w ait for
all mo ving par ts to stop before lea ving the
operating position.
3. R emo v e the cotter pin.
4. T or que the slotted n ut to 125 ft-lb (170 N•m)
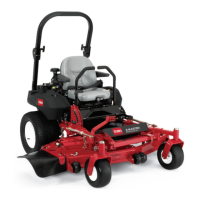
( Figure 43 ).
Figure 43
1. Slotted Nut 3. Hole in threaded shaft
2. Two threads or less
showing
4. Washer (if needed)
5. Chec k the distance from bottom of slot in n ut
to inside edg e of hole . T w o threads or less
should be sho wing ( Figure 43 ).
6. If more than tw o threads are sho wing remo v e
n ut and install w asher betw een hub and n ut.
7. T or que the slotted n ut to 125 ft-lb . (170 N•m)
( Figure 43 ).
8. Tighten the n ut until the next set of slots line
up with the hole in the shaft ( Figure 43 ).
9. R e place the cotter pin.
Adjusting the Caster Pivot
Bearing
Chec k after ev er y 500 operating hours or at
storag e , whic h ev er comes first.
1. Diseng ag e the PTO , mo v e the motion control
lev ers to the neutral loc k ed position and set
the parking brak e .
2. Stop the engine , remo v e the k ey , and w ait for
all mo ving par ts to stop before lea ving the
operating position.
3. R emo v e the dust cap from caster and tighten
loc k n ut ( Figure 44 ).
4. Tighten the loc kn ut until the spring w ashers
are flat and then bac k off a 1/4 tur n to properly
set the pre-load on the bearings ( Figure 44 ).
Important: Mak e sur e spring w asher s
ar e installed cor r ectl y as sho wn in
Figur e 44 .
5. Install the dust cap ( Figure 44 ).
35