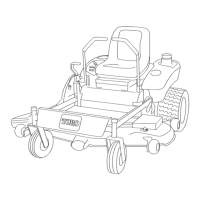
InstallingtheMowerDeck
1.Parkthemachineonalevelsurfaceanddisengagethe
blade-controlswitch.
2.Movethemotion-controlleversoutwardtothe
NEUTRAL-LOCKposition,shutofftheengine,remove
thekey,settheparkingbrake,andwaitforallmoving
partstostopbeforeleavingtheoperatingposition.
3.Slidethemowerunderthemachine.
4.Lowertheheight-of-cutlevertothelowestposition.
5.Placetheheight-of-cutpininthelockpositionfor
lowestheightofcut.
6.Lifttherearofthemowerdeckandattachthechains
totherearliftarms(Figure68).
7.Attachthefrontchainstothefrontliftarms(Figure
68).
8.Installthelonglinkbarthroughtheframehangerand
deck.
9.Securethelinkpinwiththehairpincottersandwashers
removedpreviously(Figure67).
10.Installthemowerbeltontotheenginepulley;referto
ReplacingtheMowerBelt(page44).
ReplacingtheGrassDeector
ServiceInterval:Beforeeachuseordaily—Inspectthegrass
deectorfordamage.
WARNING
Anuncovereddischargeopeningcouldallowthe
lawnmowertothrowobjectsintheoperator’sor
bystander’sdirectionandresultinseriousinjury.
Also,contactwiththebladecouldoccur.
Neveroperatethelawnmowerunlessyouinstalla
mulchplate,dischargedeector,orgrasscollection
system.
Inspectthegrassdeectorfordamagebeforeeachuse.
Replaceanydamagedpartsbeforeuse.
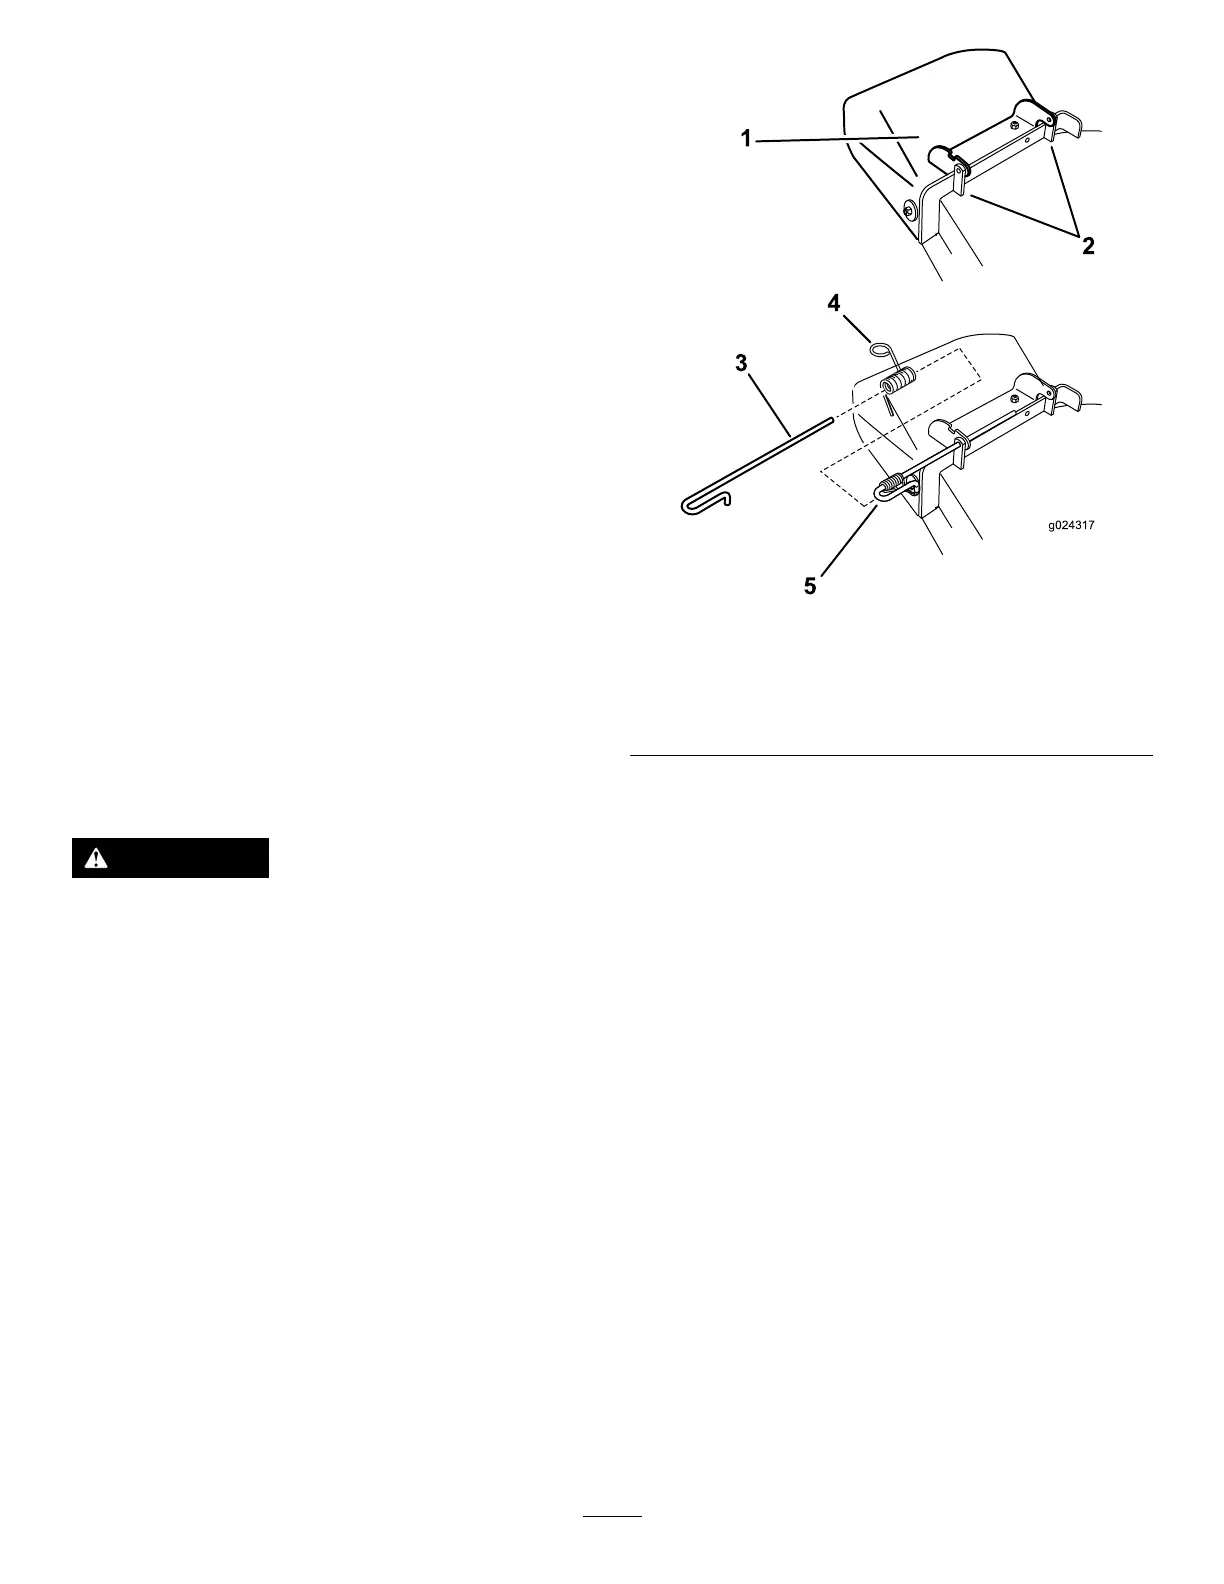
1.Removethecotterpinfromtheendoftherod(Figure
69).
2.Disengagethespringfromthenotchinthedeector
bracketandslidetherodoutoftheweldeddeck
brackets,spring,anddischargedeector(Figure69).
Note:Removethedamagedorworndischarge
deector.
Figure69
1.Deector4.Spring
2.Deckbrackets
5.Springinstalledoverthe
rod
3.Rod
6.Cotterpin
3.Positionthenewdischargedeectorwiththebracket
endsbetweentheweldedbracketsonthedeck(Figure
69).
4.Installthespringontothestraightendoftherod.
Note:Positionthespringontherodasshowninso
theshorterspringendiscomingfromundertherod
beforethebendandgoingovertherodasitreturns
fromthebend.
5.Lifttheloopendofthespringandplaceitintothe
notchonthedeectorbracket(Figure70).
46