
E
Emily HoffmanAug 18, 2025
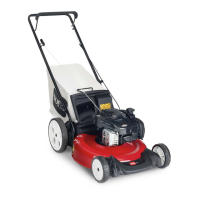
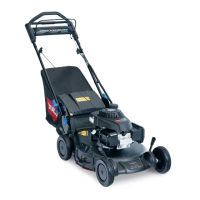
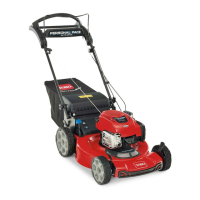
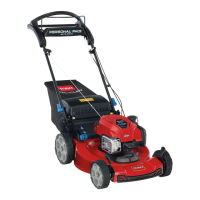
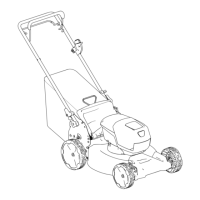
Why my Toro Recycler 21327 does not start?
- CCody MasonAug 18, 2025
If your Toro Lawn Mower doesn't start, it could be due to several reasons. First, ensure the battery is fully installed and latched correctly. If not, remove and replace the battery, making sure it's fully installed. Another reason could be that the battery pack isn't charged, so remove it and charge it. If the battery pack is damaged, it will need to be replaced. If none of these steps work, there may be an electrical problem, and you should contact an Authorized Service Dealer.