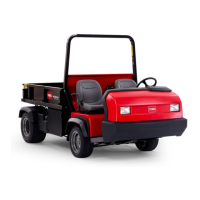
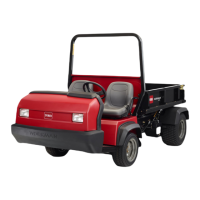
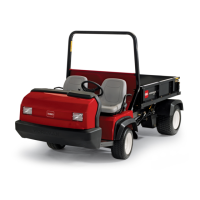
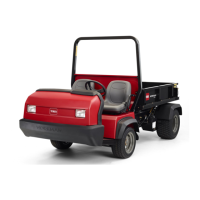
g026275
Figure 47
1. CVT -intake hood
assembly (W orkman
HDX-Auto machines
only—kit sold separately)
4. R-clamp
2. Nut 5. Plate
3. Spacer
6. Bolt
2. Align the holes in the seat rails with the holes
in the shroud for the seat mounting positions
( Figure 6 ).
3. Secure the seats to the chassis with the 8
socket-head bolts ( Figure 6 ) that you removed
in step Removing the Seats ( page 5 ) .
4. Secure the CVT -cooling duct ( Figure 7 ) to the
intake-tube connector using the hose clamp that
you removed in 3 Removing the CVT Cooling
Duct (HDX-Auto Machines only), Coolant T ank,
ROPS Assembly , and Seat Shroud ( page 5 ) .
Important: This step applies to W orkman
HDX-Auto machines only .
Note: Y ou must add the CVT -intake hood
assembly to this kit for W orkman HDX-Auto
machines. See your Authorized Service Dealer .
5. Align the center console panel over the control
rods at the center console ( Figure 3 and Figure
5 ) and secure the panel with the screws that
you removed in 2 Removing the Center Console
Panel and Seats ( page 3 ) .
6. Install the knobs you removed in 2 Removing
the Center Console Panel and Seats ( page 3 ) .
7. Align the left and right anges of the coolant-tank
bracket with the coolant tank support on the seat
shroud ( Figure 8 ).
8. Lower the tank into the support until the tank is
rmly seated ( Figure 8 ).
15
Connecting the Battery ,
Lowering the Bed, and
Installing the Hood
No Parts Required
Procedure
Refer to the Operator ’ s Manual for the machine.
1. Connect the positive battery cable to the battery .
2. Squeeze the battery cover , align the tabs to
battery base, and release battery cover .
Note: Refer to the Operator ’ s Manual for the
machine.
3. Lower the bed; refer to the Operator ’ s Manual .
4. Align the bottom of the hood to the top of the
bumper .
5. Connect the lights.
6. Insert the top mounting tabs into the frame slots.
7. Insert the lower mounting tabs into the pockets
in the bumper .
8. Ensure that the hood is fully engaged in the top,
sides, and bottom grooves.
19

 Loading...
