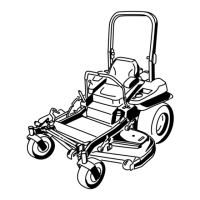
g009038
Figure97
1.Clutchpulley5.Squareholeintheidler
armfortheratchet
2.Mowerbelt
6.Idlergreasetting
3.Spring-loadedidlerpulley
7.Beltguide
4.Ratchet
7.Removeandretainthehardwareonbothsides
ofthedeckasshowninFigure98.
g010252
Figure98
1.Rightstabilizer
2.Deckstrut(rightsideshown)
3.Removetheshoulderboltandnut.
4.Removetheshoulderboltandnut.
8.Raisethedeckstrutsandsecuretheminthe
upposition.
9.Slidethedeckouttotherightsideofthe
machine.
ReplacingtheGrass
Deector
WARNING
Anuncovereddischargeopeningcouldallow
thelawnmowertothrowobjectsatyouor
bystanders,resultinginseriousinjury.Also,
contactwiththebladecouldoccur.
Donotoperatethelawnmowerunlessyou
installacoverplate,mulchplate,grass
deector,orbagger.
1.Removethelocknut,bolt,spring,andspacer
holdingthedeectortothepivotbrackets
(Figure99).
2.Removethedamagedorworngrassdeector
(Figure99).
g015594
Figure99
1.Bolt
5.Springinstalled
2.Spacer6.Grassdeector
3.Locknut
7.J-hookendofspring
4.Spring
3.Placethespacerandthespringontograss
deector.
4.Place1J-hookendofthespringbehindthe
deckedge.
Note:Makesurethat1J-hookendofthe
springisinstalledbehindthedeckedgebefore
installingtheboltasshowninFigure99.
5.Installtheboltandthenut.
69

 Loading...

