PRINTING FROM WINDOWS
- 30 -
2) SNMP V1/V2
Community Name—If a community name other than
“private” (default) is set for the SNMP community name for
your MFP, enter its community name.
• To find your MFP under the SNMP V1/V2 environment,
the community names set for the target MFP must be
specified correctly. For help, consult your administrator.
• To change the community name, the administrator
privilege is necessary. You must log in with the
“Administrator” privilege and open the printer driver
properties.
• Up to 31 characters including the following symbols can
be entered for the Community Name.
! " # $ % & ' ( ) * + , - / : ; < = > ? @ [ \ ] ^ _ ` { | } ~
3) SNMP V3
If SNMP V3 is enabled, select one of the following items to
set how users are authenticated.
User ID File — Select this option when you want to use a
user ID file. Click [Browse] and specify the user ID file.
User Name/Password — Select this option when you want
to use the user name and password. When this option is
selected, use the keyboard to select the following items:
- User Name
- Authentication Protocol
- Authentication Password
- Privacy Protocol
- Privacy Password
• If you select to enable SNMP V3, consult your network
administrator for preliminary advice on how to
authenticate users.
• Up to 31 characters including the following symbols can
be entered for each of the User Name, Authentication
Password and Privacy Password.
! $ % & ' ( ) - , < > @ [ ] ^ _ ` { } ~
4) [Restore Defaults]
Click this button when you want to reset all the settings
back to the defaults.
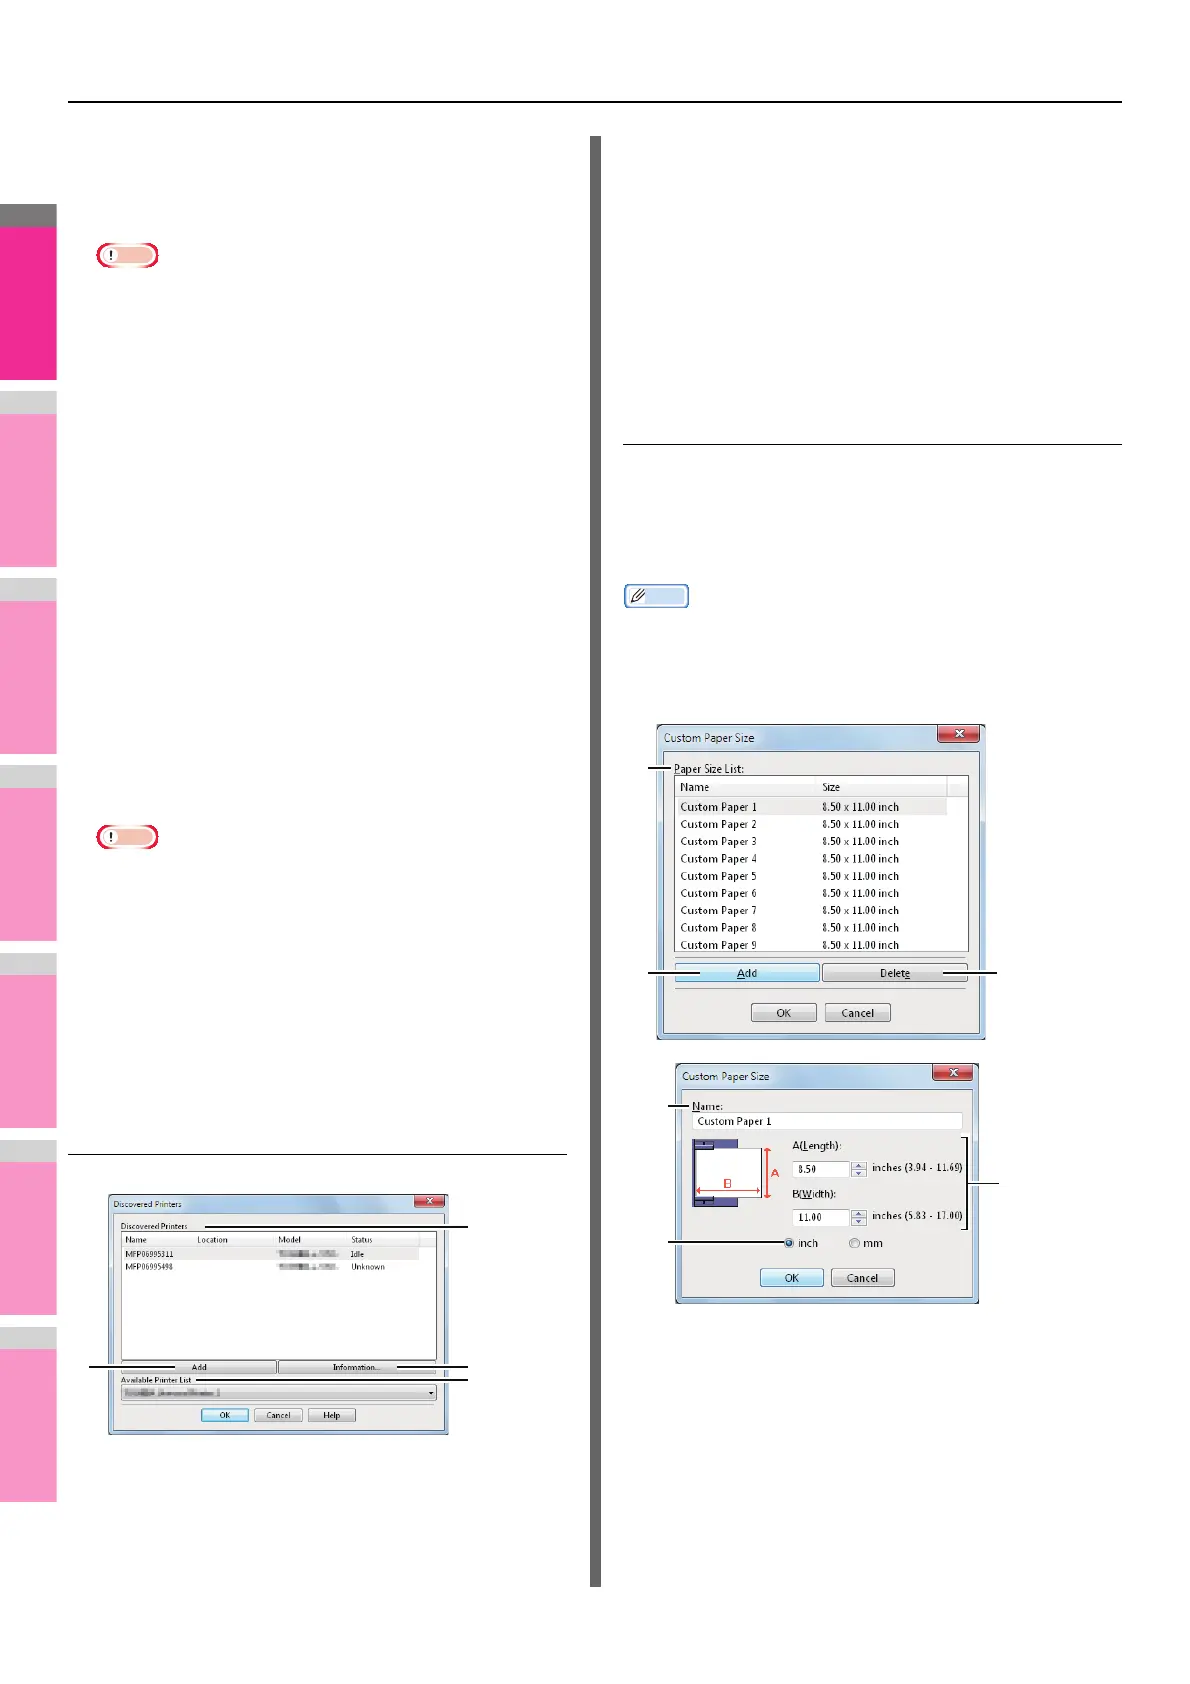
Add Printer
1) Discovered Printers
This displays the MFP discovered over a network. You can
check its name, installation site, model name and status.
2) [Add]
This adds the printers selected in the [Discovered Printers]
box to [Printer Folder].
3) [Information]
This indicates the basic information of the machine
selected in the [Discovered Printers] box. You can check
the availability of color printing, 2-sided printing or stapling,
its copying speed, resolution and the type of paper placed.
4) Available Printer List
This indicates the printers registered in [Printer Folder].
Custom Paper Size
In the [Custom Paper Size] dialog box, up to 40 custom paper
sizes can be defined. The custom page size that you specify
can be selected in the [Original Paper Size] and [Print Paper
Size] box on the [Basic] tab.
Memo
• The defined custom paper size setting can be used in
common for the Universal Printer/PS3/XPS printer drivers or
the Universal Printer 2 / Universal PS3 / Universal XPS
printer drivers.
1) Paper Size List
Select the custom paper size that you want to modify.
2) [Add]
Click this to save the settings over the selected custom
paper size that you selected in the [Paper Size List].
5
4
6