( a )
4. OPTICAL ADJUSTMENT
4-1. Preparation
< Test Equipments and Test Jigs >
. Personal computer
(Windows P/C, OS:windows 95/98)
. Adjustment software SINGO98.exe
. RGB cable
. Panel holder service kit(Refer to page 1-8)
. Extension cable kit
(1) Setting
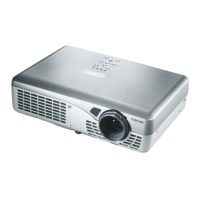
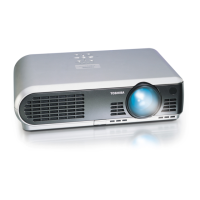
Place projector on a horizontal surface and project
onto a vertical screen.
(2) Remove top cover.
Refer to item 3-2.
(3) Remove Main PC board.
Refer to item 3-3.
(4) Connect LCD panels by using flat extension
cables.
. Connect PJ851 and R-Panel with extension
cable.
. Connect PJ901 and G-Panel with extension
cable.
. Connect PJ951 and B-Panel with extension
cable.
(5) Connect Main PC board using the extension cable
kit. Be careful not to let the PC board touch the
cabinet.
PJ006: To Safty interlook switch (4P)
PJ605: To Speaker (2P)
PJ355: To Intake fan (3P)
PJ001: To Sensor (4P)*
* Extension cable with relay PC board.
(6) Test Pattern Setup
Connect a computer with RGB cable, and start
the Pattern generating software (SINGO98.exe).
. Click cross hatch button.
. Click [R] and [B] buttons to display G-Cross
Hatch, and check the lens focus is achieved.
(7) Convergence Adjustment
Loosen screws (a), and move the panel to back
and front, right and left, and adjust the
convergence using the service kit.
 Loading...