© 2018 Touchjet™ All Rights Reserved 7
The Touchjet WAVE adds a virtual touchscreen to your atscreen TV. Three lasers project a thin
wall of infrared light from the bottom of your WAVE over your TV screen. When you touch the
screen, your nger breaks the light wall, sending a reection to the infrared camera. The WAVE
sees this reection as a touch input. It’s important that the WAVE is aligned properly so that the
light wall is parallel to your TV screen.
Before you begin
Step 1
A. Gently clean the screen, frame and back of your TV to remove any dust or dirt before installing
the WAVE.
B. Find the center of your TV. Many models have their logo centered at the top or bottom, which
you can use for reference.
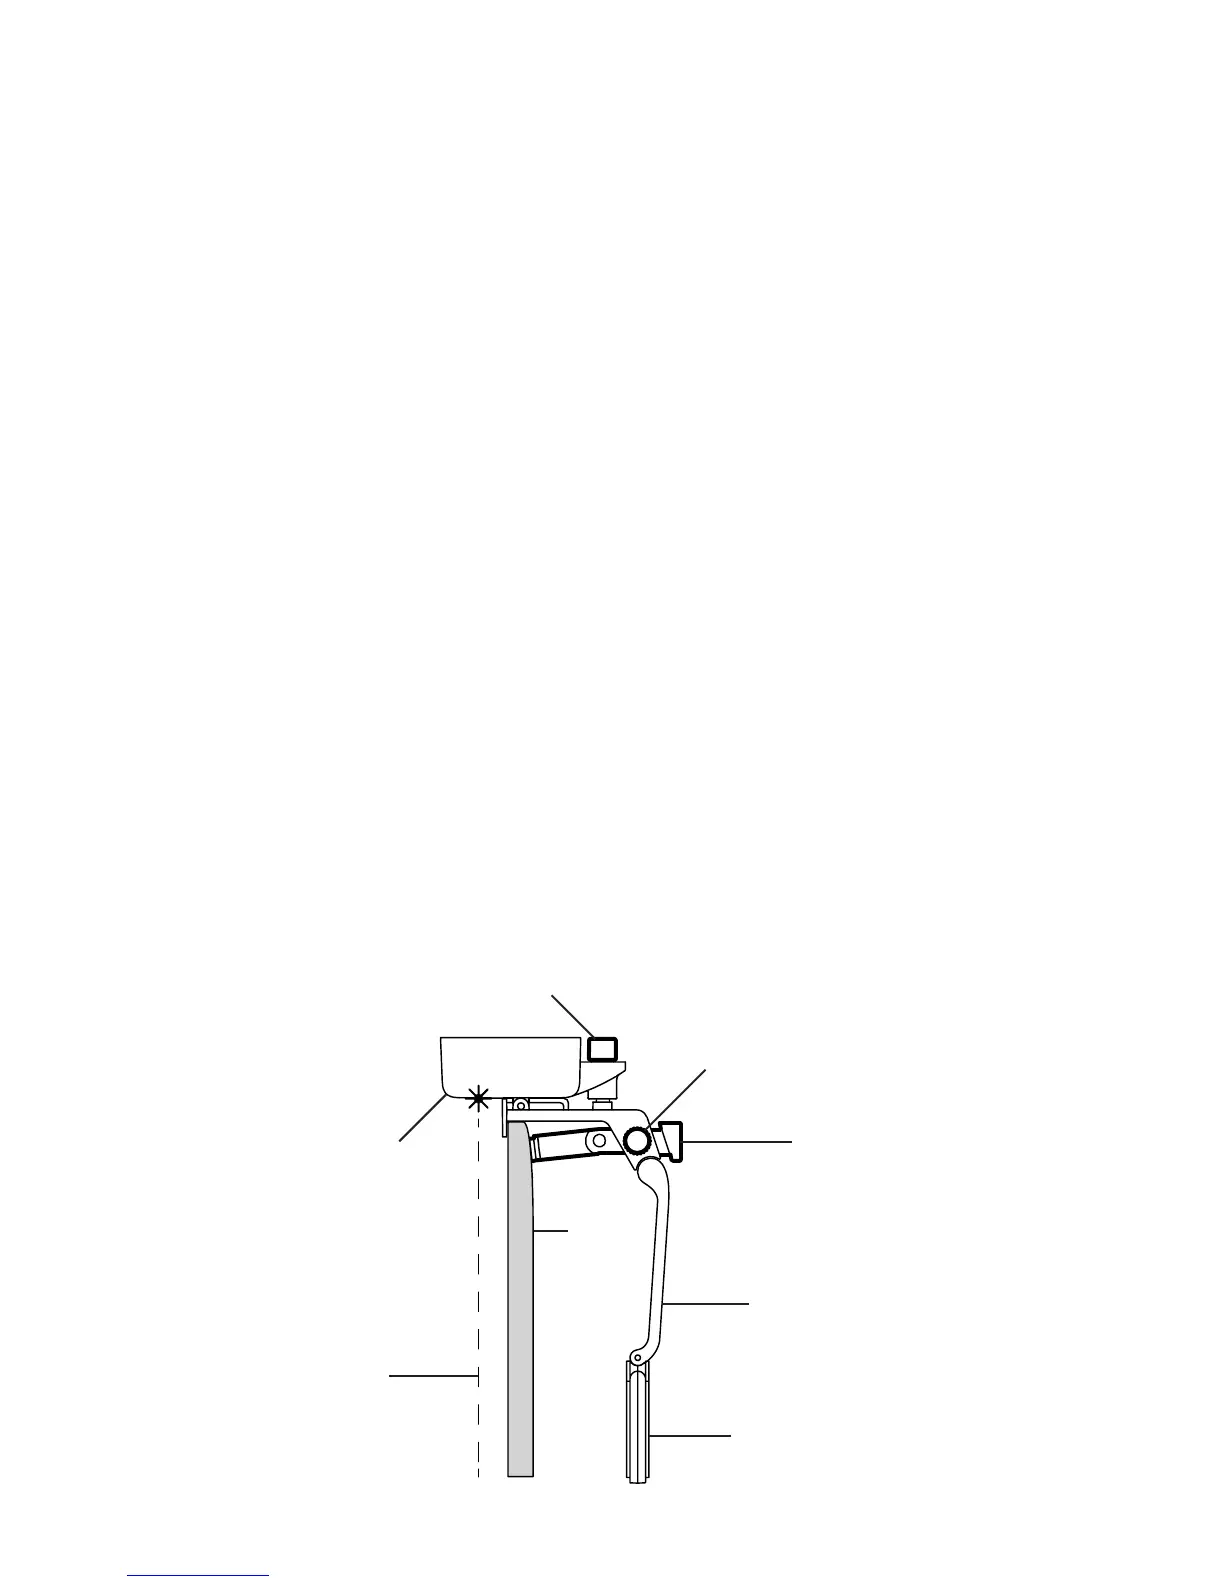
C. Twist the Angle Adjustment Knob on the top of the Android Box clockwise until it
clicks, then about one-half rotation back counterclockwise.
D. Twist the Bracing Knob on the side of the Stabilizing Arm 2-3 rotations
counterclockwise so that the Bracing Rod can move freely.
E. Add the Velcro Tape to the Velcro Pad. Do not remove the Protective Film yet.
Angle Adjustment Knob
Velcro Pad
Stabilizing Arm
Bracing Rod
Bracing Knob
Android Box
TV
Laser