26
Chapter 5
• Add/remove other TP-Link IDs to/from the router.
5. 3. 1. Add TP-Link ID to Manage the Router
1. Visit http://tplinkwifi.net, and log in with your TP-Link ID.
2. Go to Basic > TP-Link Cloud, and focus on the Bound Accounts section.
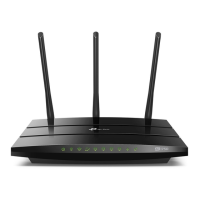
3. Click
, enter another TP-Link ID as needed and click Save.
Note:
If you need another TP-Link ID, please refer to “Manage the Router via the TP-Link Tether App” to install the app and
register a new one.
4. The new TP-Link ID will be displayed in the Bound Accounts table as a User.
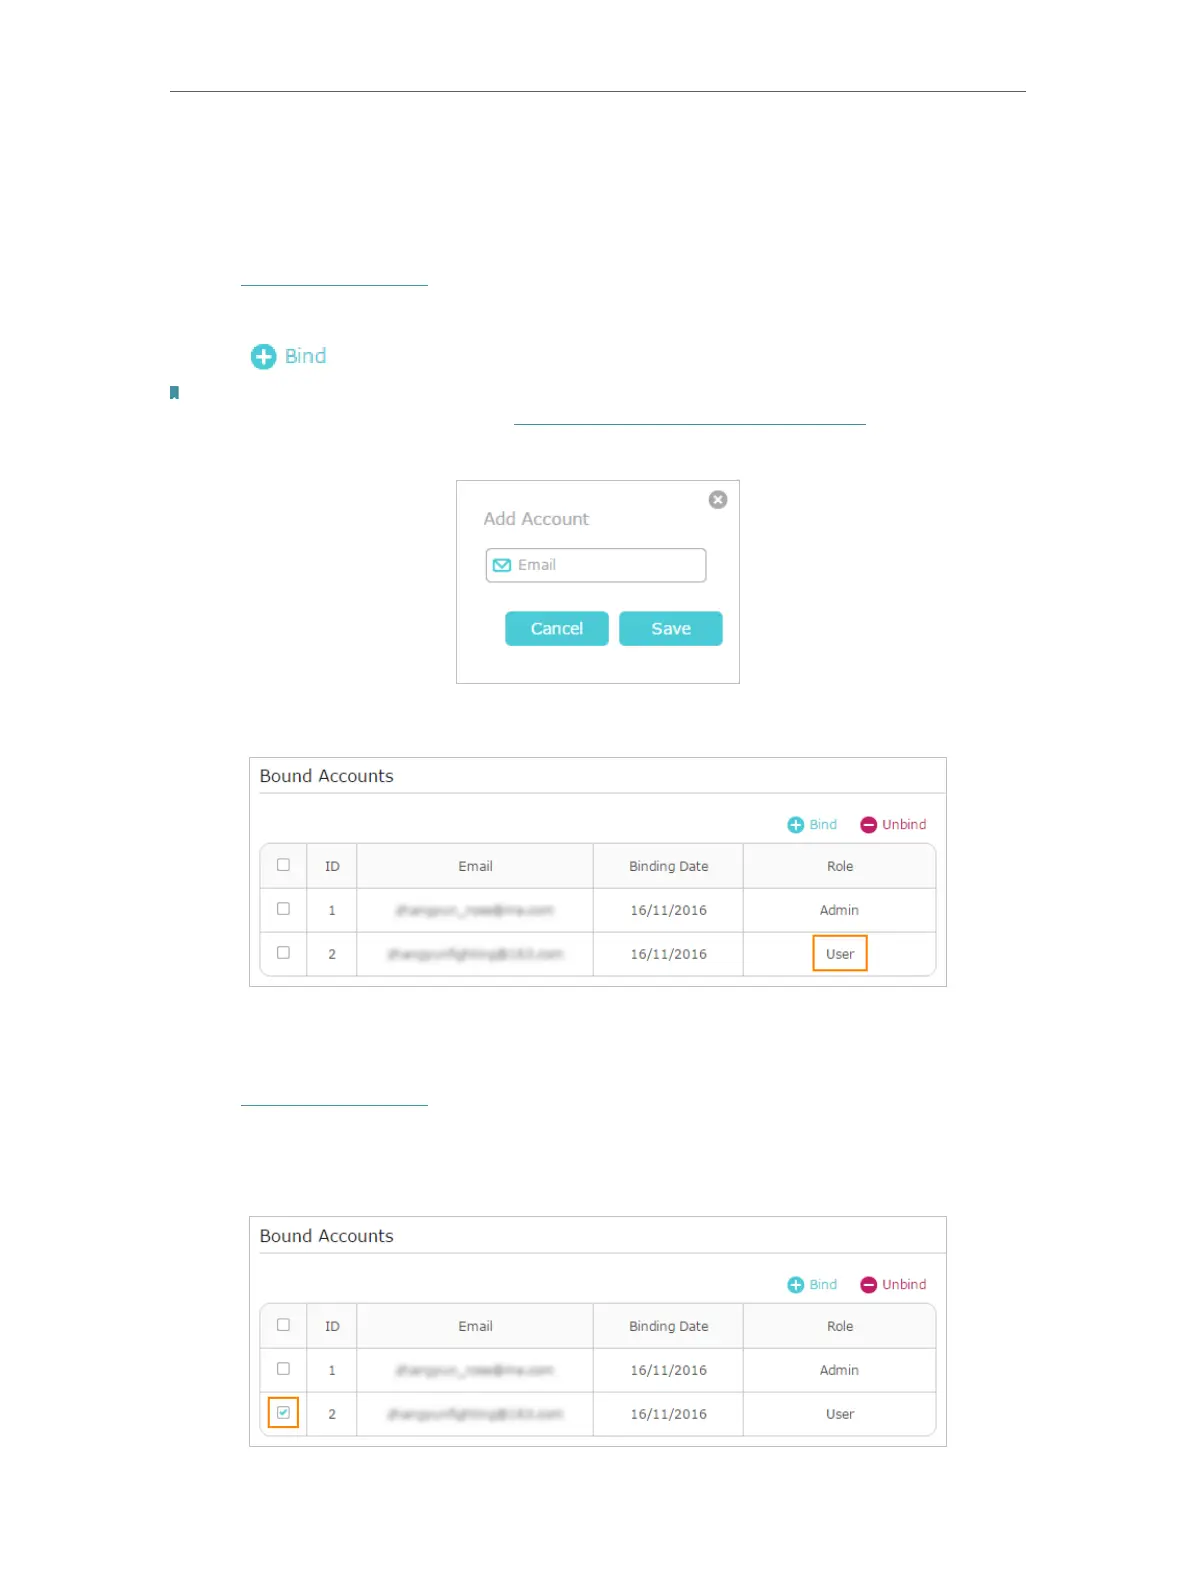
5. 3. 2. Remove TP-Link ID(s) from Managing the Router
1. Visit http://tplinkwifi.net, and log in with your TP-Link ID.
2. Go to Basic > TP-Link Cloud, and focus on the Bound Accounts section.
3. Tick the checkbox(es) of the TP-Link ID(s) you want to remove and click Unbind.