54
Chapter 11
Specify Your Network Settings
11. 5. 2. Use WPS for Wireless Connection
You can use WPS feature to add a new wireless device to your existing network quickly.
Method 1 Use the Wi-Fi Protected Setup Button
Use this method if your client device has a Wi-Fi Protected Setup button.
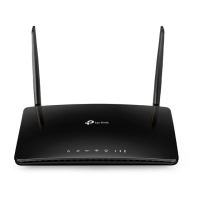
1. Press the WPS/RESET button on the back panel of the router for 1 second.
Note:
You can also use the Push button on the web management page. Go to Advanced > Wireless > WPS page and click the
Start WPS button on the screen.
2. Press the WPS button of the client device within two minutes.
3. The Wi-Fi LED flashes for about two minutes during the WPS process.
4. When the Wi-Fi LED is on, the client device has successfully connected to the
router.
Method 2 Enter the client device’s PIN on the router
1. Visit http://tplinkmodem.net, and log in with the password or your TP-Link ID.
2. Go to Advanced > Wireless > WPS page.
3. Select Method Two--PIN and select Client’s PIN radio button.
 Loading...