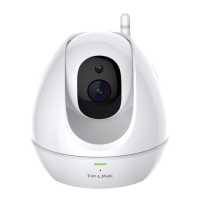
NC450 HD Pan/Tilt Wi-Fi Camera with Night Vision
12
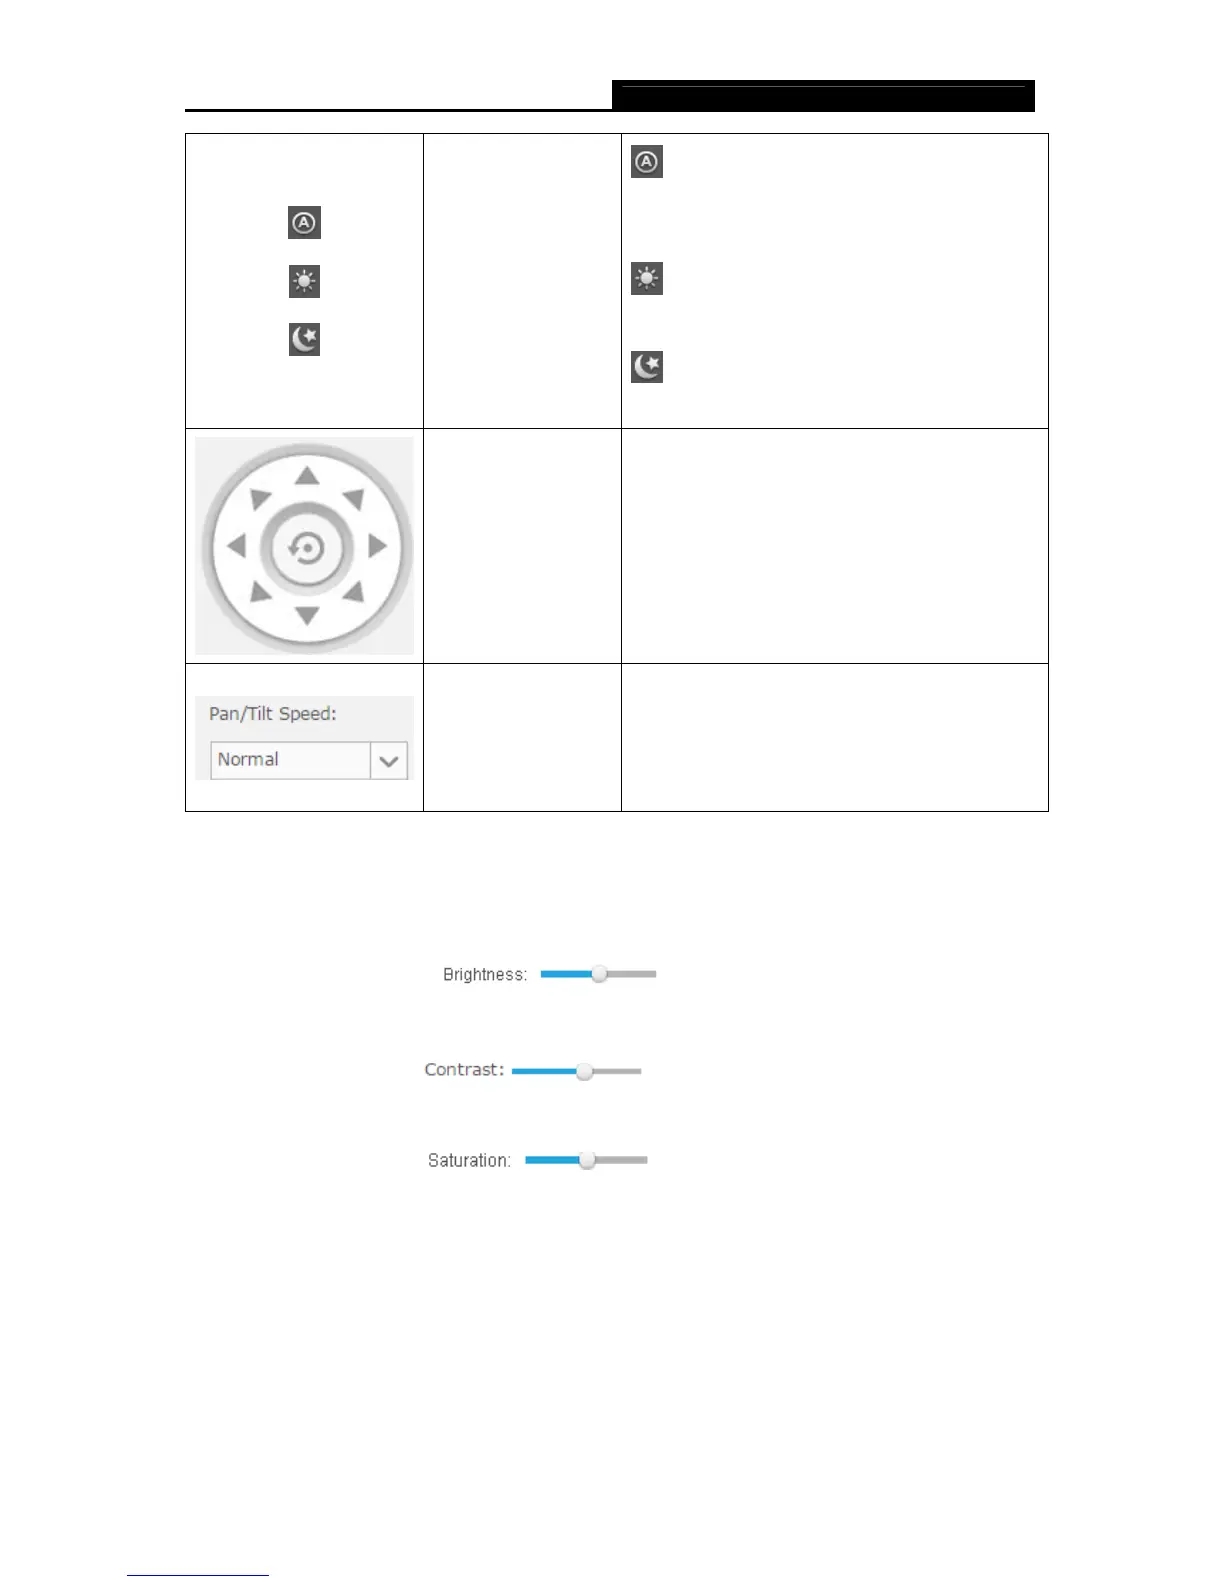
Click to select the
Auto/Day/Night
mode.
Auto: This mode will automatically switch
between Day and Night modes based on the
amount of available lighting.
Day: This sets the camera to always be in
the Day mode.
Night: This sets the camera to always be
in the Night mode.
Click to set the
camera’s position.
Click on the directional arrows on the pan/tilt
wheel to manually control the pan and tilt
functions of the camera. At any time, you can
click the Return button in the center of the
wheel to return the camera to its initial position.
Set the speed of the
camera’s movement
for each press of a
pan or tilt arrow on
the pan/tilt wheel.
Select the pan/tilt speed from the drop-down
list: Fast, Normal, Slow.
Note:
Use the camera’s pan and tilt controls via the web management page or tpCamera app instead of
rotating the camera forcibly, which may cause damage to the camera.
Brightness: Drag the
slider to adjust the brightness level of
camera. Large value will brighten the current displayed screen.
Contrast: Drag the
slider to adjust the contrast level of the
camera. Large value will contrast the current displayed screen heavily.
Saturation: Drag the
slider to adjust the saturation level of the
camera. Large value will saturate the current displayed screen to be more colorful.
Preset: Click the Preset button to restore to factory image settings.
4.3 Basic
Click the Basic menu to display the submenus including Status, Network, Wireless Connection,
Cloud Setting, and LED.