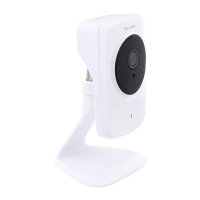
NC450 HD Pan/Tilt Wi-Fi Camera with Night Vision
18
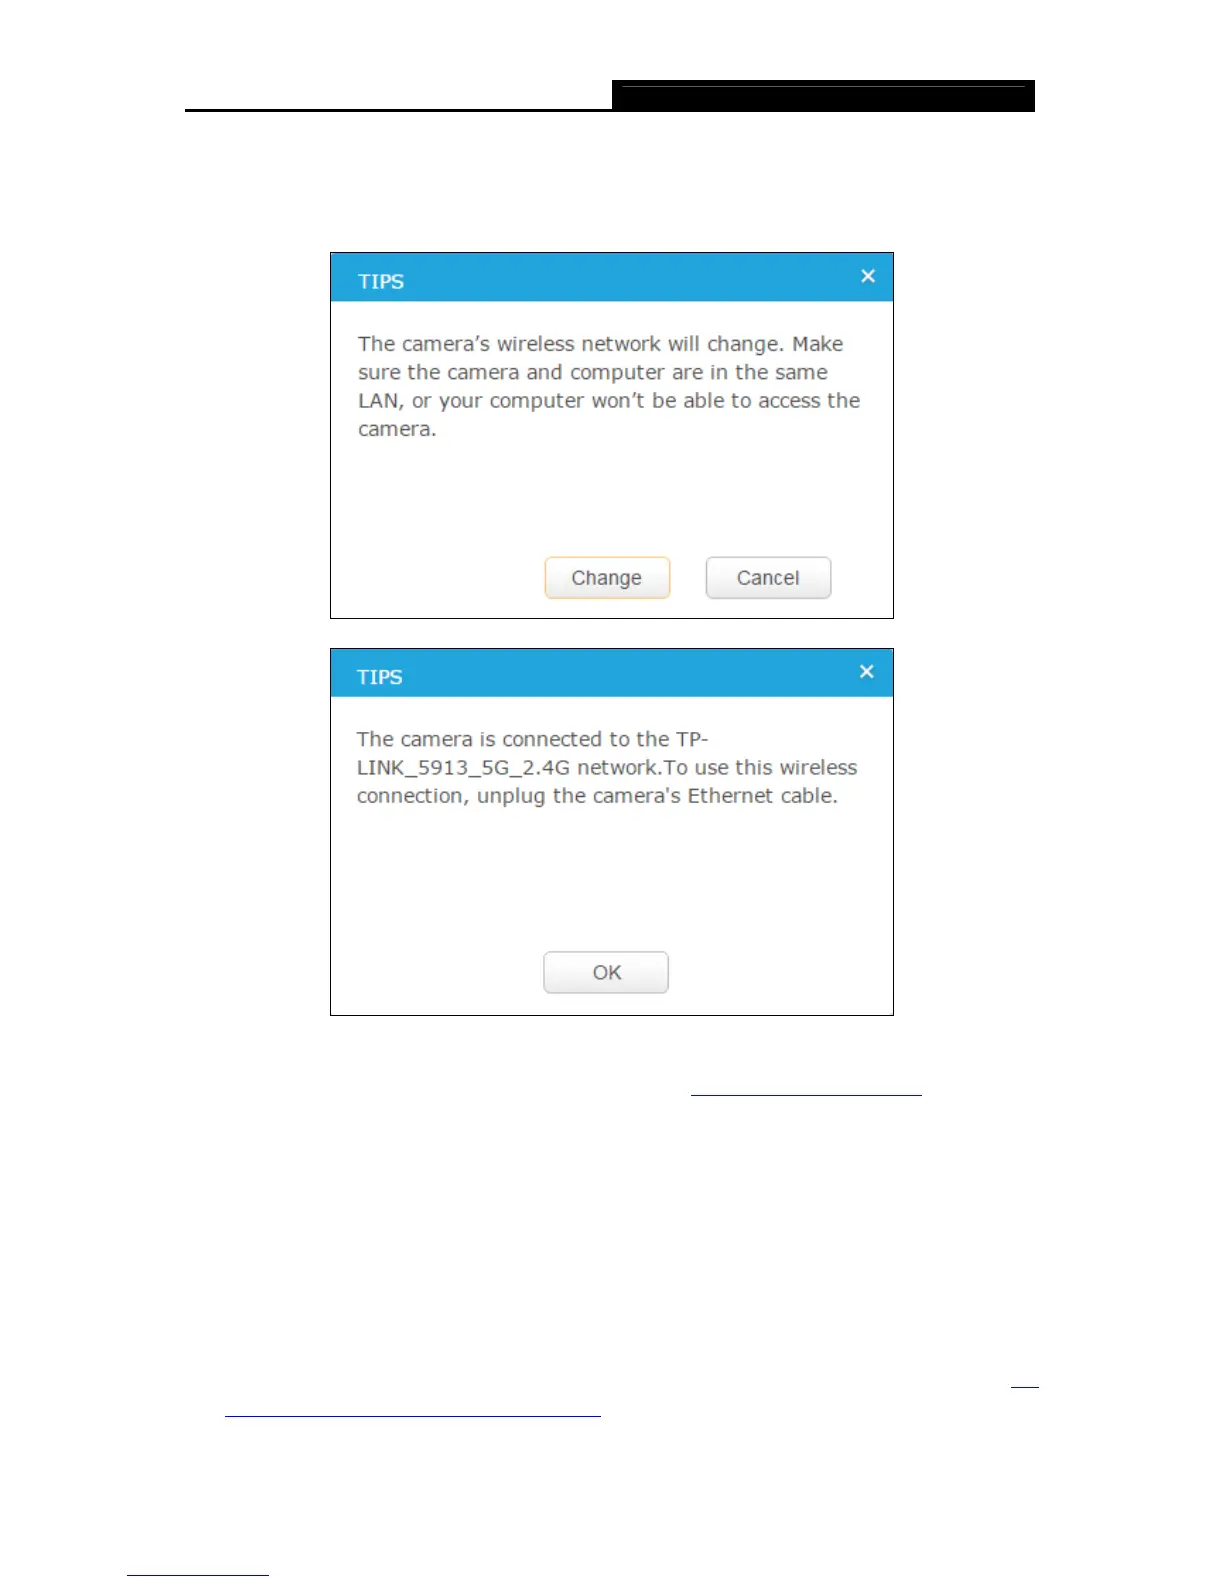
4. A pop-up screen will prompt you for the wireless network modification. Click Change, and
then click OK on the next pop-up screen. The camera will connect to the wireless network that
you have selected.
5. To log into the web management page of the camera, you need to connect your computer to
the router that your camera is connected to. Refer to 4.1 Log in to Your Camera
to find the IP
address of your camera and log into the camera again.
4.3.4 Basic > Cloud Setting
A Cloud Camera can be viewed anytime and anywhere over the Internet with TP-LINK Cloud
service. On this page, you can add the camera to your TP-LINK Cloud account.
Note:
1. You can register a TP-LINK Cloud account in the tpCamera app only. If you do not get the
tpCamera app, please refer to the Step 2 Download and install the tpCamera app in 3.1
Set up the Camera with the tpCamera APP to register a TP-LINK Cloud account.