EasyManuals Logo

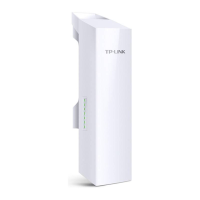
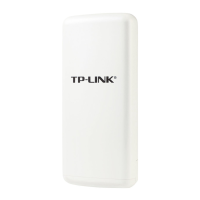
TP-Link Pharos CPE220 User Manual

TP-Link Pharos CPE220
24 pages
To Next Page IconTo Next Page
To Previous Page IconTo Previous Page
Page #10 background imageLoading...
Page #10 background image
07
• Mounting CPE
At the selected site, approximately align the CPE to the direction that you
have oriented.
• Mounting Power Adapter (Optional)
Follow the steps below to mount the power adapter:
To ensure the passive PoE adapter is attached most securely, it is
recommended to install the adapter with the Ethernet port facing upward.
1. Drill two holes on the wall and insert the plastic wall anchors into
the holes. Secure the mounting bracket to the wall. Make sure the
shoulders at the corners of the mounting bracket are on the outside
and pointing upward.
2. Attach the passive PoE adapter to the mounting bracket by sliding
the adapter in the direction of the arrows until it locks into place.

Questions and Answers:

Question and Answer IconNeed help?

Do you have a question about the TP-Link Pharos CPE220 and is the answer not in the manual?

TP-Link Pharos CPE220 Specifications

General IconGeneral
Wireless StandardsIEEE 802.11b/g/n
Frequency2.4GHz
Antenna Gain12dBi
Memory64MB DDR2 RAM, 8MB Flash
ButtonReset Button
Voltage range16-27VDC
Wireless Speeds300Mbps
Wireless SecurityWEP, WPA/WPA2, WPA-PSK/WPA2-PSK
Transmit PowerUp to 27 dBm
Ethernet Ports1 x 10/100Mbps Ethernet Port
Power Supply24V Passive PoE (Pairs 4, 5+;7, 8-)
Operating Temperature-30°C to 70°C
ProcessorQualcomm Atheros
Interface1 Grounding Terminal
Power Consumption10.5W max
Operating ModesAP / Client / AP Router / AP Client Router (WISP)
Storage Temperature-40°C to 70°C (-40°F to 158°F)
Operating Humidity10% to 90% non-condensing
Storage Humidity5% to 90% non-condensing
Weight0.6 kg (1.32 lb)

Related product manuals