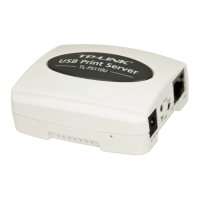
TL-PS110U Single USB2.0 Port Fast Ethernet Print Server
2
Chapter 2. Hardware Installation
2.1 Preparation
Before you start, you should prepare the following items:
¾ One printer with USB port
¾ One USB printer cable
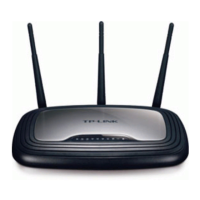
¾ One Router
2.2 Connection
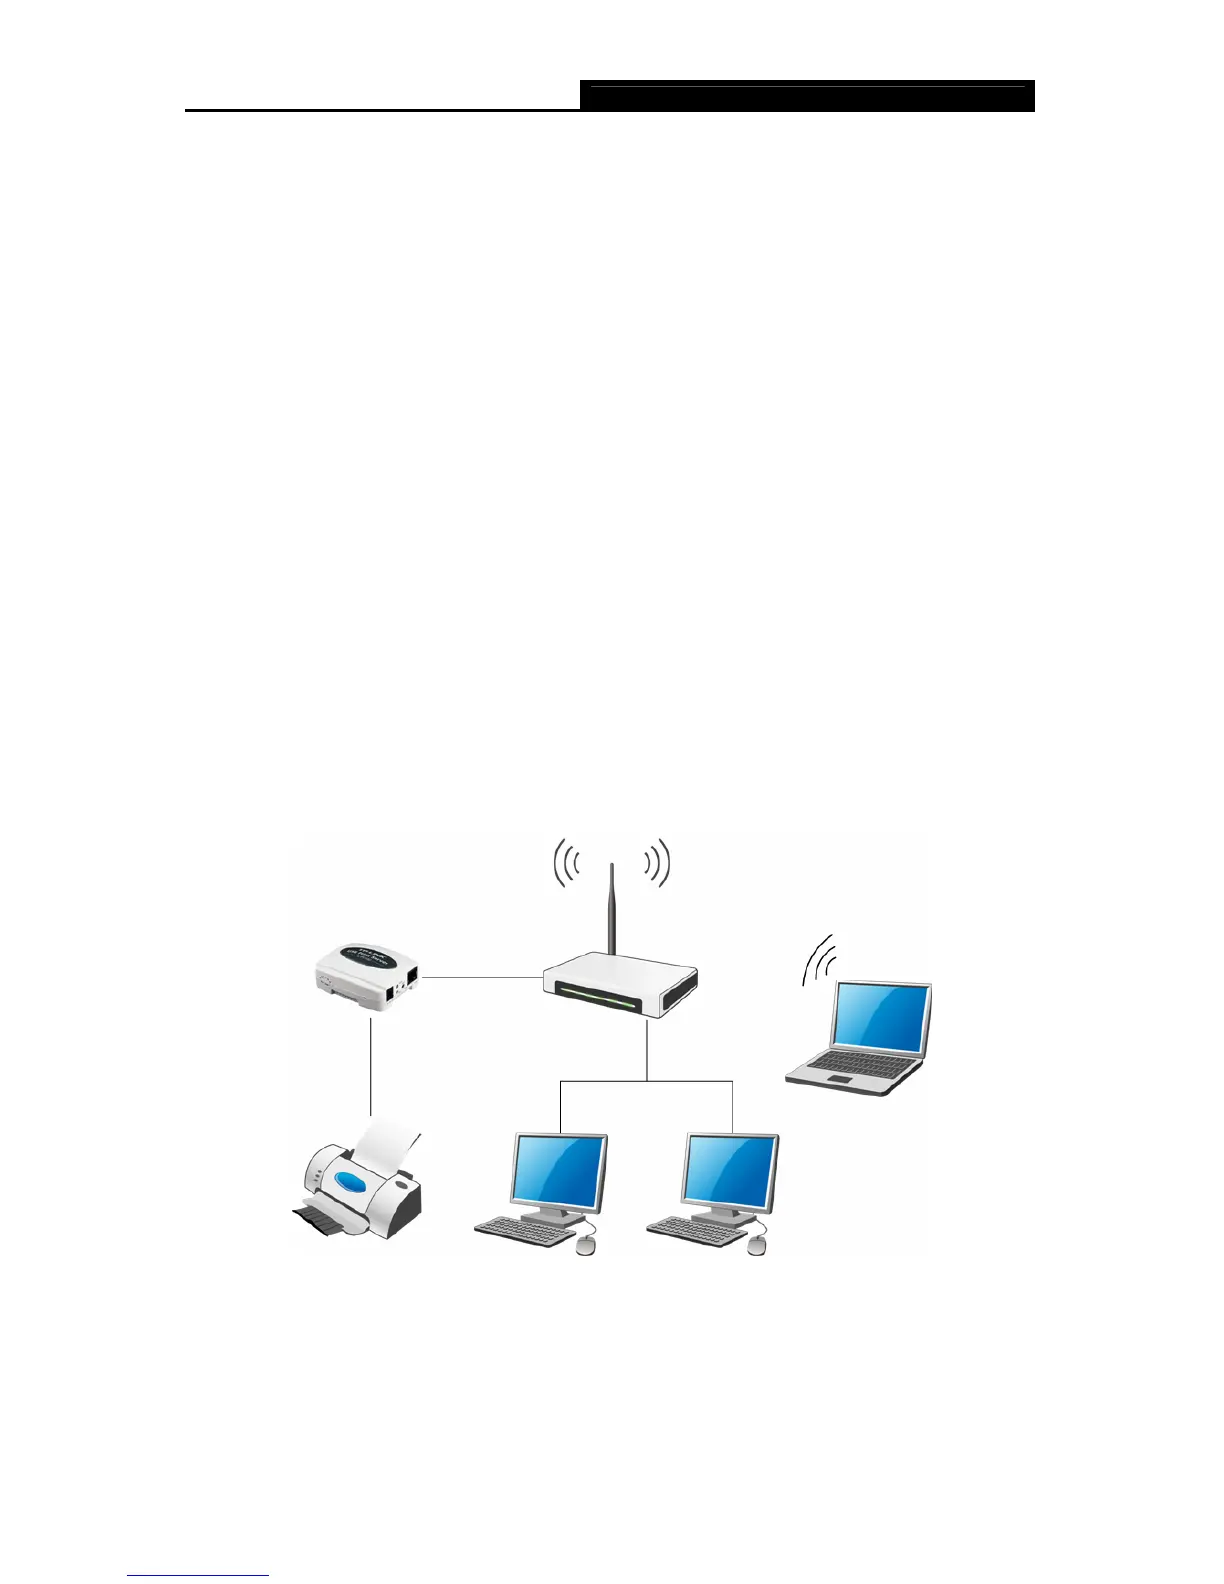
Follow the instructions below to connect the print server. Figure 2-1 is a typical typology for the
print server.
¾ Power off the printer.
¾ Connect the print server to your printer with the USB cable.
¾ Connect the print server to your Router with an Ethernet cable.
¾ Power on the printer.
¾ Power on print server.
¾ Wait 40 seconds as part of the print server’s Power On Self Test (POST).
Figure 2-1
)Note:
The TL-PS110U is produced without password by default.