Do you have a question about the TP-Link TL-SG2218 and is the answer not in the manual?
Details the TP-Link JetStream Smart Switch's features, performance, and suitability for various network needs.
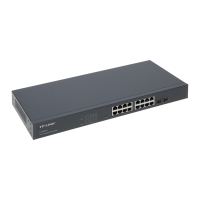
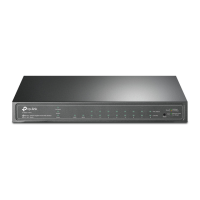
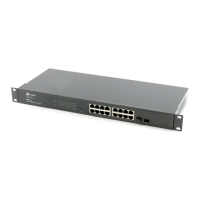
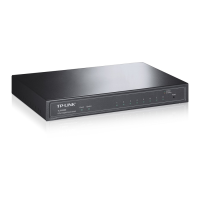
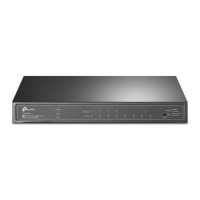
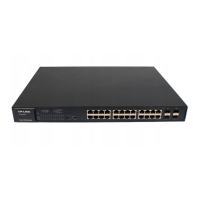
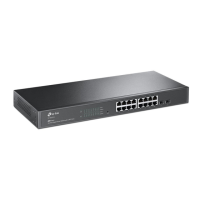
Illustrates the front panel layout and components of various JetStream Smart Switch models.
Lists the items included in the switch package, such as the switch, power cord, and mounting hardware.
Provides essential safety guidelines to prevent device damage and personal injury during installation.
Lists the necessary tools required for installing the JetStream Smart Switch.
Provides step-by-step instructions for installing the switch, including desktop and rack mounting.
Explains how to connect the switch to a computer using an RJ45 Ethernet cable.
Demonstrates the process of inserting an SFP module into the switch's SFP slot.
Outlines the checks to perform after installation to ensure proper setup and connectivity.
Details the procedure for connecting the power cord and powering on the switch.
Describes the Power-On Self-Test process and LED indicator behavior during initialization.
Introduces the two primary configuration modes: Standalone and Controller.
Explains how to configure and manage the switch individually using GUI or CLI.
Details how to manage multiple devices centrally using Omada Hardware Controller.
| Switch type | Managed |
|---|---|
| Switch layer | L2/L2+ |
| Quality of Service (QoS) support | Yes |
| Stackable | - |
| Form factor | 1U |
| Certification | CE, FCC, RoHS |
| Product color | Black |
| Heat dissipation | 41.97 BTU/h |
| Storage temperature (T-T) | -40 - 70 °C |
| Operating temperature (T-T) | 0 - 40 °C |
| Storage relative humidity (H-H) | 5 - 90 % |
| Operating relative humidity (H-H) | 10 - 90 % |
| Power source | AC |
| AC input voltage | 100 - 240 V |
| AC input frequency | 50/60 Hz |
| Power consumption (max) | 12.3 W |
| Jumbo frames | 9000 |
| Forwarding rate | 26.8 Mpps |
| MAC address table | 8000 entries |
| Packet buffer memory | 4.1 MB |
| Number of IP interfaces | 16 |
| Number of static routes | 32 |
| SFP module slots quantity | 2 |
| Installed SFP modules quantity | 0 |
| Basic switching RJ-45 Ethernet ports type | Gigabit Ethernet (10/100/1000) |
| Number of VLANs | 4000 |
| Networking standards | IEEE 802.3ab, IEEE 802.3i, IEEE 802.3u, IEEE 802.3z |
| Virtual LAN features | Port-based VLAN, Private VLAN, Protocol-based VLAN, Tagged VLAN, Voice VLAN |
| Ethernet LAN data rates | 10, 100, 1000 Mbit/s |
| DHCP features | DHCP client, DHCP relay, DHCP server, DHCP snooping, DHCPv6 client, DHCPv6 snooping |
| Package depth | 528 mm |
| Package width | 250 mm |
| Package height | 80 mm |
| Package weight | 2450 g |
| Cables included | AC, LAN (RJ-45) |
| Harmonized System (HS) code | 85176990 |
| Depth | 180 mm |
|---|---|
| Width | 440 mm |
| Height | 44 mm |